
When the autumn leaves begin to fall and the air becomes crisp, my thoughts drift to the comforting flavors of apple pie. But what if I told you there’s a quicker, healthier way to enjoy that nostalgic taste? Enter my Baked Apple Pie Rice Paper Rolls! This delightful fusion leads you into a world where traditional apple pie meets the refreshing twist of rice paper, creating a dessert that is not only gluten-free and vegan but also a breeze to whip up with just five ingredients.
As I rolled these treats up for a gathering, the essence of baked apples and warm cinnamon filled my kitchen, transforming it into a cozy haven. Perfect for those evenings when you crave something sweet without the fuss of conventional baking, these crispy rolls capture the magic of apple pie in a light, airy form. Whether you’re searching for a healthier alternative or simply a new favorite dessert, these rolls are sure to please!
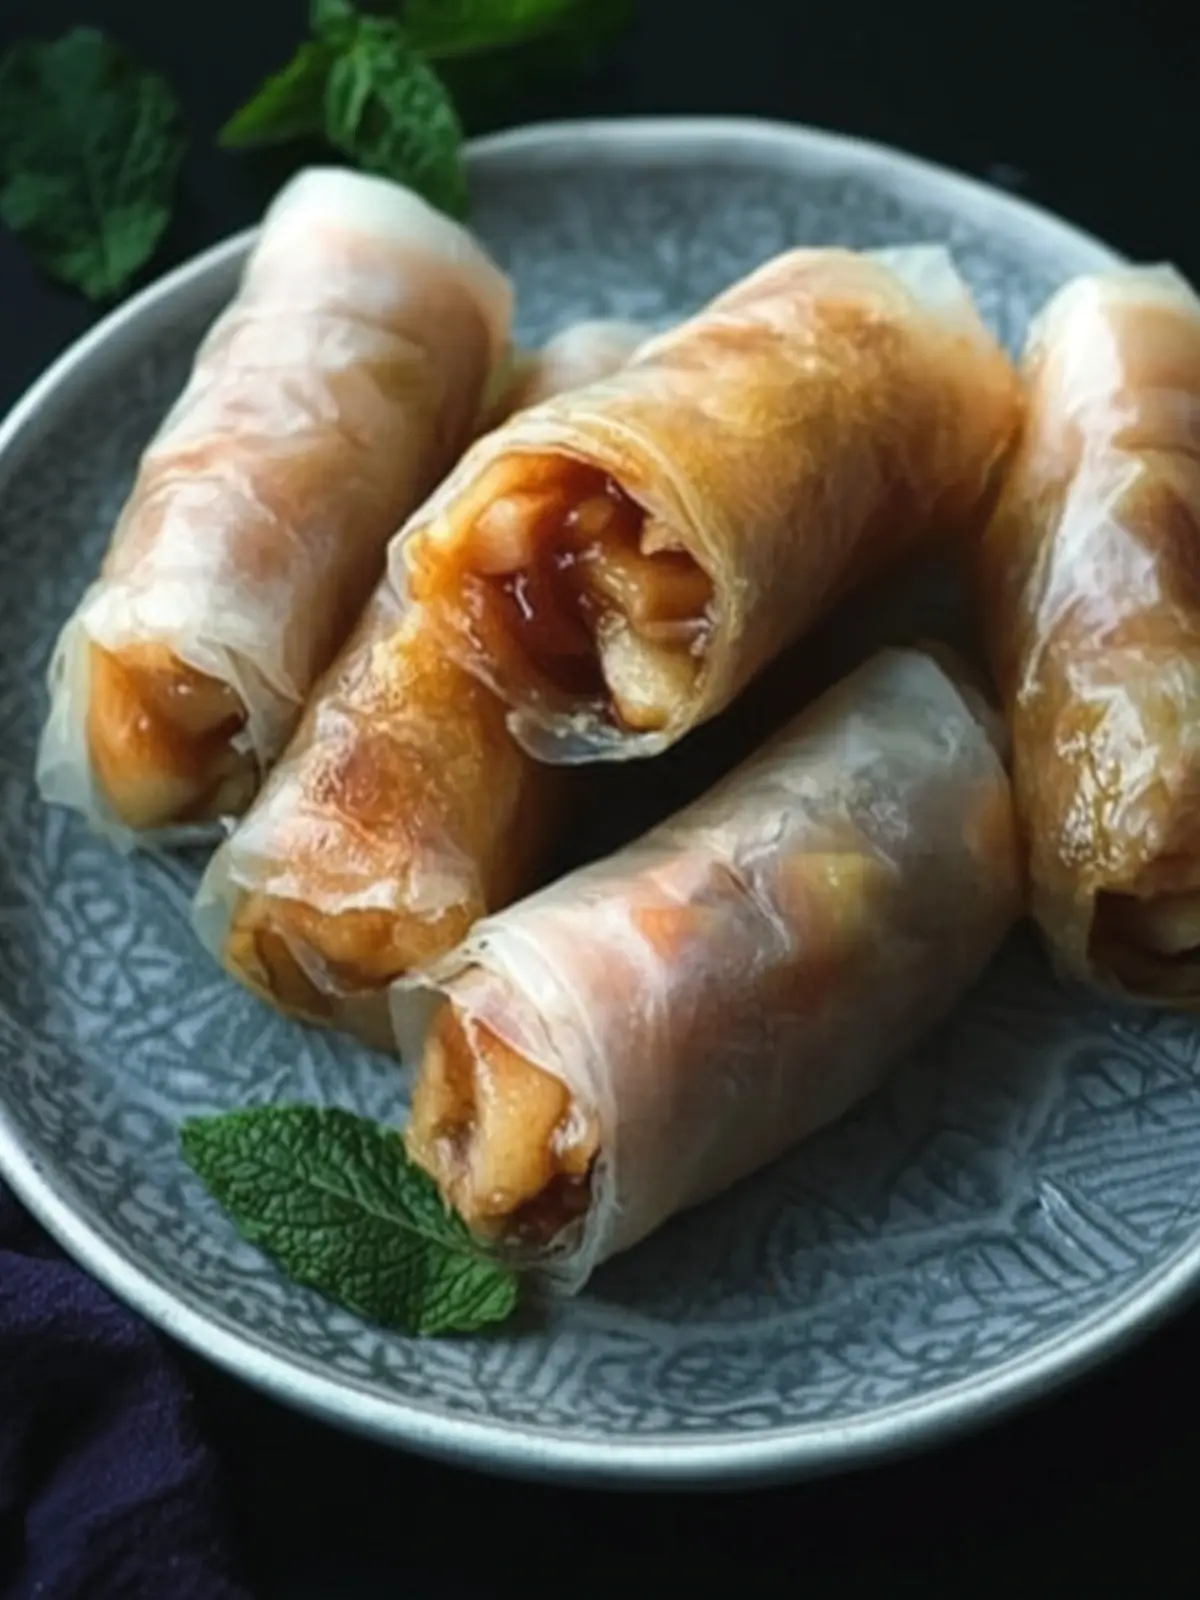
Why Baked Apple Pie Rice Paper Rolls?
Simplicity: The recipe calls for only five ingredients, making it an accessible dessert for everyone.
Flavor Explosion: Enjoy the warm, nostalgic flavors of apples and cinnamon wrapped in a crisp rice paper shell.
Healthier Twist: Gluten-free and vegan, these rolls offer a guilt-free indulgence without sacrificing taste.
Quick Preparation: With minimal cooking time, you can have a delightful dessert ready in under 30 minutes!
Crowd-Pleaser: Perfect for gatherings, these rolls will impress family and friends looking for something fresh and exciting.
Try serving them with vegan ice cream or make-ahead options to delight your guests even more!
Baked Apple Pie Rice Paper Rolls Ingredients
For the Filling
- Apples – The main filling providing natural sweetness and texture; use firm varieties like Granny Smith for best results.
- Brown Sugar – Adds sweetness and a rich caramel-like flavor; can be substituted with coconut sugar for a lower glycemic option.
- Cinnamon – Enhances the warm flavor characteristic of apple pie; optional spices like nutmeg can be added for complexity.
For the Wrapper
- Rice Paper – Acts as a gluten-free pastry alternative; ensure to use high-quality rice paper to avoid tearing.
For Brushing
- Cooking Oil – Helps achieve a crispy texture during baking; olive oil or coconut oil can be used as alternatives.
How to Make Baked Apple Pie Rice Paper Rolls
-
Prepare Filling: Start by peeling and slicing your apples. Mix them in a bowl with brown sugar and cinnamon until well combined. The mixture should be fragrant and inviting!
-
Prepare Rice Paper: Fill a shallow bowl with warm water. Soak each rice paper sheet one at a time until they’re slightly softened but still firm enough to handle—about 10-15 seconds.
-
Assemble Rolls: On a clean surface, take a softened rice paper sheet. Place 1-2 tablespoons of the apple mixture on the bottom third of the sheet. Fold the sides over the filling, then roll tightly from the bottom up. Repeat this until all the filling is used!
-
Bake: Preheat your oven to 450°F (230°C). Arrange the rolls on a greased or parchment-lined baking sheet. Brush both sides of each roll with cooking oil, then bake for 20-30 minutes. They should be golden brown and crispy when done, so turn them occasionally for even baking!
Optional: Serve with a drizzle of maple syrup for an extra touch of sweetness.
Exact quantities are listed in the recipe card below.
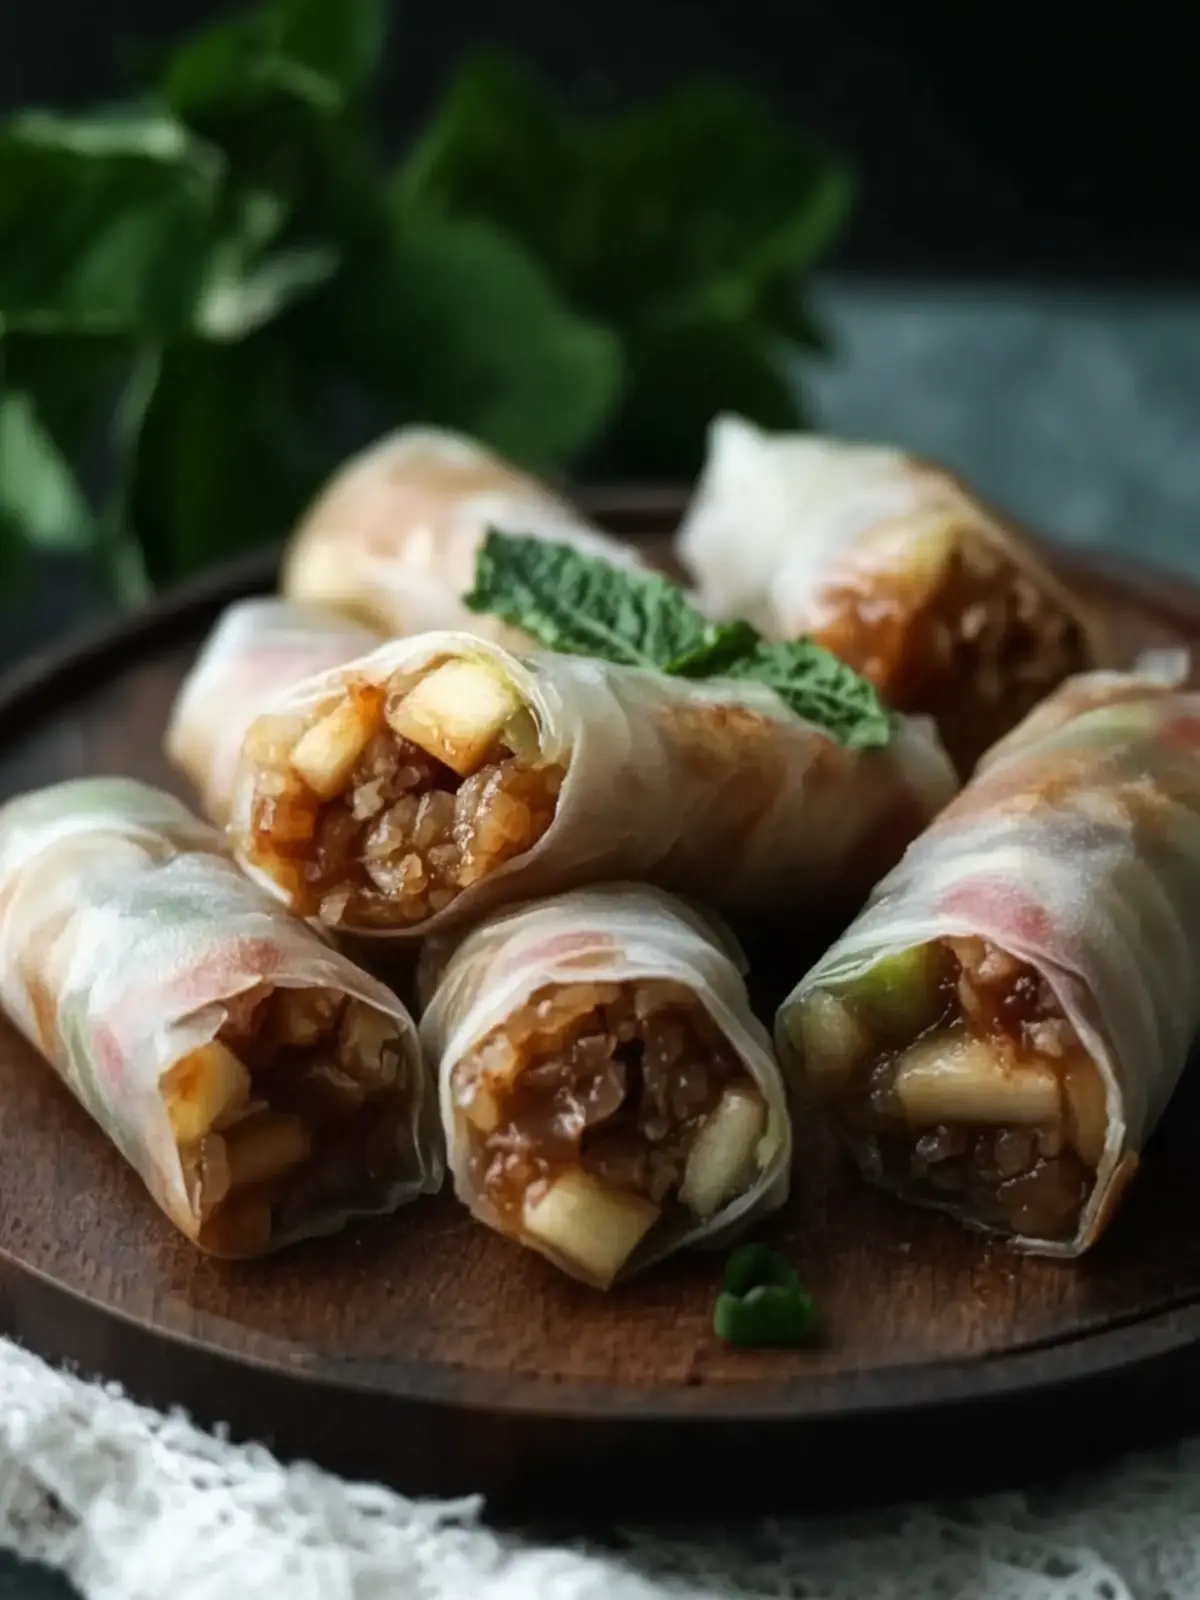
Storage Tips for Baked Apple Pie Rice Paper Rolls
-
Room Temperature: Best enjoyed fresh and warm, but can be kept at room temperature for up to 1 hour before they lose their crispiness.
-
Fridge: Store leftover Baked Apple Pie Rice Paper Rolls in an airtight container in the fridge for up to 2 days to maintain flavor and texture.
-
Freezer: For longer storage, freeze the rolls in a single layer on a baking sheet before transferring them to a freezer-safe bag. They can last up to 1 month.
-
Reheating: To restore the crispiness, reheat refrigerated or frozen rolls in an oven preheated to 350°F (175°C) for 10-15 minutes. Enjoy every bite of this delightful dessert!
Baked Apple Pie Rice Paper Rolls Variations
Feel free to indulge your creativity and customize these delightful rolls to suit your taste!
-
Fruit Swap: Replace apples with pears or peaches for a refreshing twist that brings unique sweetness to each bite. Each fruit adds its own charm to the rolls.
-
Nutty Crunch: Mix in chopped walnuts or almond slivers for an exciting textural contrast. The added crunch will make every bite even more satisfying.
-
Spice It Up: Add a pinch of nutmeg or ginger to the filling to enhance the warm flavors. A little extra spice can elevate the taste beautifully!
-
Sugary Drizzle: Drizzle with caramel or almond butter right before serving for a luscious finish. This addition can turn your dessert into a showstopper, perfect for entertaining.
-
Coconut Flakes: Incorporate shredded coconut into the filling for a tropical flavor explosion. This twist not only enhances the taste but also adds an extra layer of texture.
-
Heat It Up: Add a dash of cayenne or chili powder to the apple mixture for a surprising kick. It’s a delightful contrast to the sweetness that adventurous eaters will love.
-
Chocolatey Delight: Toss in some mini chocolate chips with the apples for a fun, indulgent variation. Chocolate and apples are a classic combination that never disappoints!
-
Cinnamon Buns Variation: Try sprinkling some cinnamon sugar on the rice paper before adding the filling for an extra sweet flavor with each crispy bite. It’s all about giving a spin to your traditional favorites!
Make Ahead Options
These Baked Apple Pie Rice Paper Rolls are fantastic for meal prep, allowing you to enjoy a delicious dessert with minimal effort! You can prepare the apple filling (peeled and mixed with brown sugar and cinnamon) up to 24 hours in advance by refrigerating it in an airtight container. Additionally, you can soak the rice paper sheets and roll them ahead of time but ensure they’re tightly wrapped to prevent sticking; these rolled treats can be kept in the fridge for up to 3 days. When you’re ready to serve, simply brush with oil and bake at 450°F for 20-30 minutes until golden brown. This way, you’ll have a homemade dessert ready to impress without feeling rushed!
What to Serve with Baked Apple Pie Rice Paper Rolls?
Elevate your experience with delightful accompaniments that enhance the comforting flavors of these irresistible rolls.
-
Vegan Vanilla Ice Cream: Creamy and sweet, this ice cream contrasts beautifully with warm, spiced apple filling, offering a perfect temperature contrast.
-
Coconut Whipped Cream: Light and fluffy, this addition complements the rolls while adding a tropical touch that brightens the cozy flavors of cinnamon and apple.
-
Caramel Drizzle: A sweet, indulgent drizzle adds richness and a touch of decadence, making each bite feel like a special occasion. Try a homemade or store-bought option for convenience.
-
Nutty Granola: Sprinkle this crunchy topping to bring texture into the mix. It pairs wonderfully, adding extra flavor without overshadowing the rolls.
-
Fresh Fruit Salad: A medley of fresh, tangy fruits provides a refreshing contrast to the sweet rolls, balancing out the meal deliciously. Consider apples, berries, or citrus for a colorful mix!
-
Herbal Tea: A warm cup of chamomile or mint tea serves as a soothing companion, enhancing the comforting experience while providing a gentle, aromatic flavor profile.
-
Spiced Apple Cider: For an autumn twist, serve warm spiced apple cider alongside. Its apple-infused warmth echoes the flavors of the rolls, creating a seamless pairing.
Expert Tips for Baked Apple Pie Rice Paper Rolls
-
Quality Rice Paper: Make sure to choose high-quality rice paper to prevent tearing during soaking and assembling. A strong wrapper is key to holding your filling.
-
Avoid Over-Soaking: Don’t soak the rice paper sheets for too long; they should remain slightly stiff for easier handling and to keep your rolls intact.
-
Right Filling Consistency: Ensure that the apple mixture isn’t too wet, as excess moisture can cause leaks during baking. Aim for a thick mixture for best results.
-
Even Baking: Rotate the rolls while baking to achieve a uniform golden crispiness. This ensures that every roll is equally delicious!
-
Experiment with Flavors: Feel free to play with different fillings, such as pears or berries, to create your own twist on these Baked Apple Pie Rice Paper Rolls.
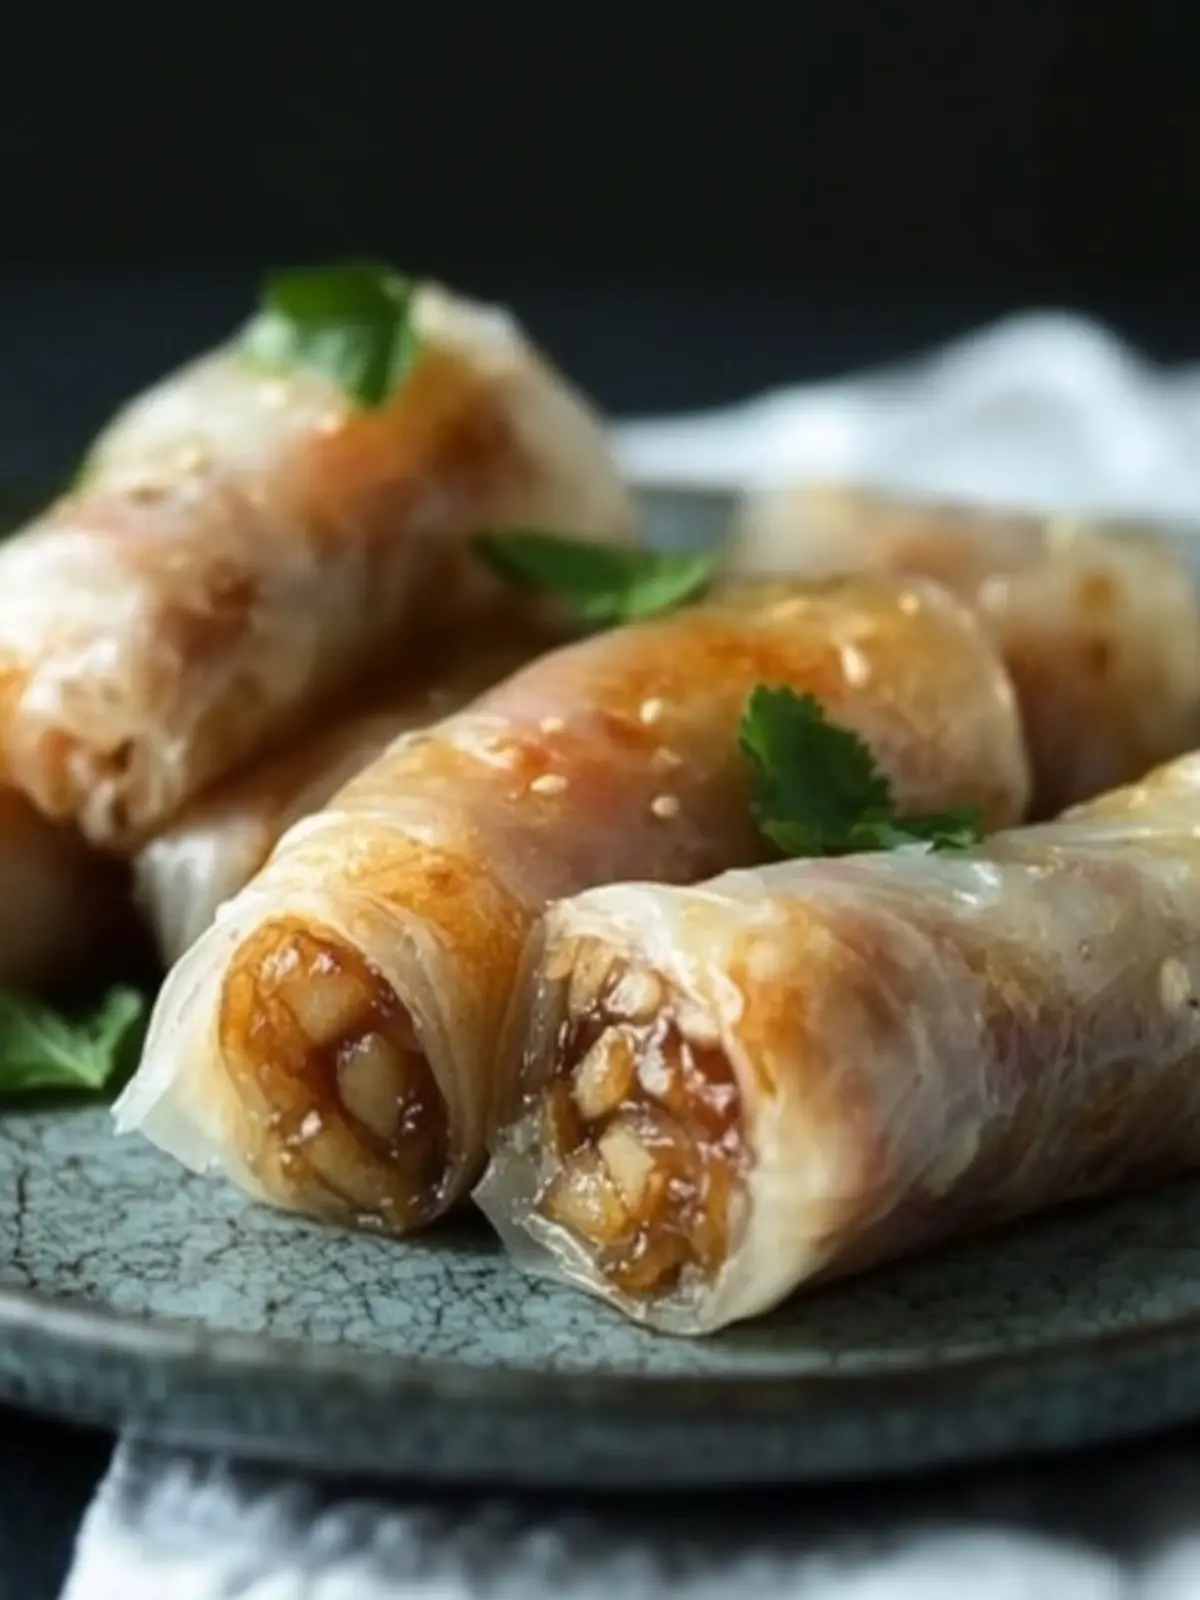
Baked Apple Pie Rice Paper Rolls Recipe FAQs
How do I select the best apples for my filling?
Absolutely! For the best results, choose firm apple varieties like Granny Smith or Honeycrisp. These types provide a lovely balance of sweetness and tartness, and they hold their shape well during baking, ensuring a perfect filling in your Baked Apple Pie Rice Paper Rolls.
Can I store these rolls, and how long do they last?
Very! You can store your leftover Baked Apple Pie Rice Paper Rolls in an airtight container in the fridge for up to 2 days. Just be sure to enjoy them while they’re fresh to retain that delightful crispy texture!
How do I freeze my rice paper rolls for later?
Of course! To freeze your rolls, first lay them out in a single layer on a baking sheet and place them in the freezer until they’re firm (about an hour). Then, transfer the frozen rolls to a freezer-safe bag. They can last up to 1 month. Simply reheat them in the oven when you’re ready to indulge!
What should I do if my rice paper tears during assembly?
Don’t worry! If your rice paper tears, just grab a small piece of another rice paper and use it as a patch over the tear. Alternatively, you can wrap the filling in a double layer of rice paper to ensure it holds together during baking. A little creativity goes a long way!
Are these rolls pet-friendly or suitable for those with allergies?
Check it out! This recipe is naturally gluten-free and vegan, making it a great option for many dietary considerations. However, be cautious with any specific allergies your guests may have, such as to apples or nuts if you decide to add them as a variation. It’s always good to double-check with your loved ones beforehand!
Can these rolls be made in advance?
Absolutely! You can prepare the apple filling ahead of time and store it in the fridge for up to 3 days. Just assemble and bake the rolls right before serving for that fresh, crispy texture. Enjoy a stress-free dessert experience while impressing your guests!
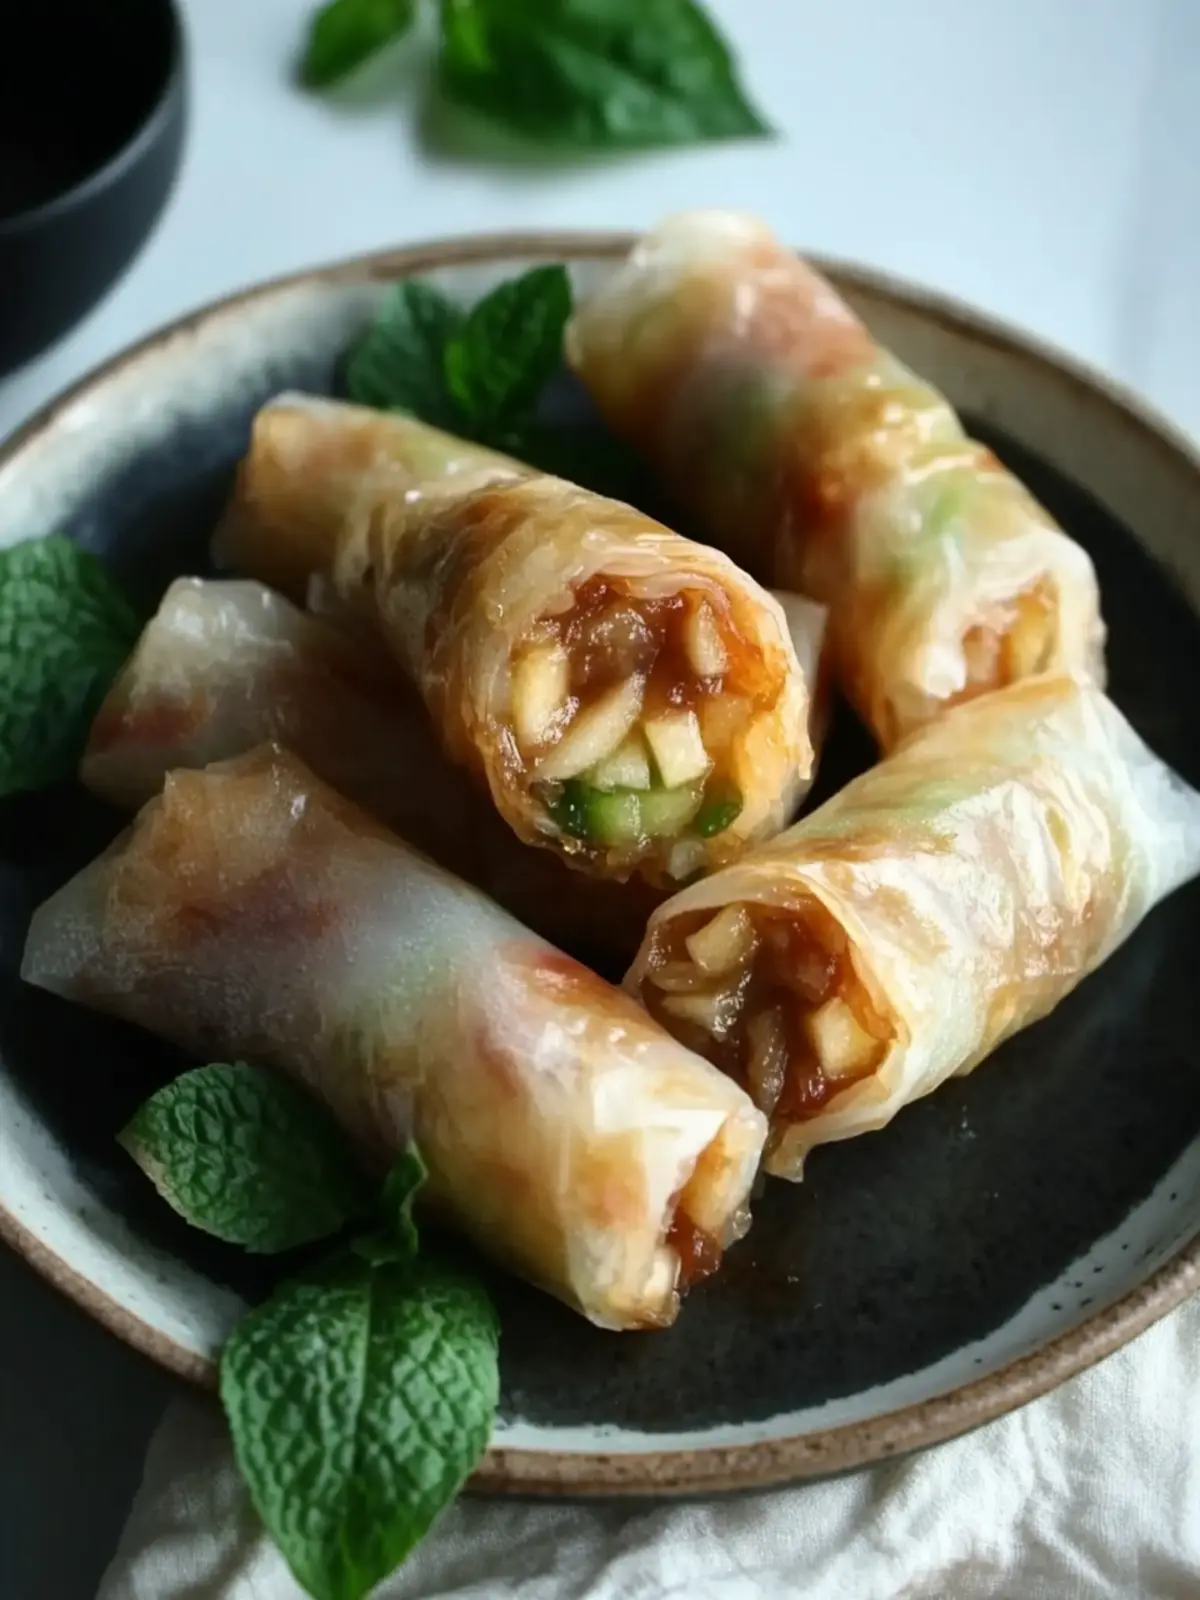
Delicious Baked Apple Pie Rice Paper Rolls You’ll Love
Ingredients
Equipment
Method
- Prepare Filling: Peel and slice your apples. Mix them in a bowl with brown sugar and cinnamon until well combined.
- Prepare Rice Paper: Fill a shallow bowl with warm water. Soak each rice paper sheet until slightly softened—about 10-15 seconds.
- Assemble Rolls: On a clean surface, place 1-2 tablespoons of the apple mixture on the bottom third of a softened rice paper sheet. Fold the sides over the filling, then roll tightly from the bottom up.
- Bake: Preheat oven to 450°F (230°C). Arrange rolls on a baking sheet. Brush with cooking oil and bake for 20-30 minutes until golden brown and crispy, turning occasionally.