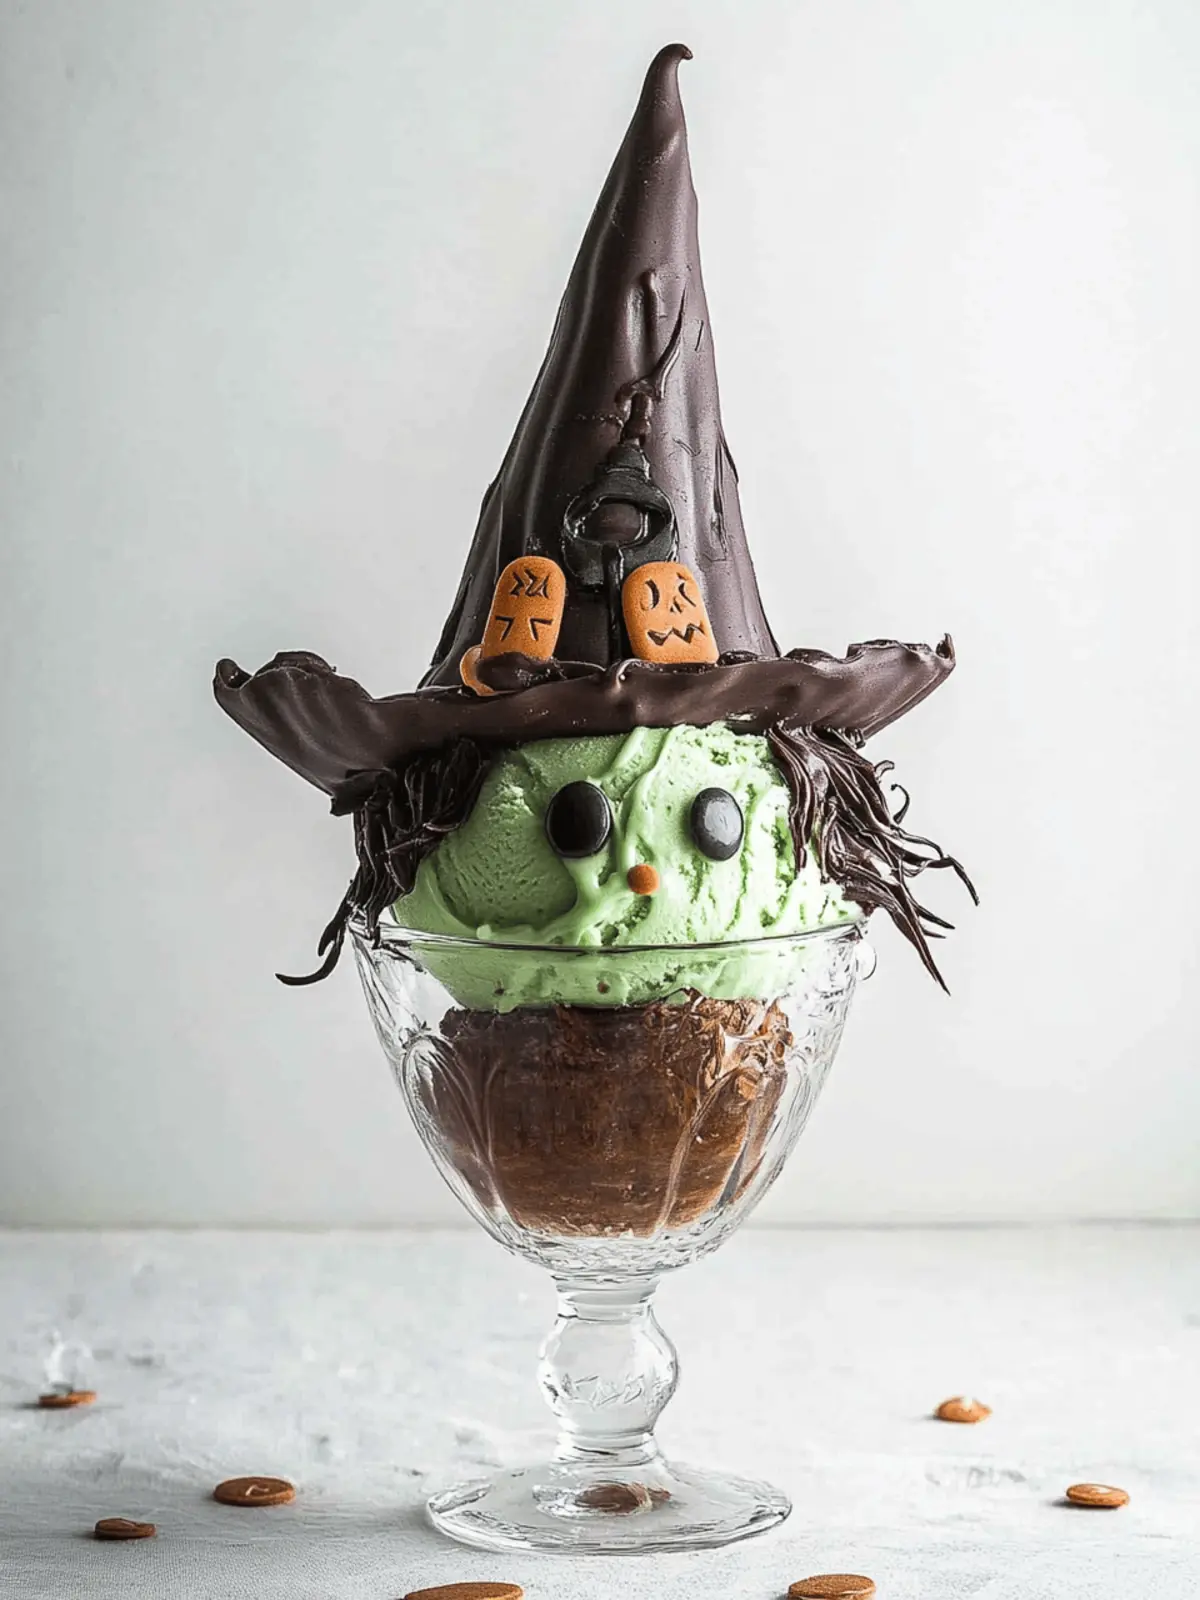
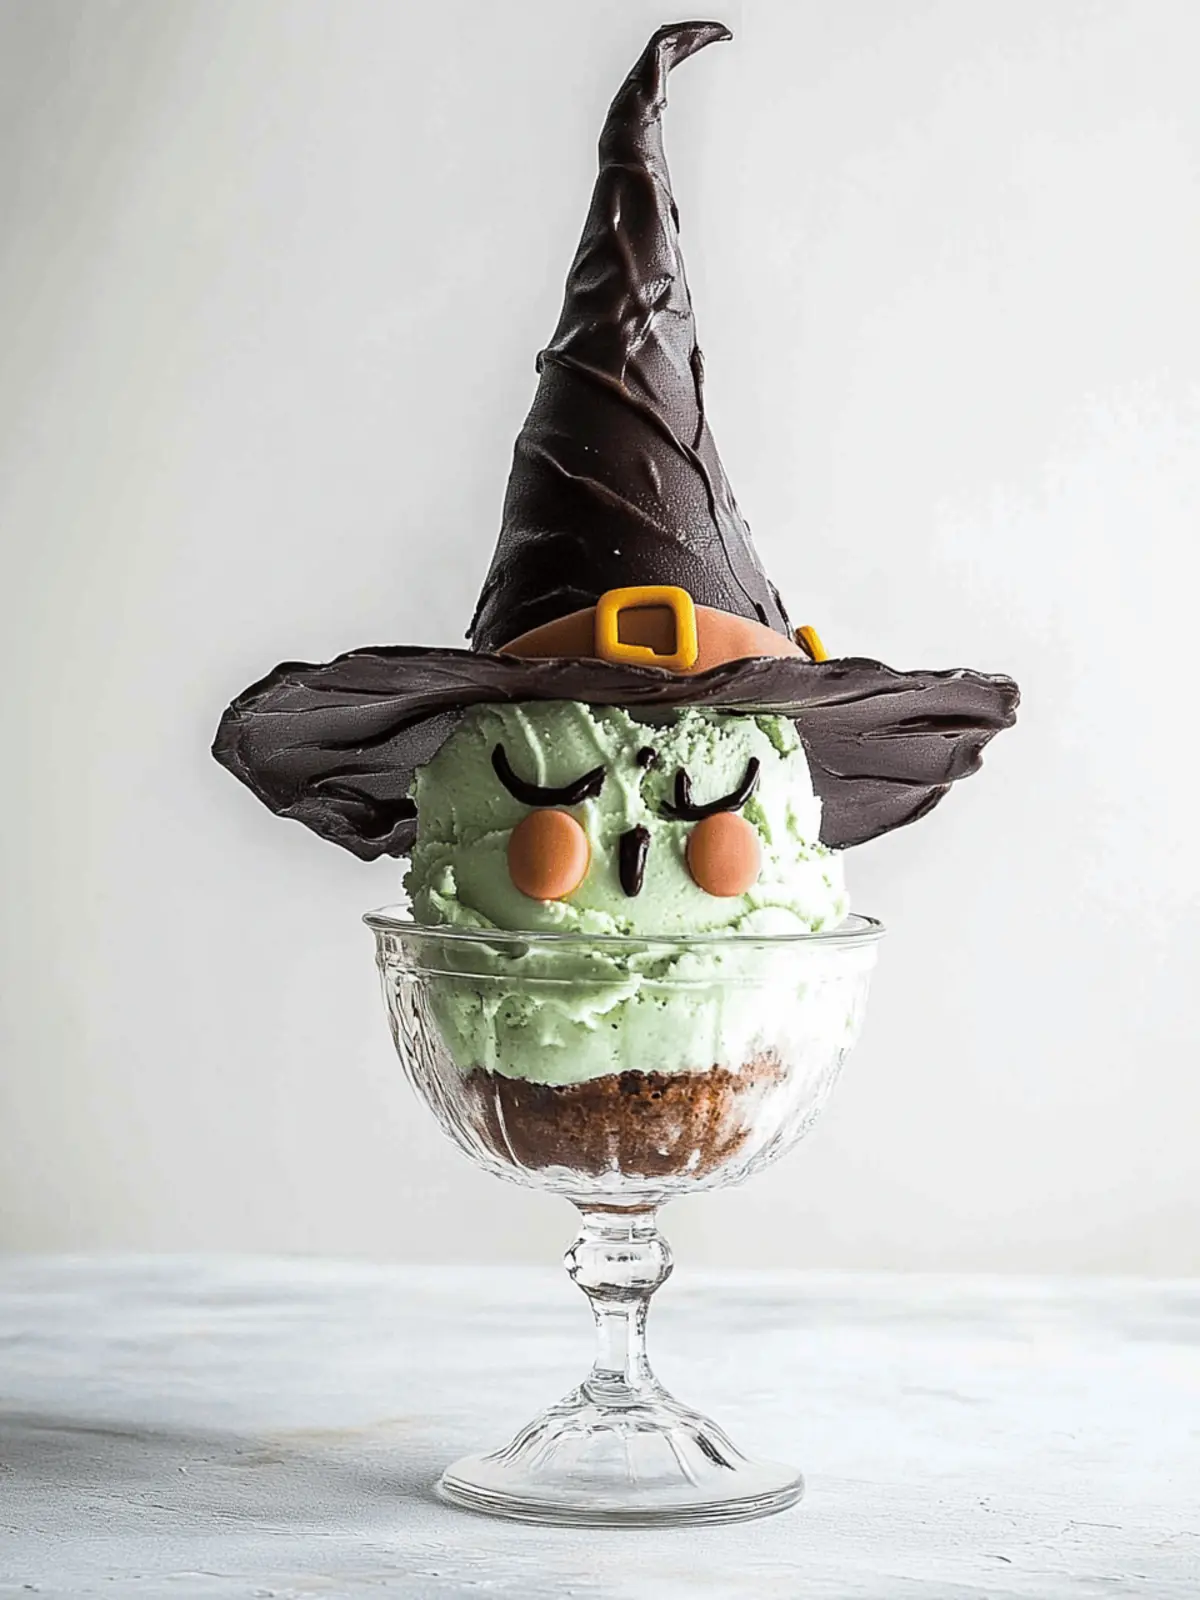
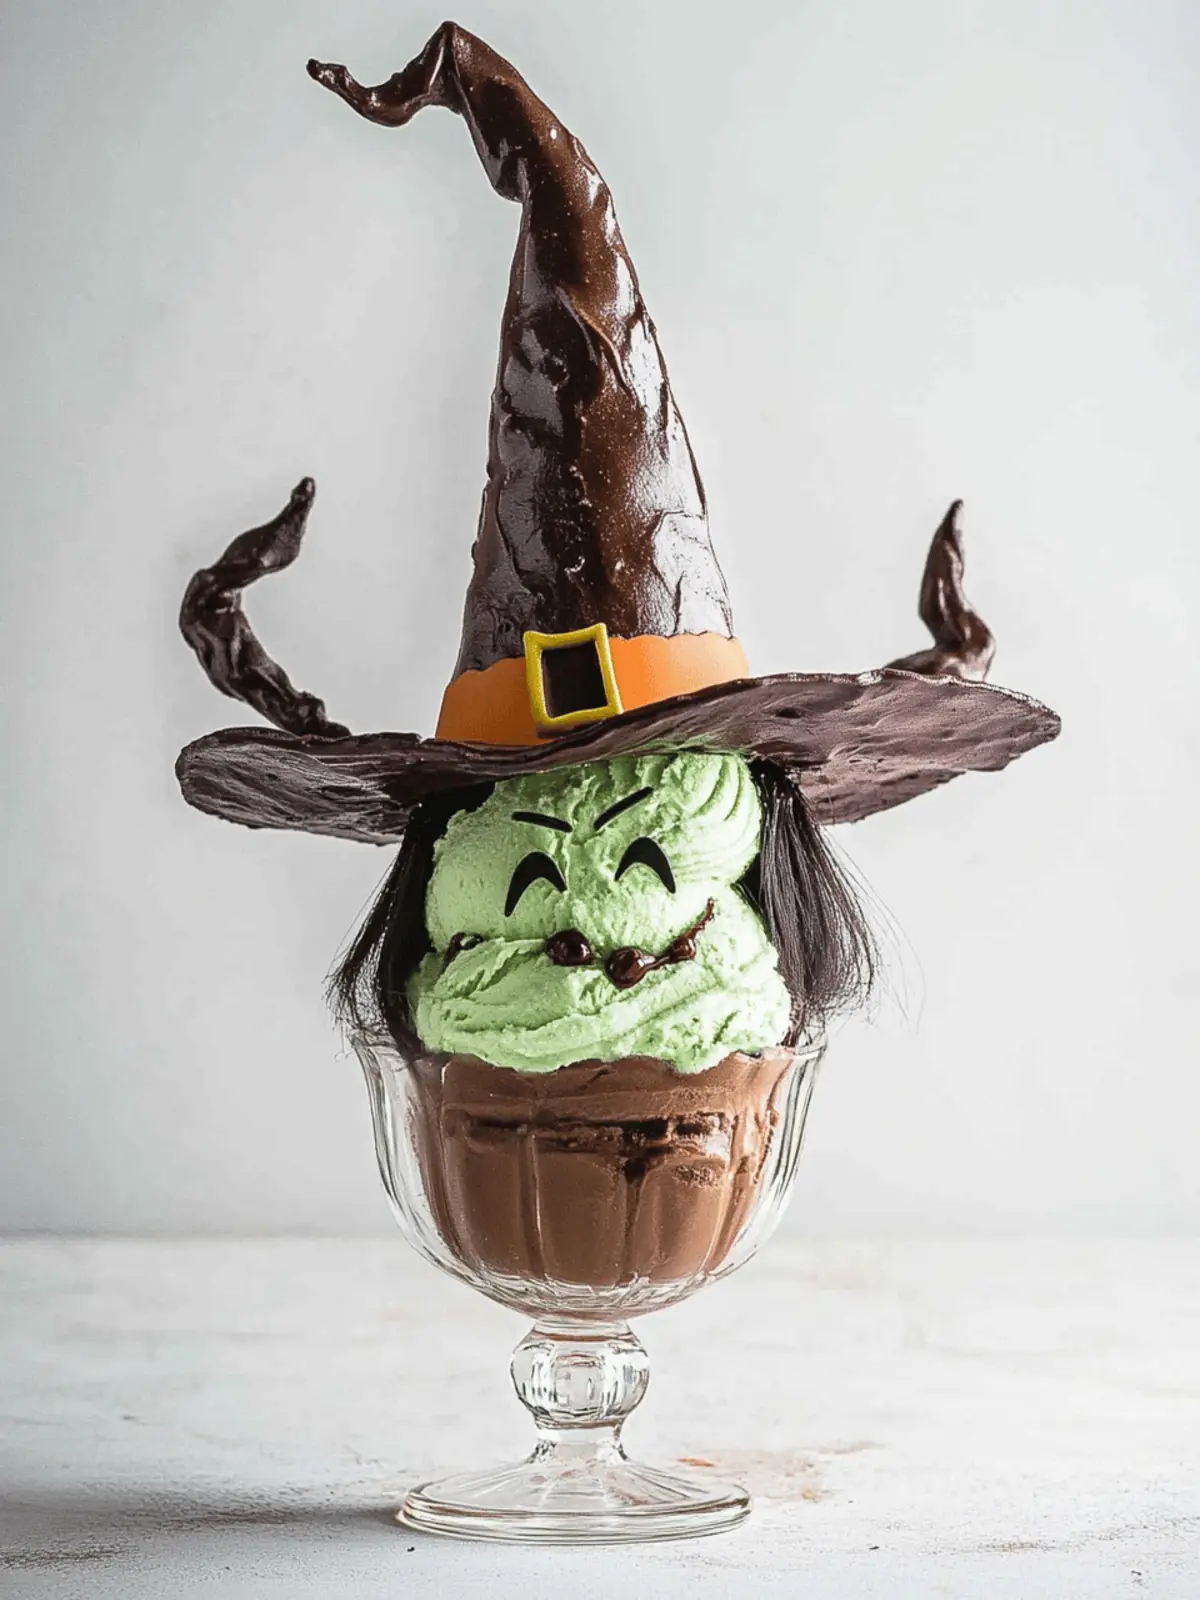
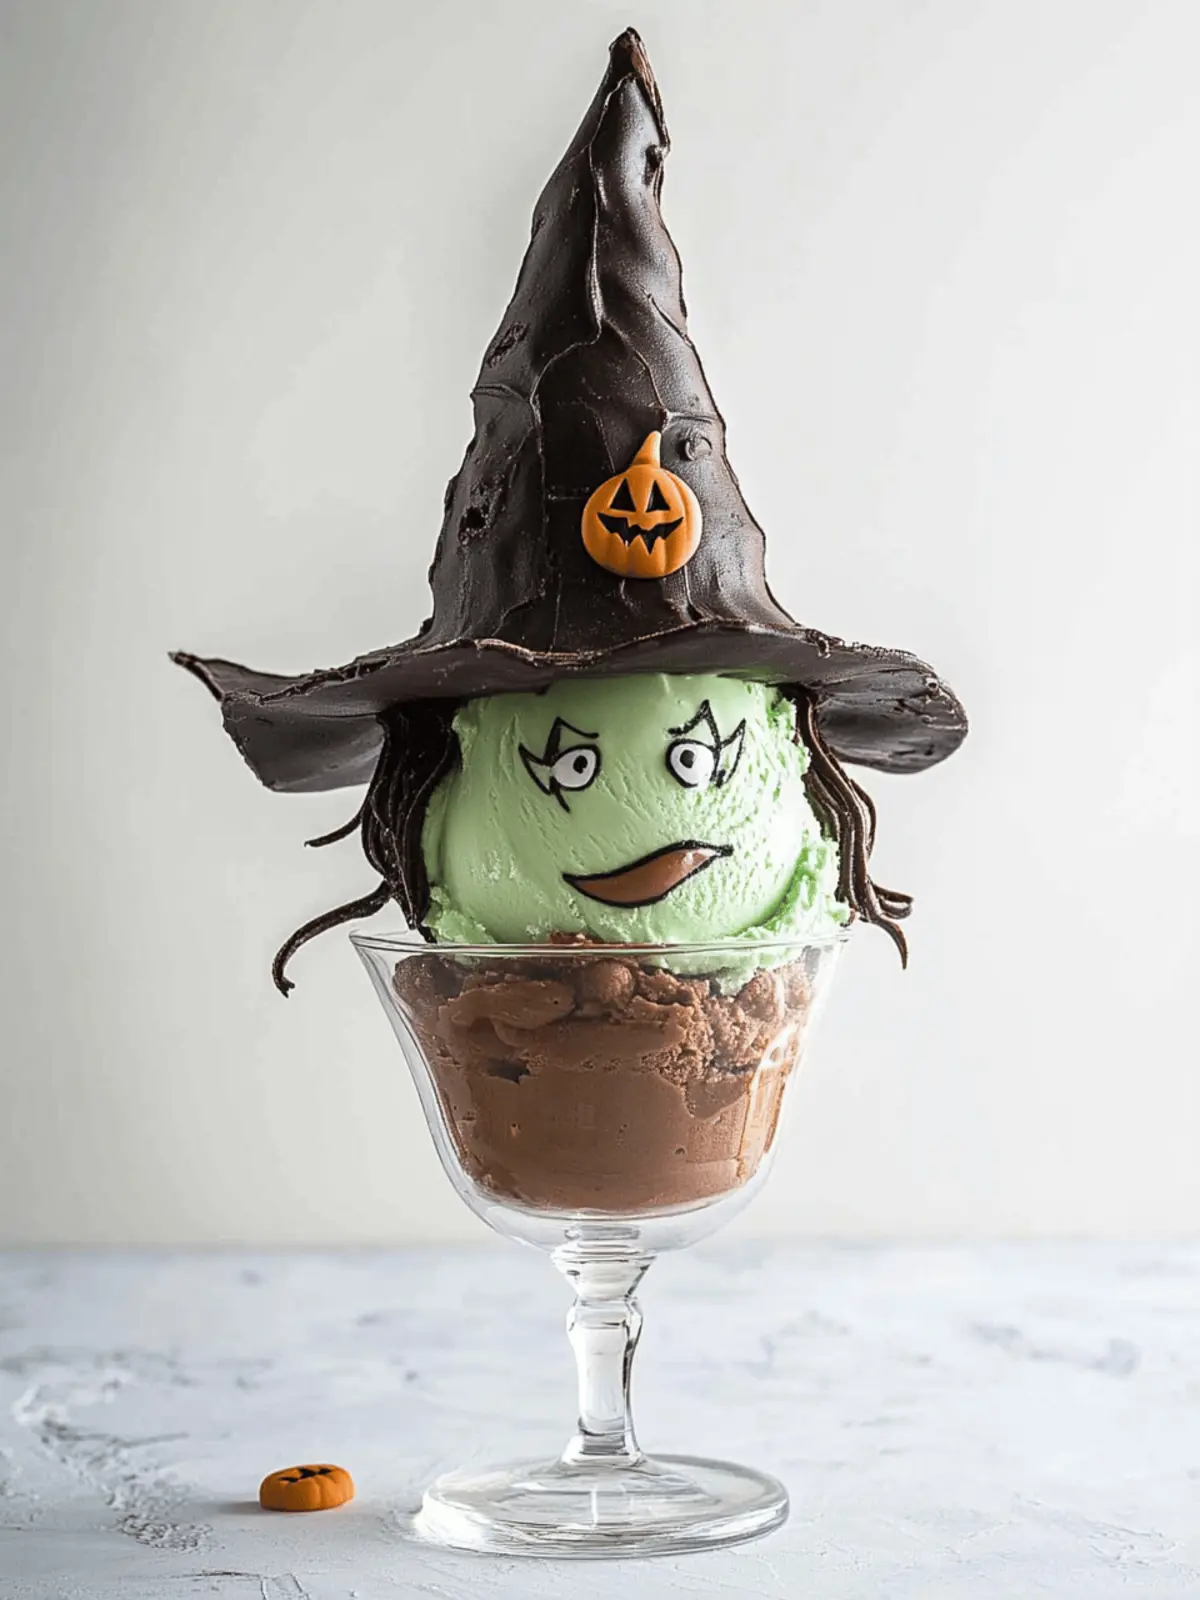
As the air turns crisp and the leaves trade their vibrant green for deep hues of orange and red, thoughts of Halloween festivities begin to dance in my mind. Just last week, while planning for our neighborhood’s annual Halloween party, I felt a wave of nostalgia for childhood crafts and spooky treats. That’s when the idea for these Halloween Witch Ice Cream Sundaes came to me.
In just 10 quick minutes, you can bring some whimsical magic to your table, crafting charming witch faces from delectable ice cream. The best part? These sundaes are tailor-made for little hands to get creative—allowing kids to add their own special flair with assorted candies and toppings. Whether you’re hosting a gathering or just looking for a fun, interactive dessert to enjoy with family, these sundaes are a delicious way to celebrate the spirit of Halloween without any fuss. Get ready to treat the whole family to an enchanting dessert that’s as delightful to make as it is to eat!
Why will you adore these Halloween Witch Ice Cream Sundaes?
Quick to Make: In just 10 minutes, you can whip up these festive treats that are perfect for last-minute parties.
Family Fun: Kids will love decorating their spooky faces, making it a delightful bonding experience for all ages.
No-Bake Convenience: Skip the oven and enjoy a hassle-free dessert that’s both easy and fun to assemble.
Customizable Flavors: Choose your favorite ice cream flavors and toppings, allowing each person to create their unique witch sundae.
Perfect for Parties: These eye-catching sundaes serve as a fantastic centerpiece at any Halloween gathering, sure to impress guests!
Halloween Witch Ice Cream Sundae Ingredients
• Get ready to create a magical treat with these simple ingredients!
For the Witch Hats
- Chocolate Chips – A delicious coating that adds a rich flavor to the ice cream cones.
- Sugar Ice Cream Cones (2) – The perfect base for our whimsical witch hats, adding sweetness to each bite.
- Pizzelle Cookies (2) – These crispy cookies serve as the adorable base for the witch hats.
For the Ice Cream
- Pistachio Ice Cream – Its vibrant green color mimics a witch’s face, though you can switch to any favorite flavor!
- Chocolate Ice Cream – This adds depth to the sundae, balancing the sweetness of the pistachio.
For Decoration
- Assorted Candies and/or Nuts – Use fun toppings like candy googly eyes, mini M&Ms, and licorice laces for eye-catching decoration that brings your Halloween Witch Ice Cream Sundaes to life!
How to Make Halloween Witch Ice Cream Sundaes
-
Make Witch Hats: Melt the chocolate chips in a microwave-safe bowl. Coat the sugar ice cream cones with a thin layer of melted chocolate, leaving the tip uncoated. Attach each cone to a Pizzelle cookie using a bit of chocolate as glue.
-
Set Chocolate: Allow the coated witch hats to set at room temperature or place them in the fridge for about 10 minutes until the chocolate hardens.
-
Assemble Sundaes: Scoop generous portions of pistachio and chocolate ice cream into bowls. Gently place the chocolate witch hats on top, creating the magical effect.
-
Decorate: Let creativity shine! Use assorted candies to make whimsical faces on the sundaes. Add googly eyes, licorice laces, and mini M&Ms for a fun touch.
Optional: Sprinkle edible glitter for an extra magical effect!
Exact quantities are listed in the recipe card below.
How to Store and Freeze Halloween Witch Ice Cream Sundaes
Witch Hats: Keep the chocolate-coated witch hats in an airtight container at room temperature for up to 4 days. This ensures their crispness while preventing them from getting stale.
Assembled Sundaes: Enjoy the sundaes fresh for the best texture. However, if you need to store them, place them in the freezer for up to 1 hour. Be mindful that longer storage might cause the ice cream to lose its creamy consistency.
Reheating: If you have leftovers and want to enjoy them later, allow the frozen sundaes to sit at room temperature for a few minutes to soften before digging in.
Enjoying Again: For a fun twist, consider transforming any leftover ice cream into milkshakes by blending with a splash of milk—still keeping that delightful Halloween-themed flavor!
Halloween Witch Ice Cream Sundaes Variations
Get ready to let your creativity soar with these fun adaptations of your Halloween treats!
-
Flavor Swap: Substitute pistachio ice cream with green-colored vanilla or mint flavor to recreate that witch’s face.
-
Waffle Cone Variation: Try using waffle cones instead of sugar cones for a heartier texture and an extra burst of flavor.
-
Nut-Free Option: Swap chocolate chips with dairy-free chocolate or omit completely for a healthier option. The sundae will still be delightful!
-
Fruit Toppings: Add ghoulish green grapes or blueberries on top for a splash of spooky color and fresh flavor.
-
Spicy Twist: Mix in a sprinkle of cinnamon or chili powder to the chocolate ice cream for a surprising and exciting heat.
-
Vegan Delight: Use coconut or almond milk ice cream to create a vegan version that everyone can enjoy.
-
Mini Sundaes: Create smaller versions using mini cones or cups for a delightful bite-sized treat that’s perfect for parties.
-
Chocolate Drizzle: For added indulgence, finish your sundaes with a drizzle of melted chocolate over the top to make them even more enchanting!
What to Serve with Halloween Witch Ice Cream Sundaes?
The perfect pairing can elevate your dessert experience, adding even more joy to the festive occasion.
-
Warm Apple Cider: A spiced, comforting drink that complements the creamy sweetness of the sundaes, perfect for chilly Halloween nights.
-
Pumpkin Spice Cookies: These soft, chewy treats echo the fall flavors and add a seasonal touch, making them a hit with both kids and adults.
-
Ghostly Meringue Cookies: Light and airy, these playful meringues make for a charming sidekick, offering a delightful contrast to the rich ice cream.
-
Spooky Fruit Skewers: Bright fruits like grapes and melon shaped into ghosts or pumpkins add freshness and balance the sweetness of the sundaes.
-
Chocolate Dipped Pretzels: Salty and sweet bites that provide a satisfying crunch, they are an excellent finger food for any Halloween gathering.
-
Vanilla Bean Milkshake: Creamy and thick, a vanilla shake enhances the dessert experience, allowing your taste buds to swirl in delightful flavor.
-
Candied Popcorn: Crunchy and sweet with a hint of caramel, this festive snack adds a fun texture and flavor twist to the celebration.
-
Batty Brownies: Rich and fudgy, decorated to fit the theme, these brownies make a perfect companion to your whimsical sundaes while also pleasing every chocolate lover.
Make Ahead Options
These Halloween Witch Ice Cream Sundaes are perfect for meal prep, making your Halloween festivities easier and more enjoyable! You can prepare the witch hats in advance by coating the ice cream cones with melted chocolate and attaching them to Pizzelle cookies, storing them in an airtight container at room temperature for up to 4 days. To save even more time, you can scoop the ice cream into bowls and keep them in the freezer a few hours before serving. When you’re ready to assemble, simply place the witch hats on top and let the kids decorate with assorted candies and toppings. This way, you can enjoy a fun, interactive dessert with minimal effort while ensuring everything remains just as delightful!
Tips for the Best Halloween Witch Ice Cream Sundaes
-
Quality Chocolate: Choose high-quality chocolate chips for coating; they melt easily and provide a smooth finish that won’t crack.
-
Avoid Melting: Ensure the chocolate completely sets before handling; melted chocolate can make the witch hats slide off during assembly.
-
Be Creative: Encourage kids to personalize their sundaes with various candy decorations; it makes the experience fun and allows them to showcase their creativity!
-
Cone Options: If sugar cones aren’t available, feel free to experiment with waffle cones or chocolate-covered cones for added flavor and texture in your Halloween Witch Ice Cream Sundaes.
-
Storage Tips: If preparing ahead, keep assembled witch hats in an airtight container and add ice cream just before serving to maintain their integrity.
Halloween Witch Ice Cream Sundaes Recipe FAQs
What kind of chocolate should I use for coating?
Absolutely! I recommend using high-quality chocolate chips, as they melt smoothly and create a beautiful, sturdy coating for your ice cream cones. You can choose milk, dark, or even white chocolate based on your preference to add a unique twist to your Halloween Witch Ice Cream Sundaes.
How long will the witch hats stay fresh?
Very! You can keep the chocolate-coated witch hats in an airtight container at room temperature for up to 4 days. Just make sure they’re completely set before storing to maintain their crispness. If any hats have dark spots or seem soft, it’s best to skip those to ensure the best crunch when you assemble the sundaes!
Can I freeze the assembled sundaes?
You can freeze the assembled sundaes, but it’s best to do so for no longer than 1 hour. Longer freezing will cause the ice cream to lose its creamy texture. When ready to enjoy them again, allow the sundaes to sit at room temperature for a few minutes until they soften slightly before serving.
What if my chocolate coating is melting?
If you find your chocolate is melting while you’re assembling, there are a few troubleshooting tips! First, ensure you’re using chocolate that has been melted at a lower temperature, ideally in short bursts in the microwave to prevent overheating. Second, try dipping the cones in the chocolate quickly and return them to the fridge for about 10 minutes to harden before attaching to the Pizzelle cookies.
Are these sundaes suitable for kids with allergies?
Yes, while this recipe is generally kid-friendly, it’s essential to keep in mind specific allergies. Make sure to check for potential allergens in the chocolate, ice cream, and candies you choose. For nut allergies, consider using nut-free candies or substituting ice cream flavors. Always read labels carefully to ensure your treats are safe for everyone enjoying the Halloween Witch Ice Cream Sundaes!

Spooktacular Halloween Witch Ice Cream Sundaes to Make Together
Ingredients
Equipment
Method
- Melt the chocolate chips in a microwave-safe bowl. Coat the sugar ice cream cones with a thin layer of melted chocolate, leaving the tip uncoated. Attach each cone to a Pizzelle cookie using a bit of chocolate as glue.
- Allow the coated witch hats to set at room temperature or place them in the fridge for about 10 minutes until the chocolate hardens.
- Scoop generous portions of pistachio and chocolate ice cream into bowls. Gently place the chocolate witch hats on top, creating the magical effect.
- Let creativity shine! Use assorted candies to make whimsical faces on the sundaes. Add googly eyes, licorice laces, and mini M&Ms for a fun touch.


