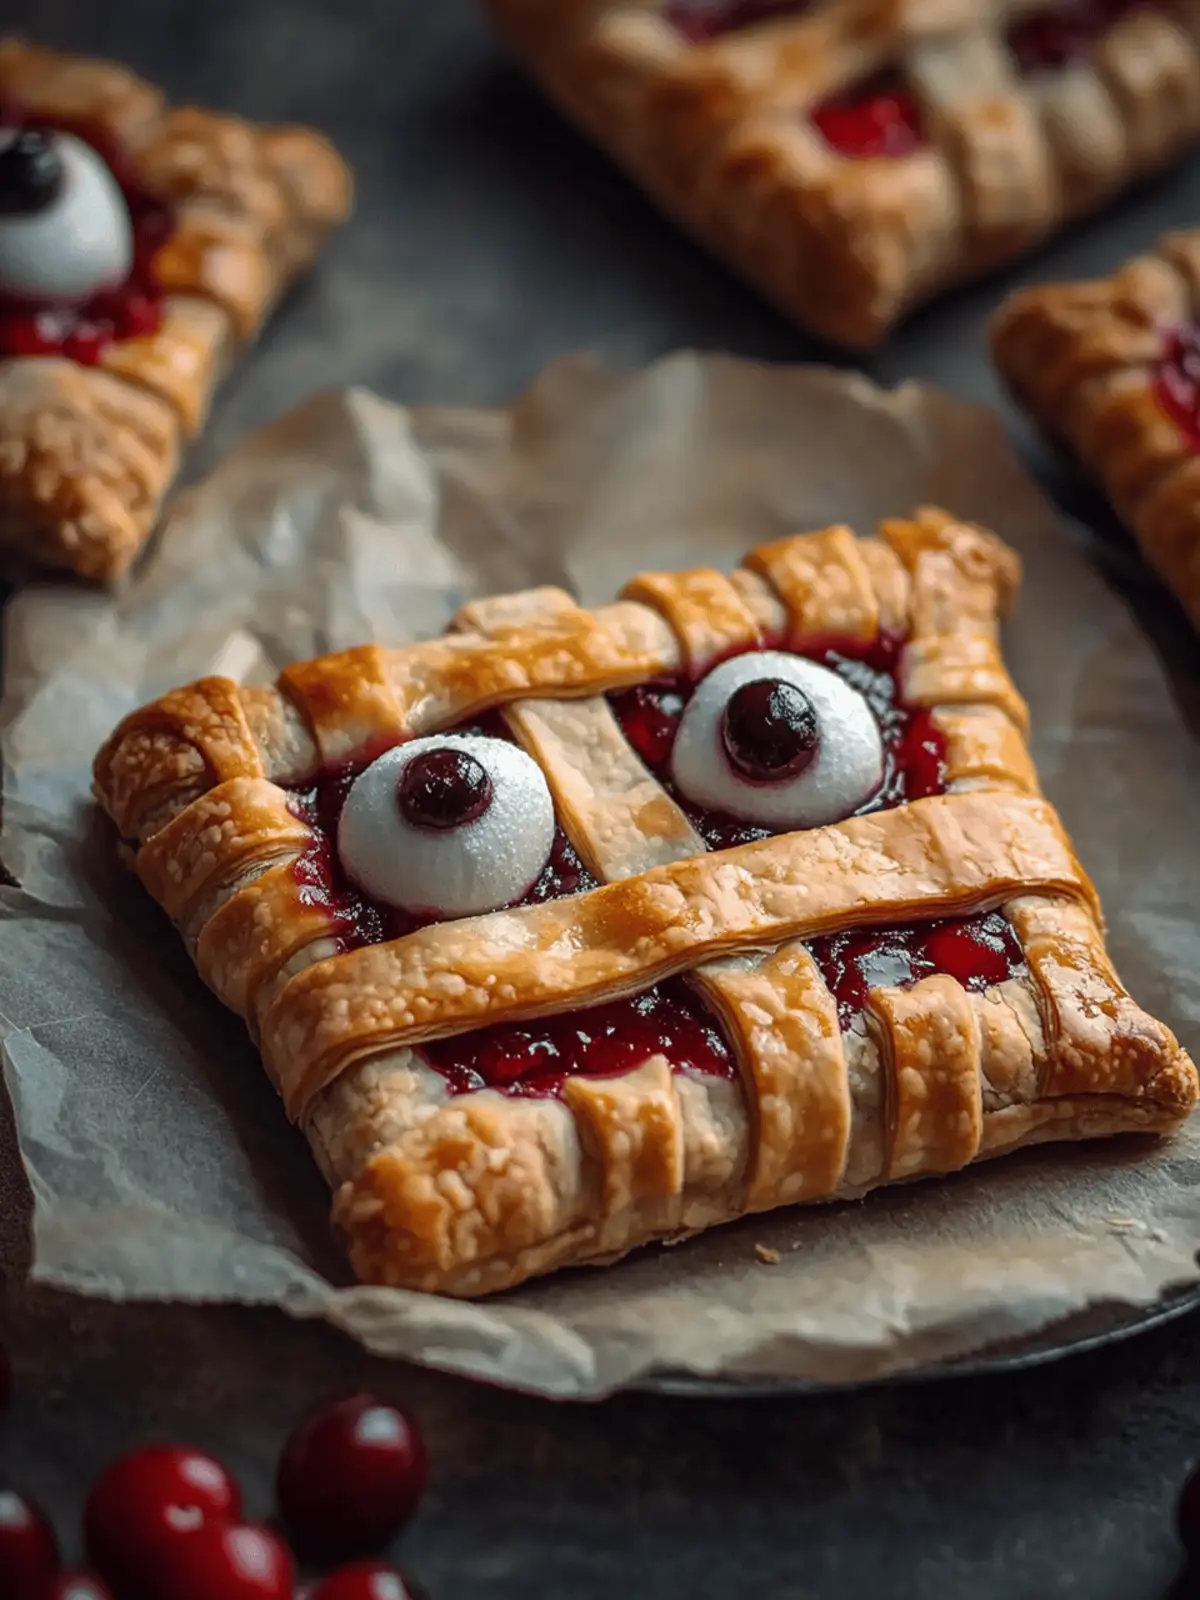
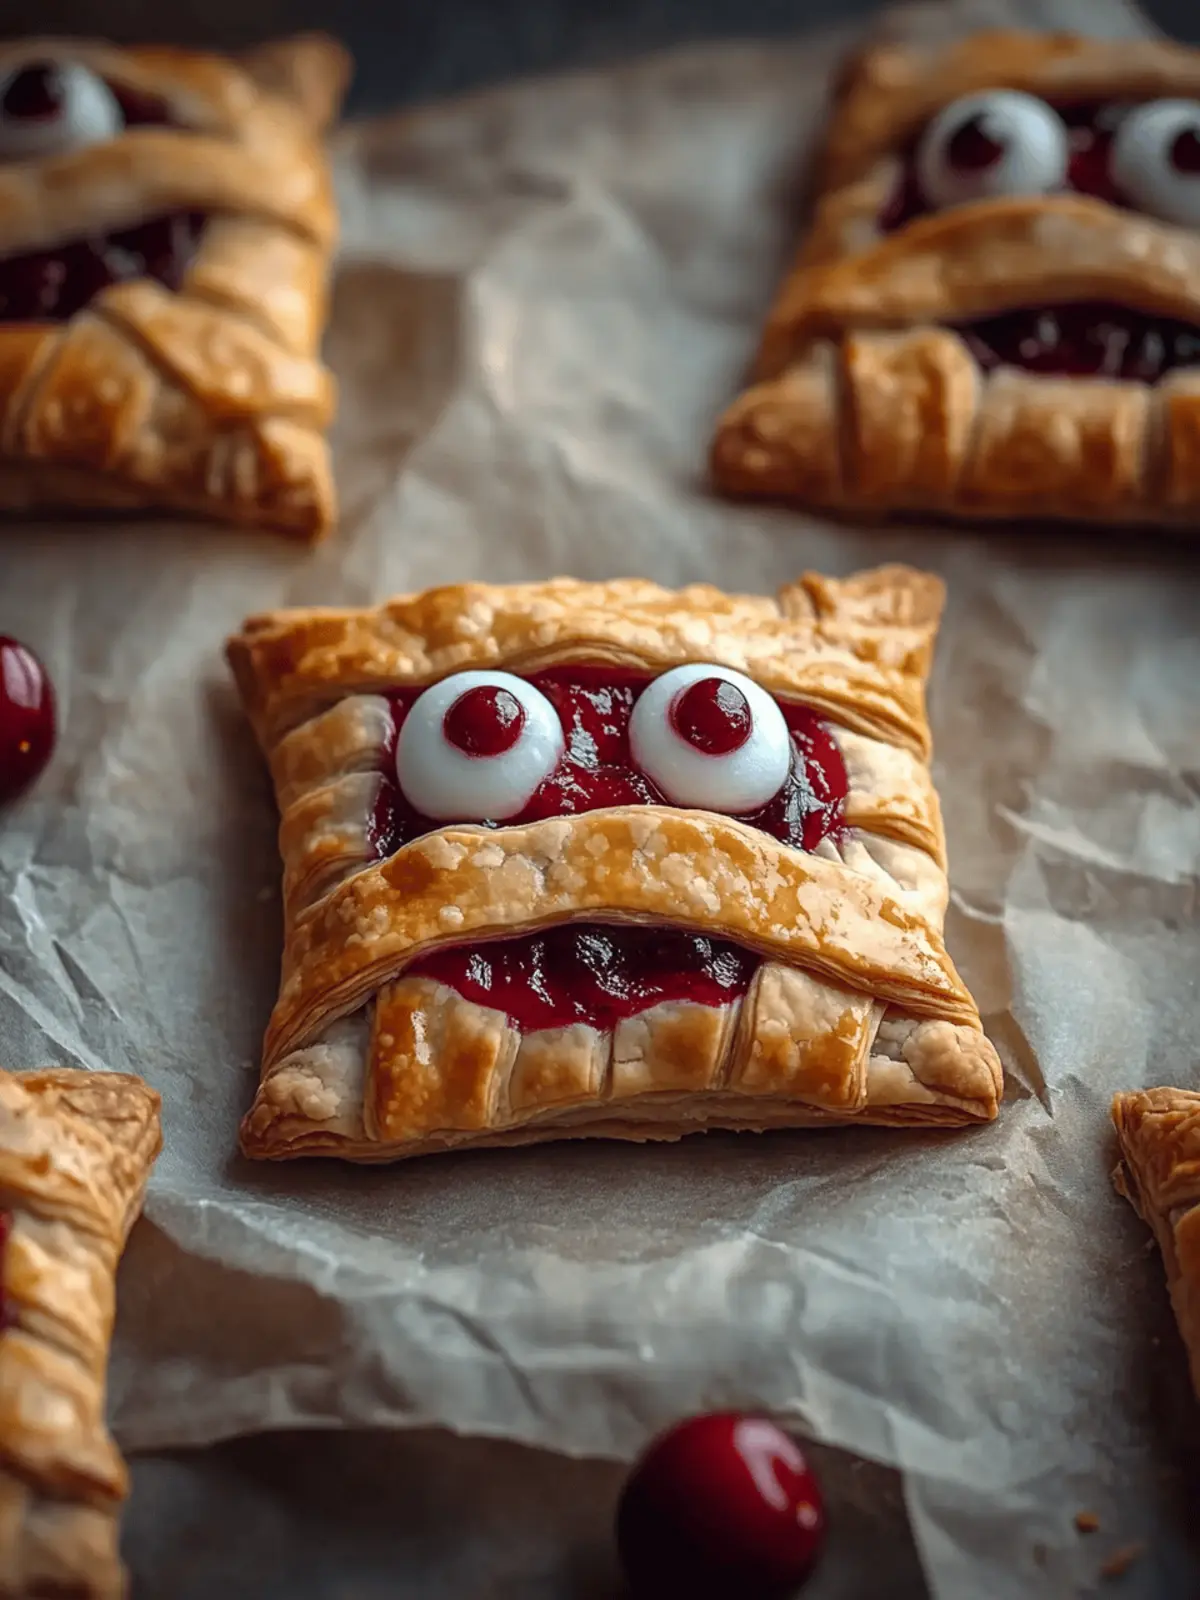
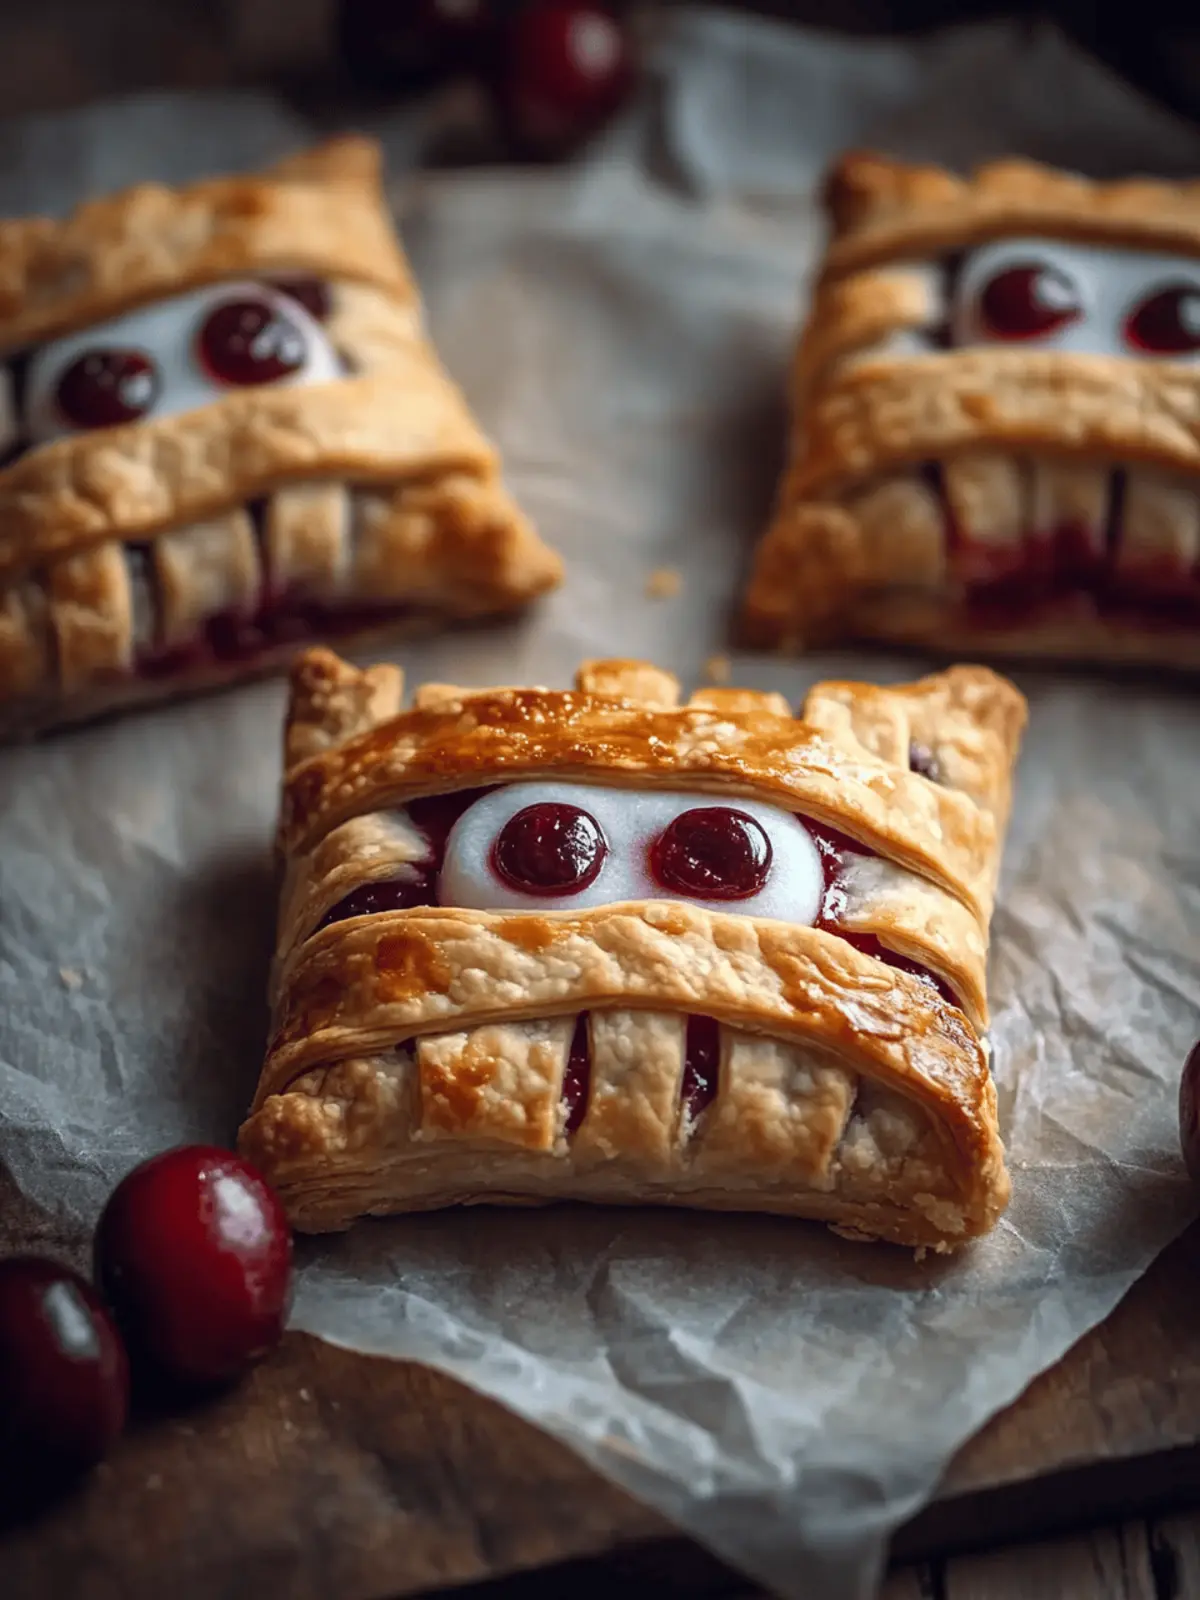
As the leaves begin to change and Halloween approaches, the spirit of the season beckons us into the kitchen for some playful baking. Picture it: the enticing scent of buttery pastry and sweet cherry filling wafts through the air, enticing all who walk by. I stumbled upon these delightful Mummy Cherry Pies during my own festive baking spree, blending creativity with the convenience of premade ingredients.
These adorable treats aren’t just for the kids; they’re perfect for gatherings of all ages, bringing a bit of spooky charm to any table. In just 25 minutes, you can whip up these flaky, golden pies, wrapped in “bandages” with mischievous candy eyes peeking through. And if cherry isn’t your jam, feel free to switch it up with apple or blueberry, ensuring every bite is as playful as the last. So, roll up your sleeves, and let’s dive into a Halloween favorite that’s sure to delight family and friends alike!
Why are Mummy Cherry Pies a must-try?
Irresistible fun: These spooky treats are not only festive but also bring a smile to anyone who sees them.
Quick preparation: With just 25 minutes from start to finish, you can effortlessly create these delightful pies, perfect for last-minute Halloween gatherings.
Versatile fillings: While cherry is delicious, feel free to experiment with your favorite fruits like apple or blueberry for unique twists.
Delightful texture: The combination of flaky crust and oozy filling offers a satisfying bite that’s hard to resist.
Kid-approved: Fun to make and even more fun to eat, they’re sure to be a hit with children and adults alike, making them ideal for family celebrations.
Dive into this festive baking adventure and enjoy the treats that everyone will be talking about!
Mummy Cherry Pie Ingredients
Get ready for a spooky baking adventure!
For the Pie Crust
• Premade Pie Dough – A time-saver that gives you a flaky, delicious crust without the fuss of making it from scratch.
For the Filling
• Cherry Pie Filling – Sweet and tangy, this filling is the star of your Mummy Cherry Pies; or swap it for apple or blueberry for a delightful twist.
For the Topping
• Beaten Egg – This little wash adds a shiny, appealing finish to your pies, making them irresistible.
• Candy Eyes – These playful decorations add a spooky vibe; feel free to skip them for an everyday treat!
How to Make Mummy Cherry Pies
-
Preheat the oven to 375°F (190°C) and line a baking sheet with parchment paper. This will ensure the pies bake evenly and don’t stick!
-
Cut 16 (3-inch) circles from the pie dough; place 8 on the lined baking sheet. These will become the bottoms of your delightful pies.
-
Slice the remaining 8 circles into strips to create “mummy bandages.” These strips will wrap around your cherry filling, adding to the spooky look!
-
Spoon cherry filling onto each dough circle, making sure to leave a bit of space around the edges. Each pie needs just the right amount of filling for the perfect ooze!
-
Cover the filling with the strips, arranging them crisscross to mimic bandages. Be creative — the more playful the design, the better!
-
Brush the tops with beaten egg for shine. This step gives your Mummy Cherry Pies that golden color, making them extra tempting!
-
Bake for 8–10 minutes until golden brown, watching closely to ensure they don’t overbake. You want them crisp yet tender!
-
Cool slightly, then attach candy eyes before serving. These little touches make your pies truly come to life, perfect for Halloween fun!
Optional: Serve warm for an extra delightful treat.
Exact quantities are listed in the recipe card below.
What to Serve with Mummy Cherry Pies?
Delight your family and friends with a full spread that pairs perfectly with these whimsical treats.
- Vanilla Ice Cream: A scoop melting atop warm pies brings a luscious creaminess that balances the tart cherry filling.
- Pumpkin Spice Latte: Celebrate the season with this cozy drink; its warm spices complement the sweetness of the pies beautifully.
- Crispy Apple Slices: Fresh and crunchy apples add a refreshing contrast, rounding out your dessert table with wholesome fruit.
- Chocolate Dipped Pretzels: These salty-sweet snacks bring a playful touch, making your dessert spread even more inviting.
- Whipped Cream: A dollop of fluffy whipped cream on the side transforms each bite of pie into a decadent treat.
- Spooky Fruit Salad: Mix up seasonal fruits and serve in a Halloween-themed bowl for a colorful, festive touch to your feast.
- Caramel Drizzle: A drizzle of warm caramel over the pies can elevate their sweetness and add an indulgent flair.
- Mulled Cider: Offer a warm, spiced drink option that enhances the autumn vibe and pairs nicely with the flavors of cherry.
Make Ahead Options
These Mummy Cherry Pies are a fantastic choice for meal prep, allowing you to enjoy spooky treats even on your busiest days! You can prepare the dough and cut out the circles up to 24 hours in advance; simply keep them refrigerated between layers of parchment paper to prevent sticking. Additionally, you can fill the dough circles and cover them with bandage strips just a few hours before serving, ensuring the dough stays crisp. When you’re ready to bake, just brush with the beaten egg and pop them in the oven for perfectly golden pies. This simple make-ahead strategy saves you precious time, leaving you free to enjoy the festivities!
Mummy Cherry Pies Variations
Feel free to let your creativity shine by customizing these spooky delights to suit your taste and mood!
- Apple Filling: Swap out cherry filling for sweet apple, enhancing flavor with cinnamon for a cozy twist.
- Blueberry Delight: Use blueberry filling instead for a juicy burst of flavor that pairs wonderfully with the flaky crust.
- Pumpkin Spice: During fall, fill your pies with pumpkin puree mixed with spices for a uniquely festive treat.
- Nutty Crunch: Incorporate crushed nuts like walnuts or pecans into the filling for added texture and a delightful crunch.
- Dairy-Free: Use plant-based pie dough and substitute the egg wash with almond milk for a dairy-free version everyone can enjoy.
- Spicy Kick: Add a pinch of cayenne pepper to the filling to create a surprising spicy-sweet contrast that will tantalize your taste buds.
- Chocolate Drizzle: After baking, drizzle melted chocolate over the mummy pies for a rich and decadent touch that enhances the sweetness.
- Boozy Option: Infuse the cherry filling with a splash of rum or bourbon for an adult twist—making them a deliciously festive treat!
Expert Tips for Mummy Cherry Pies
-
Keep Dough Chilled: Always maintain your pie dough in the fridge until ready to use. This will prevent sticking and ensure easy cutting.
-
Avoid Overfilling: Too much cherry filling can make the pies leak. Stick to a generous spoonful to keep your treats intact.
-
Check Doneness Carefully: Baking times can vary. Keep an eye on your pies, as even a minute too long can lead to overbaking.
-
Experiment with Toppings: If desired, brush with a sugar glaze after baking for an extra sweet finish. The Mummy Cherry Pies will shine!
-
Make Ahead: You can prepare the pies ahead of time and freeze them unbaked. Bake directly from the freezer, adding a few extra minutes to the cooking time.
-
Design with Care: Don’t be afraid to get creative with the “bandage” strips. Varying widths and patterns can add to the fun and spookiness of your Mummy Cherry Pies!
How to Store and Freeze Mummy Cherry Pies
Room Temperature: Allow cooled Mummy Cherry Pies to sit at room temperature for up to 3 hours if serving immediately.
Fridge: Store baked pies in an airtight container in the fridge for up to 2 days to maintain freshness.
Freezer: Freeze unbaked Mummy Cherry Pies on a baking sheet until solid, then transfer to a freezer-safe container for up to 2 months.
Reheating: Bake frozen pies directly from the freezer, adding an additional 3-5 minutes to the baking time for a perfectly flaky crust.
Mummy Cherry Pies Recipe FAQs
What type of cherries should I use for the filling?
Absolutely! When making Mummy Cherry Pies, the best option is to use canned cherry pie filling, as it’s sweet and convenient. If you prefer fresh cherries, opt for ripe, pitted Bing cherries for a naturally sweet and juicy flavor. Look for cherries that are firm to the touch and vibrant in color without any dark spots or blemishes.
How should I store Mummy Cherry Pies?
After they’ve cooled, you can store your baked Mummy Cherry Pies in an airtight container in the fridge, where they’ll stay fresh for up to 2 days. Just make sure they are completely cooled to prevent moisture buildup!
Can I freeze the Mummy Cherry Pies?
Yes! To freeze unbaked Mummy Cherry Pies, place them on a baking sheet lined with parchment paper and pop them in the freezer until solid. Once frozen, transfer them to a freezer-safe container or zip-top bag. They will be best used within 2 months. When you’re ready to bake, you can bake them straight from the freezer, just add an additional 3-5 minutes to the usual baking time.
What if my pie dough tears while I am assembling the pies?
Very common! If your dough tears, don’t worry — just use a small piece of the dough to patch it up. A little water can help seal the edges back together. Keeping the dough chilled before cutting will make it easier to handle and prevent it from tearing.
Are Mummy Cherry Pies suitable for people with allergies?
While traditional Mummy Cherry Pies are made with pie dough, cherry filling, and eggs, it’s important to note that they may not be suitable for those with gluten or egg allergies without modifications. You can find gluten-free pie crusts and egg alternatives, such as aquafaba or commercial egg replacers, to cater to dietary restrictions. Always double-check ingredient labels if you’re accommodating allergies!
How long does it take to make Mummy Cherry Pies?
Making these delightful Mummy Cherry Pies is quick and fun; it takes just about 25 minutes from start to finish! That includes prep time and baking. It’s perfect for anyone looking to whip up something special without spending all day in the kitchen.

Mummy Cherry Pies: Easy Spooky Treats for Halloween Fun
Ingredients
Equipment
Method
- Preheat the oven to 375°F (190°C) and line a baking sheet with parchment paper.
- Cut 16 (3-inch) circles from the pie dough; place 8 on the lined baking sheet.
- Slice the remaining 8 circles into strips to create 'mummy bandages'.
- Spoon cherry filling onto each dough circle, leaving space around the edges.
- Cover the filling with the strips, arranging crisscross to mimic bandages.
- Brush the tops with beaten egg for shine.
- Bake for 8–10 minutes until golden brown.
- Cool slightly, then attach candy eyes before serving.


