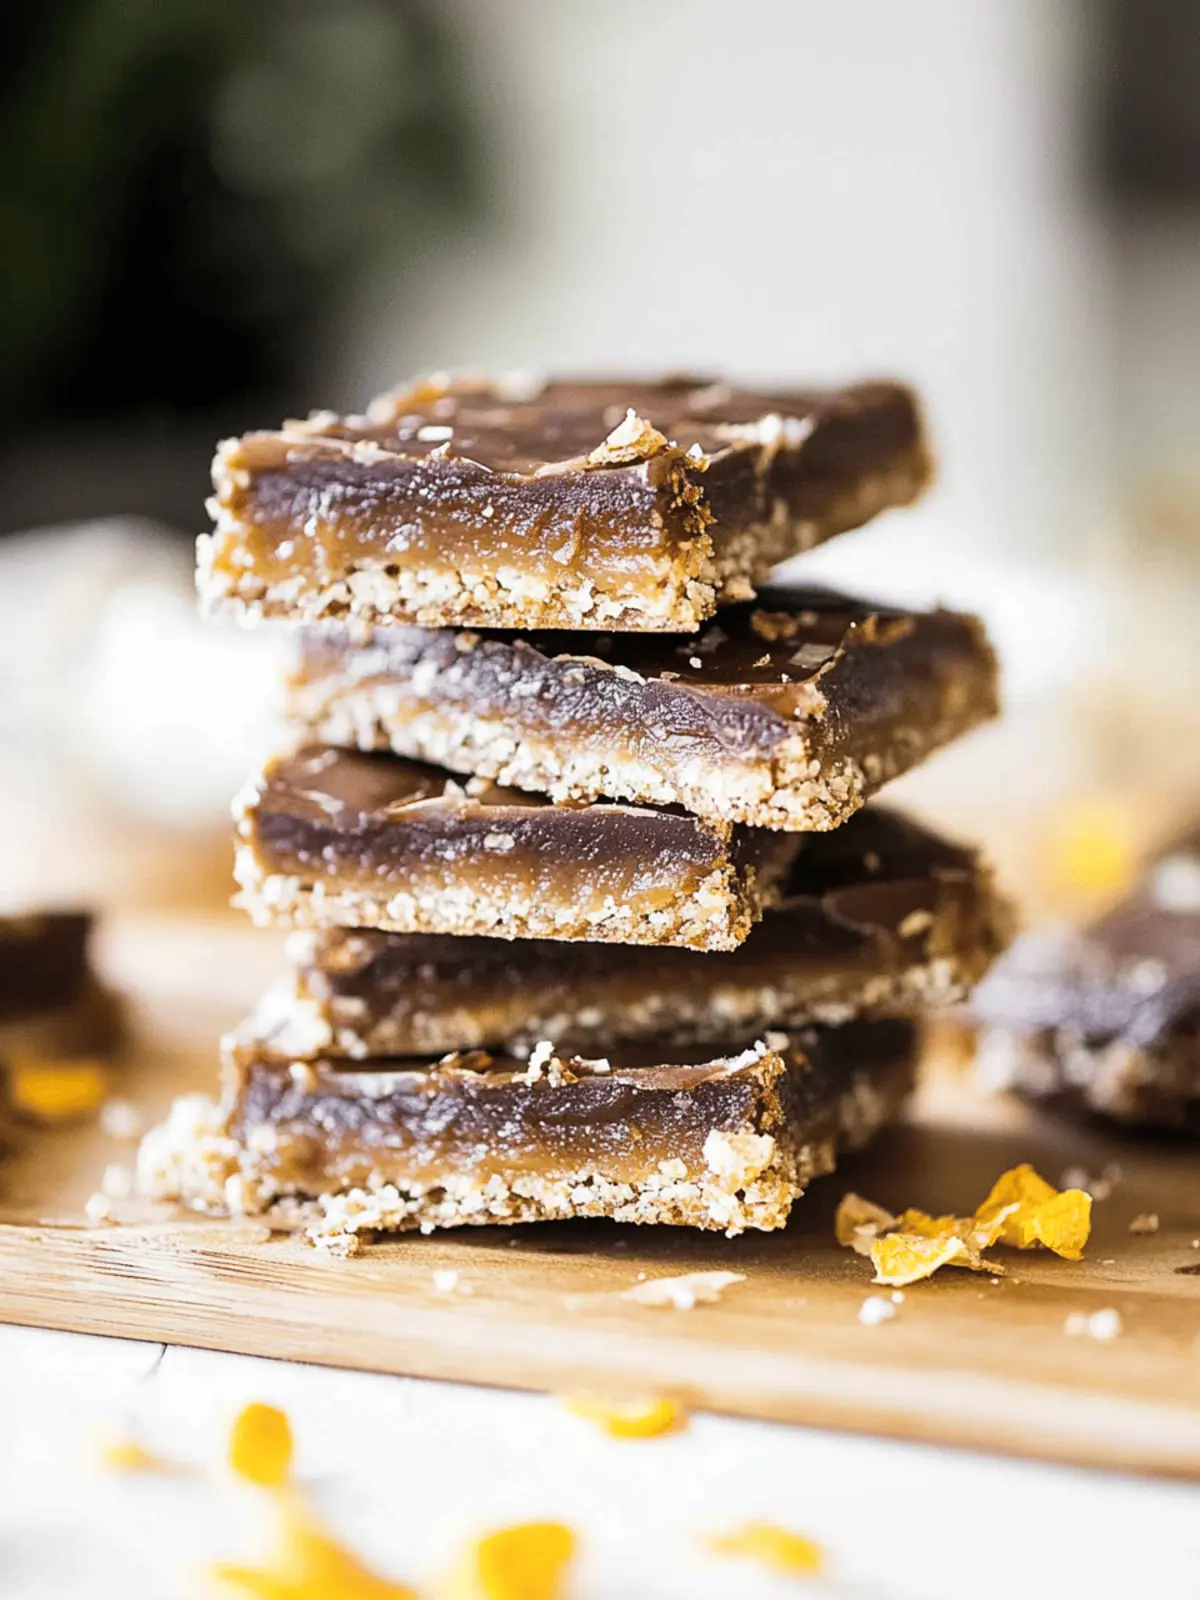
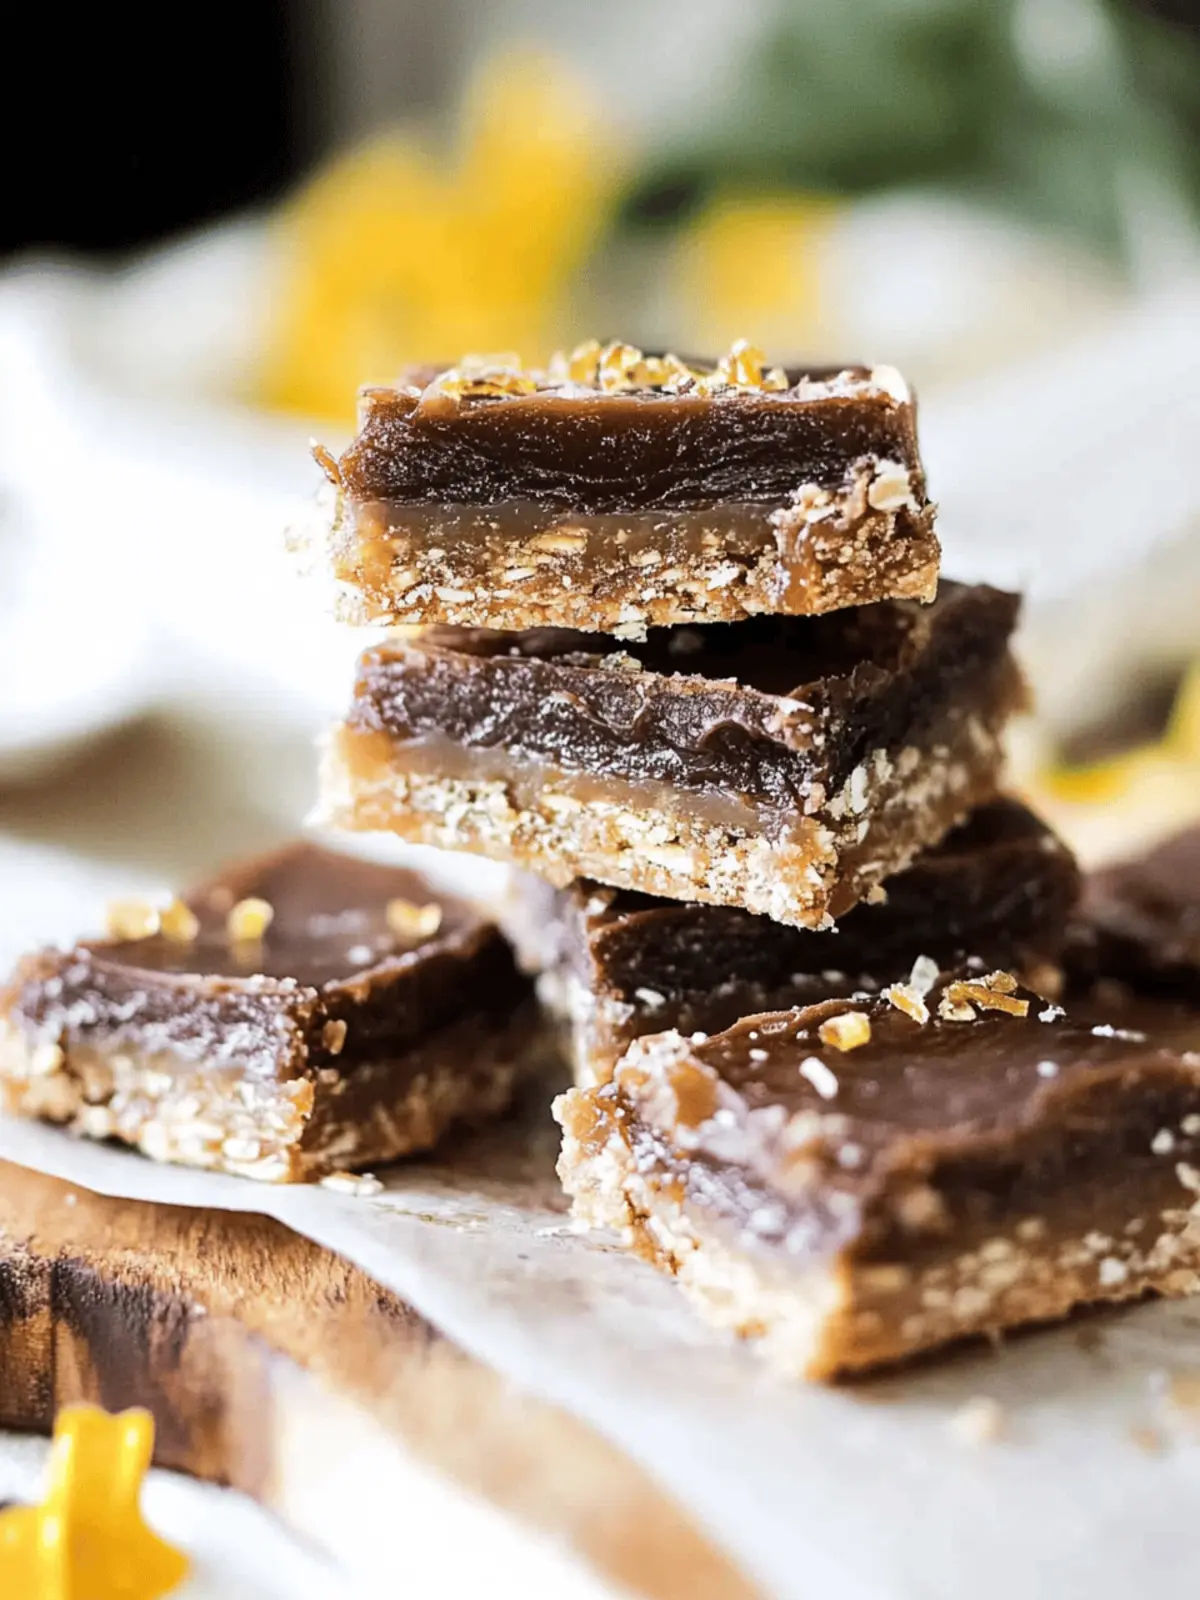
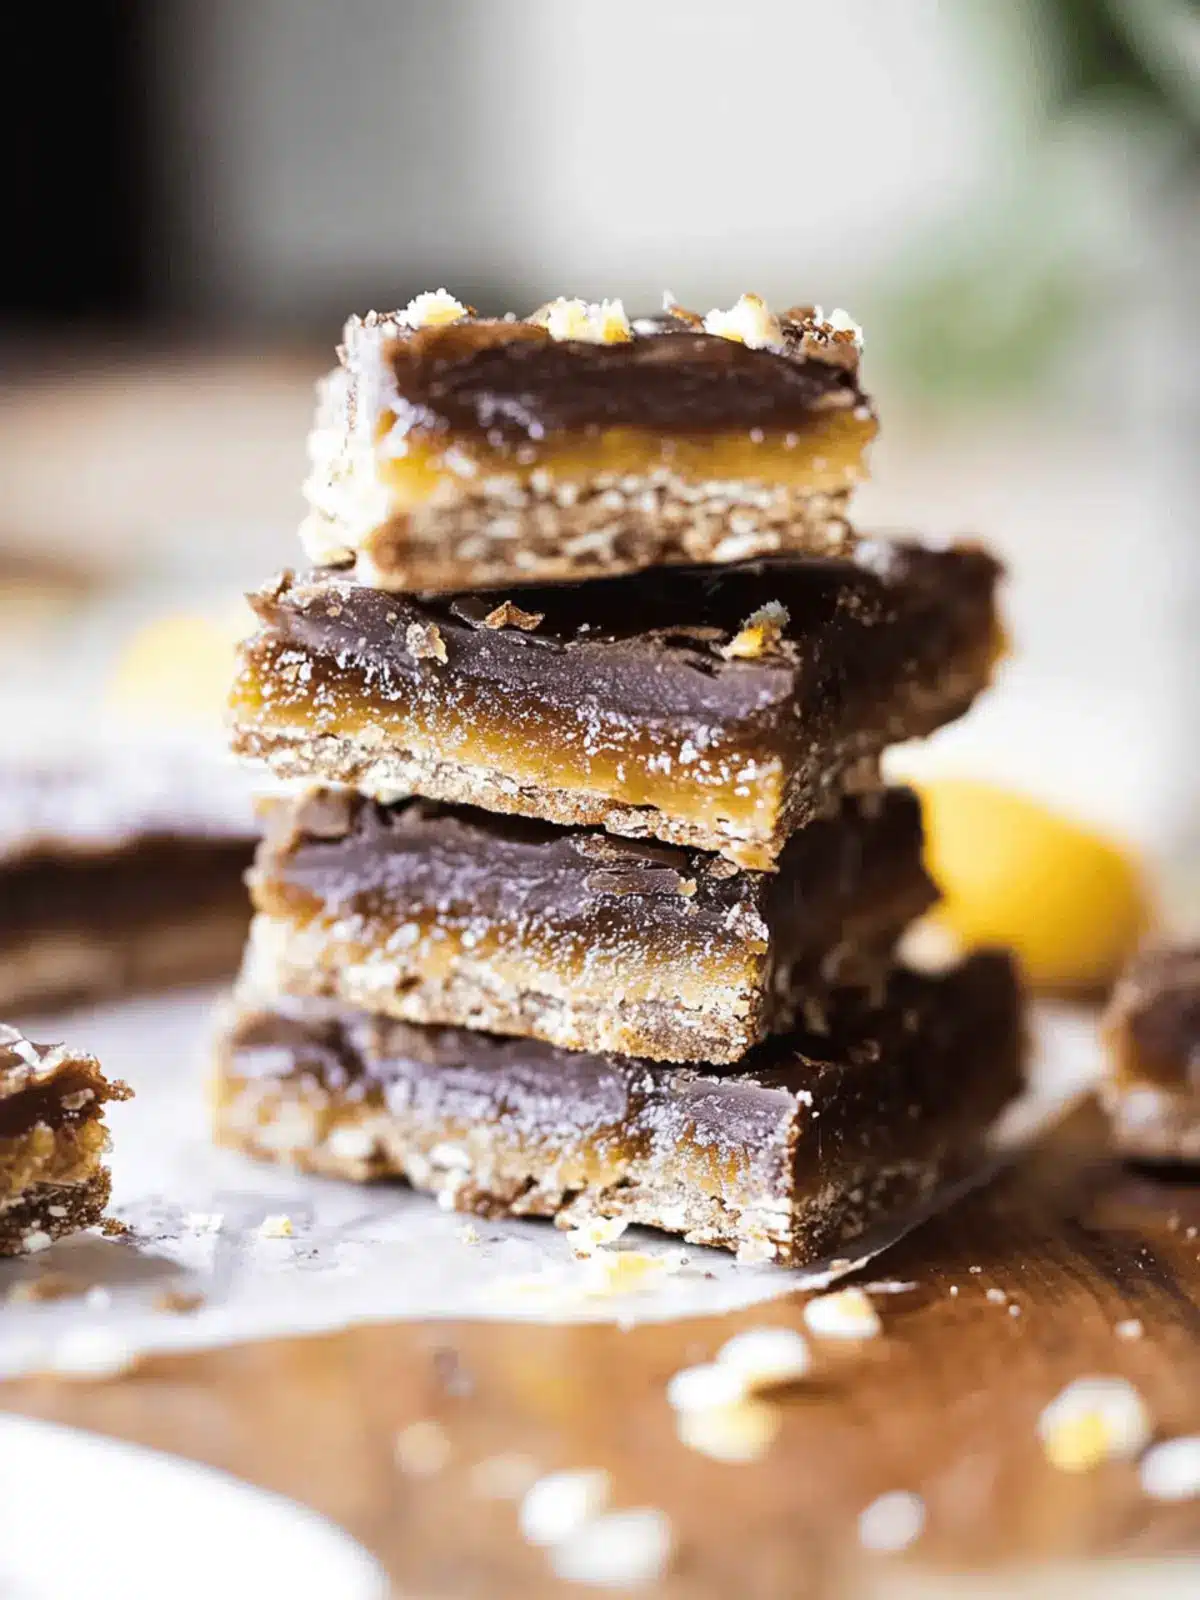
There’s a certain joy that comes with reinventing a favorite treat, and my journey with these Homemade Date Twix Bars did just that! Picture this: you’re craving something sweet, yet wholesome—a challenge for any dessert lover. But fret not! These bars are here to satisfy your sweet tooth without the guilt. Golden almond flour creates a buttery base, while luscious date caramel fills every bite with natural sweetness. Topped off with rich dark chocolate, each bar is a delightful blend of chewy and crunchy textures.
After a long day, these bars become an indulgent escape, perfect for a cozy night in or an unexpected guest visit. Best of all, they are vegan, gluten-free, and refined sugar-free, which means everyone can partake in the deliciousness. If you’ve been searching for a healthier alternative to that classic candy bar, you’ve found it! So, let’s dive into this simple recipe that promises to transform your dessert game.
Why are Homemade Date Twix Bars so special?
Decadent Delight: These bars strike the perfect balance of sweetness and richness, making them an irresistible treat for any occasion.
Health-Conscious: With wholesome ingredients, including almond flour and Medjool dates, you can enjoy a dessert that nourishes rather than depletes.
Super Simple: The straightforward preparation requires minimal effort, letting you whip up a delicious snack in no time.
Versatile Flavor: Customize your bars with different extracts or toppings to suit your taste preferences, ensuring there’s always a delightful twist on your creation.
Crowd-Pleaser: Whether at a potluck or a cozy movie night, these bars are sure to impress and satisfy everyone’s cravings, leaving them asking for more!
Homemade Date Twix Bars Ingredients
For the Crust
- Almond Flour – This nutty flour provides a deliciously buttery base for your bars. Substitution: You can try oat flour or coconut flour for a different texture.
- Coconut Oil – Adds richness and binds the ingredients together effectively. Note: Lightly melt it for easier incorporation.
- Maple Syrup – A natural sweetener that enhances the flavor of the crust. Substitution: Agave syrup can be used for a different sweetness profile.
For the Caramel Filling
- Medjool Dates – Naturally sweet, these dates form the gooey caramel filling. Prep Note: Soak in hot water for easier blending.
- Almond Butter – Contributes creaminess and depth to the date filling. Substitution: Peanut butter works too, though it does alter the flavor.
- Vanilla Extract – Brightens the flavor of the filling significantly. Note: Almond extract can offer a unique twist if desired.
For the Topping
- Dark Chocolate Chips – Melts into a rich, decadent layer on top of the bars. Substitution: Use dairy-free chocolate chips for a fully vegan treat.
- Flaky Sea Salt – Optional, yet it enhances the flavors beautifully and offers a lovely contrast to the sweetness of the bars.
Embrace the joy of making Homemade Date Twix Bars, and customize your sweet creation!
How to Make Homemade Date Twix Bars
-
Preheat: Begin by preheating your oven to 350°F (175°C). This ensures an even bake for your crust. Line a 9×9″ baking pan with parchment paper for easy removal later.
-
Soak Dates: Remove the pits from the Medjool dates and soak them in hot water for 12-15 minutes. This softens them for a creamier caramel blend.
-
Mix Crust Ingredients: In a mixing bowl, combine the almond flour, melted coconut oil, and maple syrup. Stir until everything is well mixed and forms a slightly crumbly texture.
-
Form Crust: Press the almond mixture firmly into the lined baking pan, spreading it evenly to form your crust. Bake for 10-12 minutes until it’s lightly golden, then let it cool for 5-10 minutes.
-
Blend Filling: Drain the soaked dates and add them to a food processor. Include almond butter, melted coconut oil, vanilla extract, and a splash of milk. Blend until you achieve a smooth and creamy filling.
-
Spread Filling: Spoon the luscious date filling over the cooled crust in the baking pan, using a spatula to smooth it out evenly.
-
Melt Chocolate: In a microwave-safe bowl, melt the dark chocolate chips and remaining coconut oil together. Stir every 30 seconds until smooth and creamy.
-
Top with Chocolate: Pour the melted chocolate over the date filling, smoothing it out to cover completely. If desired, sprinkle flaky sea salt on top for an extra flavor boost.
-
Freeze: Place the entire pan in the freezer for at least 2 hours to set. Once firm, cut into bars and enjoy the delightful layers of goodness!
Optional: Drizzle with extra melted chocolate for a fancy finish.
Exact quantities are listed in the recipe card below.
Homemade Date Twix Bars Variations & Substitutions
Feel free to get creative with these bars, making them truly your own and adding your favorite flavors and textures!
-
Nutty Crunch: Add chopped walnuts or almonds to the crust for an extra layer of texture and a delightful crunch.
-
Creamy Change: Swap almond butter with cashew butter for a creamier, slightly sweeter filling that adds a fun twist to your bars.
-
Sweetener Switch: Use honey or agave syrup instead of maple syrup for a different sweetness profile—both options work wonderfully!
-
Flavor Explosion: Experiment with flavored extracts, like coconut or hazelnut, to give your filling an exciting flavor boost that personalizes every bite.
-
Crunchy Topping: Top the melted chocolate with crushed nuts or seeds for an appealing textural contrast and added nutrition.
-
Spiced Up: Add a pinch of cinnamon or nutmeg to the filling for a warm, aromatic kick that perfectly complements the dates’ sweetness.
-
Dairy-Free Delight: For an even creamier chocolate topping, use coconut cream mixed with dark chocolate instead of chocolate chips for a decadent finish.
-
Heat It Up: Mix in a dash of cayenne pepper for a surprising hint of heat to balance the sweetness, creating a thrilling flavor experience.
Tips for the Best Homemade Date Twix Bars
-
Crust Consistency: Ensure you press the crust mixture firmly and evenly into the pan; uneven crust can lead to uneven baking and a crumbly texture.
-
Date Preparation: Always soak your Medjool dates in hot water before blending; this step ensures a smoother, creamier date filling without any chunks.
-
Chocolate Melting: Microwave the dark chocolate in short intervals, stirring in between. This prevents overheating and helps achieve that perfect silky finish on your bars.
-
Freezing Time: Be patient and allow the bars to freeze for at least 2 hours for the best texture. Cutting them too soon may result in a gooey mess instead of beautifully layered bars.
-
Flavor Variations: Experiment with extracts and toppings, like adding orange zest or a sprinkle of crushed nuts, to make your Homemade Date Twix Bars uniquely yours!
Make Ahead Options
These Homemade Date Twix Bars are perfect for meal prep enthusiasts! You can prepare the crust and date filling up to 24 hours in advance to save time on busy days. Simply bake the crust and let it cool completely, then prepare the date filling and store it in an airtight container in the refrigerator. When you’re ready to finish, just spread the filling over the pre-baked crust, melt the chocolate, and pour it on top. By following these steps, you ensure that your bars stay just as delicious and fresh, allowing you to enjoy a guilt-free treat whenever cravings strike!
Storage Tips for Homemade Date Twix Bars
-
Room Temperature: Store the bars in an airtight container at room temperature for up to 3 days; however, this may affect their freshness and texture.
-
Fridge: For longer shelf life, keep the bars in the fridge for up to 1 week in an airtight container, maintaining their chewy and creamy texture while enhancing the flavors.
-
Freezer: Freeze the Homemade Date Twix Bars for up to 2 months. Wrap each bar individually in plastic wrap and place them in a freezer-safe bag to protect against freezer burn.
-
Reheating: When ready to enjoy, let the bars thaw for about 5-10 minutes at room temperature. For a warm treat, microwave for a few seconds, watching carefully not to melt the chocolate too much!
What to Serve with Homemade Date Twix Bars?
These delightful bars are perfect for creating a balanced snack or dessert platter that captures the hearts of all who taste them.
-
Herbal Tea: The warm, soothing notes of herbal tea create a calming contrast to the sweet and chewy bars, enhancing the overall experience.
-
Fresh Berries: A medley of tart and juicy berries adds a refreshing dimension to your dessert, providing a beautiful pop of color alongside the rich flavors.
-
Coconut Whipped Cream: This airy, dairy-free cream adds a luscious touch that complements the creamy date filling, making every bite even more indulgent.
-
Nutty Granola: Serve a sprinkle of nutty granola alongside the bars for a satisfying crunch that brilliantly contrasts with their softness.
-
Coffee: A rich cup of coffee brings out the decadent chocolate flavor, creating a delightful pairing for an afternoon treat.
-
Frozen Banana Bites: For a fun, cool pairing, consider serving frozen banana bites to create a playful textural contrast with the chewy bars.
-
Chocolate-Covered Almonds: These bites of chocolatey goodness echo the flavors in your bars while introducing a satisfying crunch that’s hard to resist.
Enjoy these pairing ideas, and watch as your Homemade Date Twix Bars take center stage at your next gathering!
Homemade Date Twix Bars Recipe FAQs
What type of dates should I use for this recipe?
For the best results, I recommend using Medjool dates for their soft texture and natural sweetness. They’re perfect for creating a velvety caramel filling. If you don’t have Medjool dates, you can use Deglet Noor dates, but make sure to soak them longer to achieve a smooth blend.
How should I store my Homemade Date Twix Bars?
You have a few options! For short-term storage, keep them in an airtight container at room temperature for up to 3 days. If you want them to last longer, store them in the fridge for up to 1 week. For the longest shelf life, freeze them for up to 2 months. Just wrap each bar in plastic wrap and place them in a freezer-safe bag to prevent freezer burn.
Can I freeze Homemade Date Twix Bars? If so, how?
Absolutely! To freeze your Homemade Date Twix Bars, wrap each bar individually in plastic wrap to keep them fresh. Place them in a freezer-safe bag or container for extra protection. They can stay frozen for up to 2 months. When you’re ready to indulge, just let them sit at room temperature for 5-10 minutes before enjoying, or give them a quick zap in the microwave for a warm treat!
What if my date filling is too thick?
If you find that your date filling is too thick to spread, simply add a tablespoon of plant-based milk (like almond or oat milk) while blending. This will help achieve a smoother consistency, making it easier to work with. If it’s still not quite right, you can also soak the dates in hot water a little longer to soften them further before blending.
Are there any alternatives to the ingredients used?
Yes, there are several substitutions you can make! For the almond flour, you can use oat flour or coconut flour for a different texture. Instead of almond butter, peanut butter can give a delightful twist, but do note that it will alter the flavor. And if you’re not a fan of maple syrup, agave syrup is a great alternative that adds sweetness without refined sugar.
Can I make these bars nut-free?
Definitely! You can swap out the almond flour for a certified gluten-free flour blend and use sun butter or soy nut butter in place of almond butter. Just make sure to check that all your ingredients are nut-free to keep these bars safe for those with allergies.
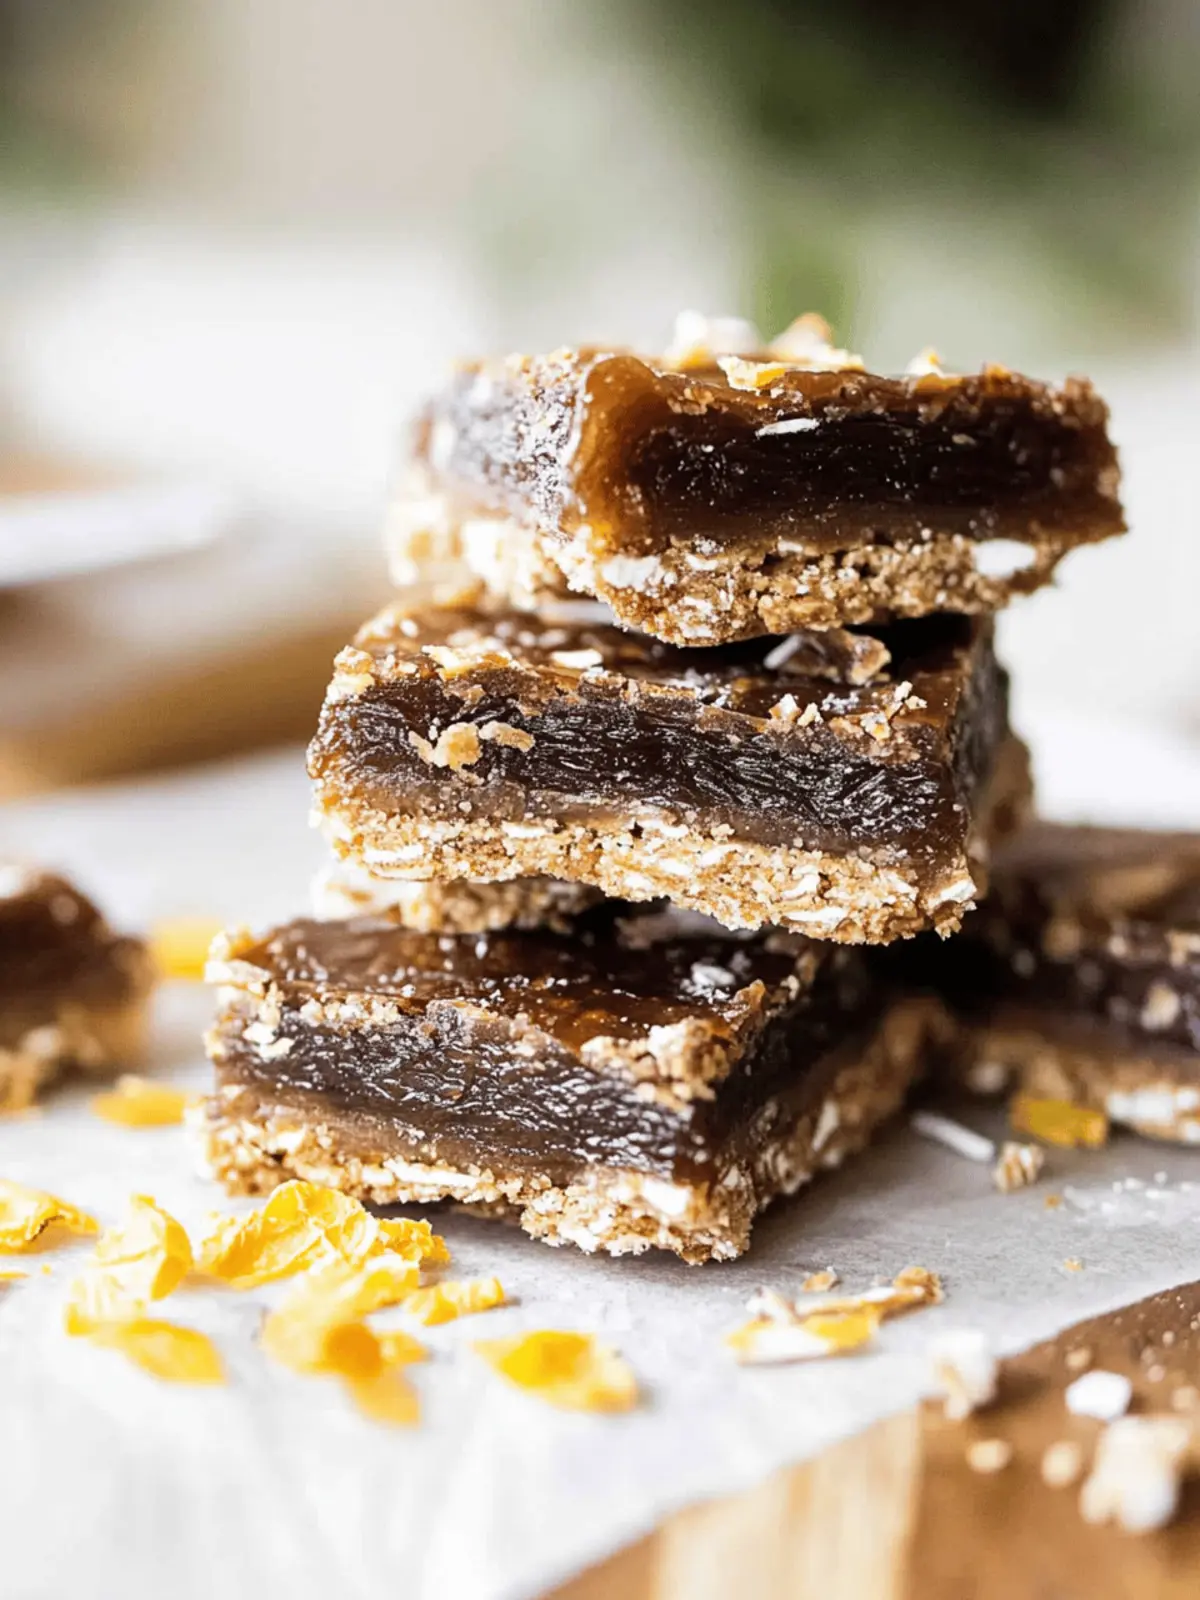
Homemade Date Twix Bars That Are Irresistibly Guilt-Free
Ingredients
Equipment
Method
- Preheat your oven to 350°F (175°C). Line a 9x9" baking pan with parchment paper for easy removal later.
- Remove the pits from the Medjool dates and soak them in hot water for 12-15 minutes.
- In a mixing bowl, combine the almond flour, melted coconut oil, and maple syrup. Stir until everything is well mixed and forms a slightly crumbly texture.
- Press the almond mixture firmly into the lined baking pan, spreading it evenly to form your crust. Bake for 10-12 minutes until it’s lightly golden, then let it cool for 5-10 minutes.
- Drain the soaked dates and add them to a food processor. Include almond butter, melted coconut oil, vanilla extract, and a splash of milk. Blend until smooth.
- Spoon the date filling over the cooled crust in the baking pan, smoothing it out evenly.
- In a microwave-safe bowl, melt the dark chocolate chips and remaining coconut oil together, stirring every 30 seconds until smooth.
- Pour the melted chocolate over the date filling, smoothing it out to cover completely. Sprinkle flaky sea salt on top if desired.
- Place the entire pan in the freezer for at least 2 hours to set. Once firm, cut into bars and enjoy.

