
When life feels chaotic and meal prep seems daunting, there’s nothing quite like the aroma of a warm, cheesy dish bubbling away on the stove to lift your spirits. My journey to creating the Cheesy Taco Rice Skillet began on one of those busy weeknights when takeout just wouldn’t cut it. Instead, I wanted something comforting but quick, bursting with flavor yet easy enough to whip up in no time.
This one-pan wonder combines lean ground beef, hearty black beans, and sweet corn, all topped with gooey, melted cheese that practically begs to be devoured. It’s the perfect solution for those who crave flavors reminiscent of taco night but don’t want to spend hours in the kitchen. Plus, it’s versatile enough to adapt to any dietary need—whether you’re keeping it gluten-free, packing in protein, or even going vegetarian, this recipe ensures everyone at the table will leave satisfied. So grab your skillet and let’s dive into this deliciously simple meal that will become a staple in your home!
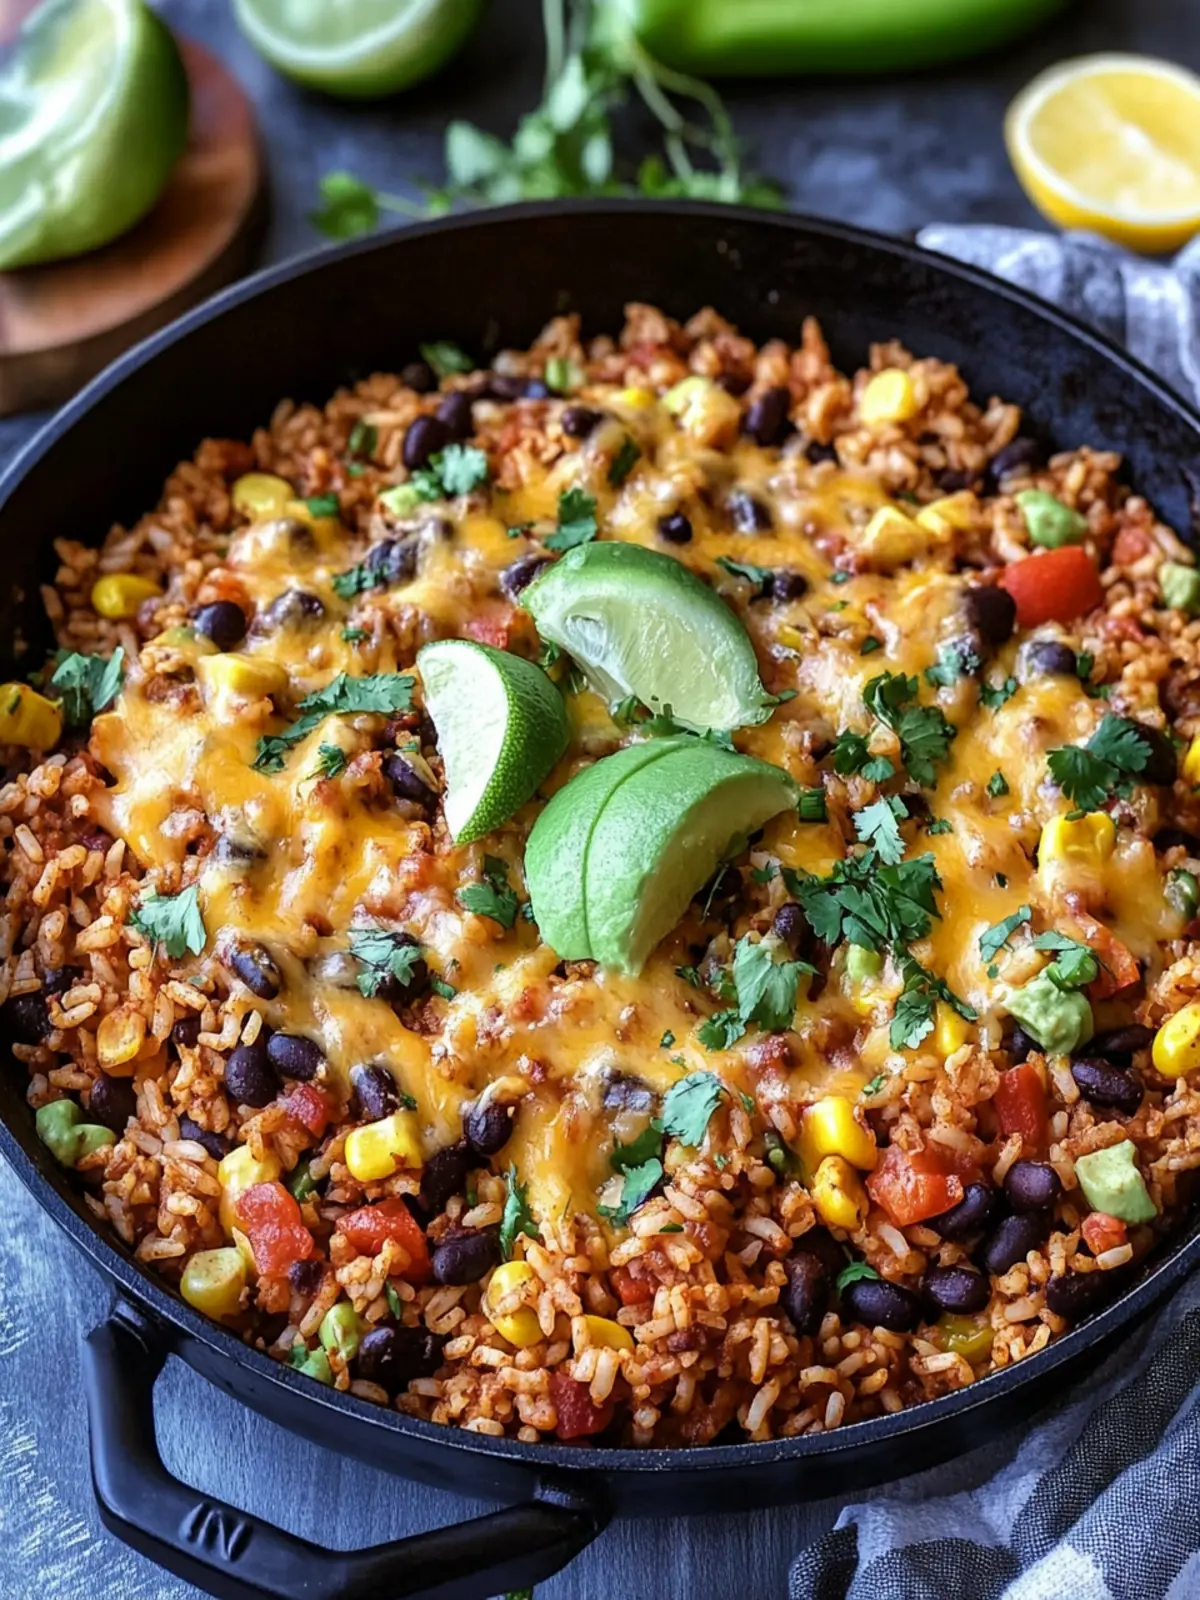
Why is Cheesy Taco Rice Skillet a Must-Try?
Flavor Explosion: This dish combines hearty ingredients like lean ground beef and black beans with a melty cheese topping, ensuring each bite is bursting with flavor.
Time-Saver: Ready in just 30 minutes, it’s perfect for those hectic weeknights!
One-Pan Wonder: No need for multiple pots; everything cooks together in one skillet for easy cleanup.
Versatility: Customize with your favorite veggies or protein sources, making it suitable for everyone, including those on a gluten-free or vegetarian diet.
Crowd-Pleaser: Whether for a family dinner or casual get-together, this Cheesy Taco Rice Skillet is sure to impress, transforming taco night into a cozy comfort food experience!
Try pairing it with a fresh side salad or warm tortillas for an all-around satisfying meal!
Cheesy Taco Rice Skillet Ingredients
For the Skillet
- Lean Ground Beef – A rich source of protein that adds heartiness; consider substituting with ground turkey or plant-based alternatives for a lighter dish.
- Onion – Imparts sweetness and depth of flavor upon sautéing; shallots can be a mild substitute if preferred.
- Taco Seasoning – Infuses authentic Mexican flavor; making your own allows you to adjust spiciness to taste.
- Prepared Salsa – Adds moisture and a burst of flavor; diced tomatoes can work in a pinch if you prefer a lighter option.
- Black Beans – Packed with protein and fiber; kidney beans or pinto beans can easily stand in if needed.
- Sweet Corn – Adds a touch of sweetness and texture; you can use fresh or frozen corn based on availability.
- Diced Tomatoes with Green Chiles – Provides acidity and a kick of heat; for a milder version, swap with regular diced tomatoes.
- Ready Rice – A fantastic time-saver; it can be replaced with cooked long-grain or cauliflower rice for a healthier variant.
- Colby Jack Cheese – Creates a deliciously gooey topping; freshly shredded cheese melts better than pre-packaged options.
Optional Garnishes
- Fresh Cilantro – Enhances the dish with fresh herby notes; perfect for adding a pop of color and flavor.
- Avocado Slices – Creamy and rich, they add a delightful contrast in texture.
- Sour Cream – Adds creaminess and tang, balancing the spices beautifully.
- Crushed Tortilla Chips – For a satisfying crunch, sprinkle on top just before serving.
This Cheesy Taco Rice Skillet is not only quick and easy, but it also brings together familiar flavors that everyone will love!
How to Make Cheesy Taco Rice Skillet
-
Cook the Beef and Onion: Heat a large oven-proof skillet over medium heat. Add the lean ground beef and diced onions, cooking until the beef is browned and the onions are translucent, about 8-10 minutes.
-
Add Seasonings: Stir in the taco seasoning and prepared salsa, mixing well to combine all the flavors into the beef mixture.
-
Incorporate Beans and Vegetables: Add the drained black beans, undrained sweet corn, and undrained diced tomatoes with green chiles. Let the mixture simmer for about 5-6 minutes, until it thickens slightly.
-
Mix in Rice and Cheese: Gently fold in the prepared rice, ensuring it’s evenly distributed throughout the skillet. Then, top the mixture with the shredded Colby Jack cheese.
-
Broil: Place the skillet under a preheated broiler for about 1-2 minutes or until the cheese is bubbly and starting to turn golden brown.
-
Serve: Carefully remove the skillet from the oven and garnish with your favorite toppings like fresh cilantro, avocado slices, or sour cream. Serve hot and enjoy!
Optional: Add a sprinkle of crushed tortilla chips on top for an extra crunch!
Exact quantities are listed in the recipe card below.
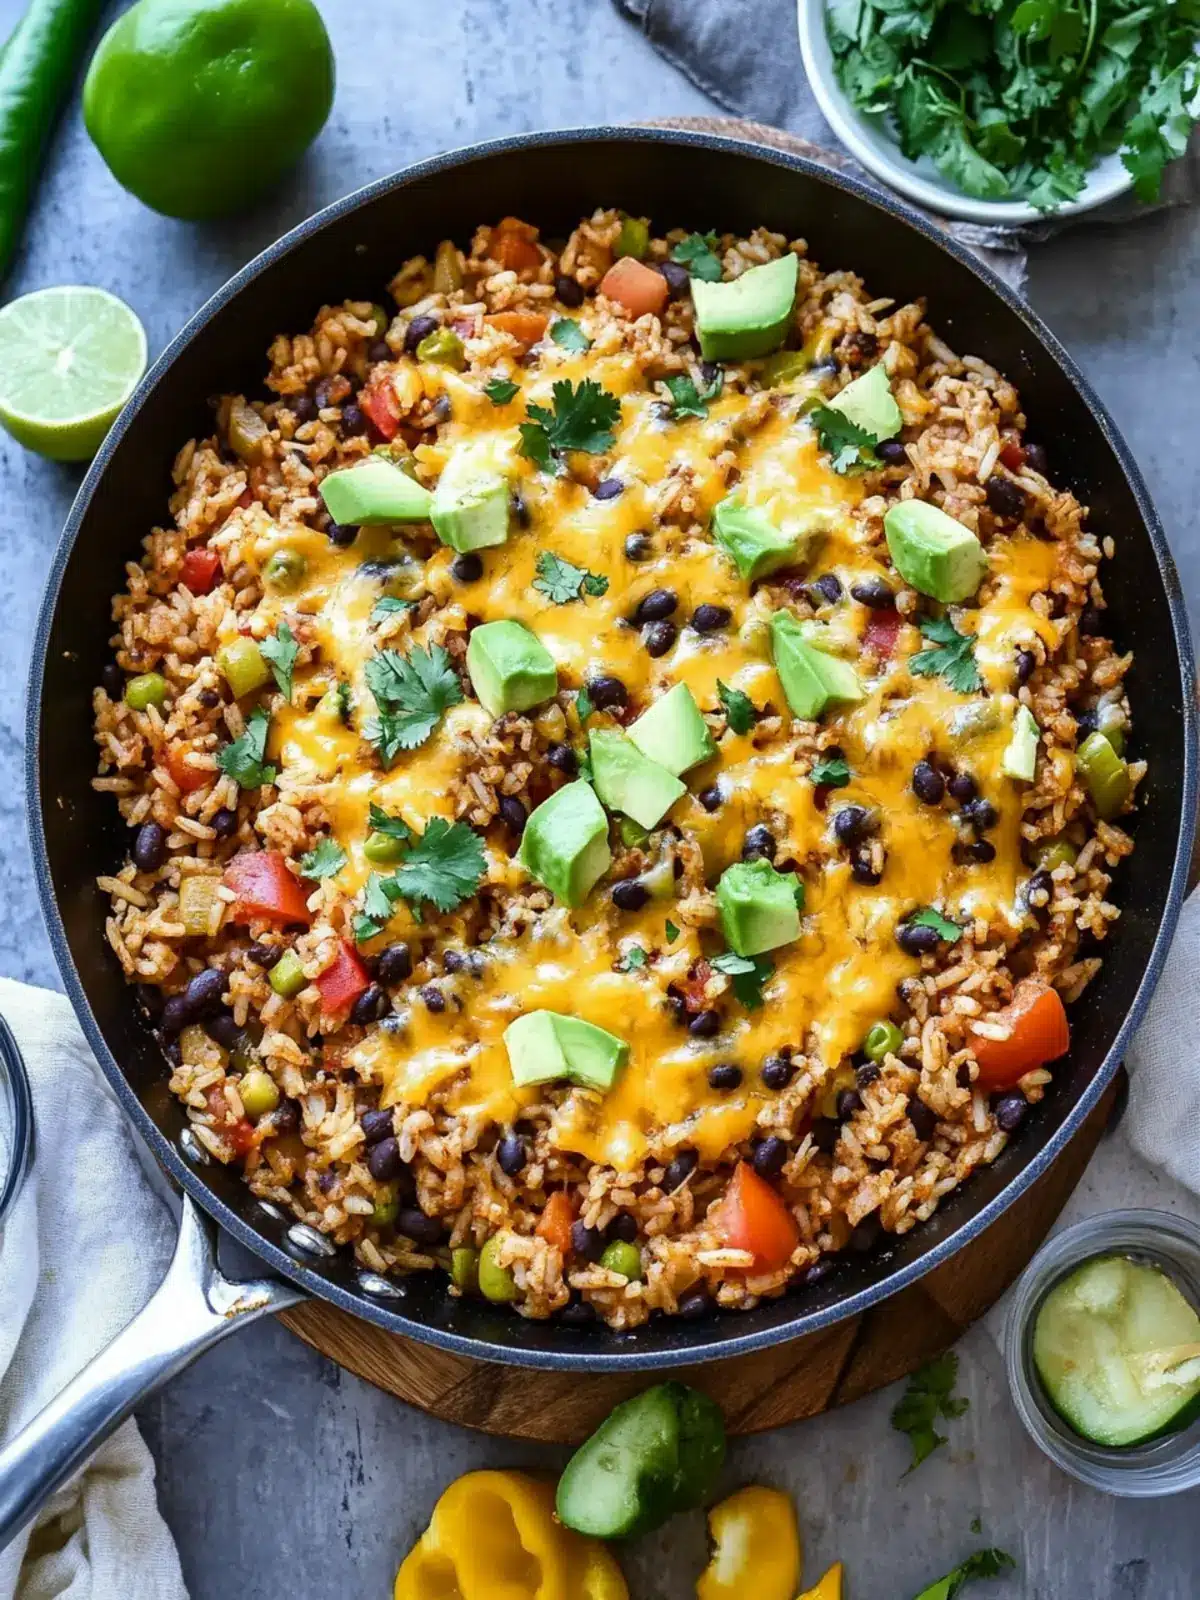
Cheesy Taco Rice Skillet Variations
Embrace the opportunity to personalize this dish with these fun twists and swaps that will elevate your taco night!
-
Dairy-Free: Use a plant-based cheese alternative or leave out the cheese entirely for a lighter, still-tasty dish.
-
Spicy Spin: Add diced jalapeños or use hot salsa to heat things up—perfect for those who love a kick!
-
Vegetarian Delight: Replace ground beef with crumbled tofu or sautéed veggies—zucchini and bell peppers blend beautifully, creating a hearty alternative.
-
Quinoa Swap: Substitute ready rice with cooked quinoa for an extra protein boost and a nutty flavor.
-
Beans Galore: Mix it up with a variety of beans, like black-eyed peas or cannellini beans, for a different twist on texture and taste.
-
Add Sweetness: Incorporate diced sweet potatoes or butternut squash to the mix for a sweet, comforting contrast against the savory flavors.
-
Herb-Infused: Boost the freshness by adding chopped fresh herbs like cilantro or parsley—this elevates the flavor profile ever so nicely.
-
Crispy Topping: Top with crushed tortilla chips or homemade crispy shallots before serving for an irresistible crunch in every bite.
Expert Tips for Cheesy Taco Rice Skillet
-
Perfectly Browned Beef: Make sure to cook the ground beef thoroughly until browned; this enhances flavor and texture in your Cheesy Taco Rice Skillet.
-
Adjust Spiciness: If your family prefers milder flavors, use a mild taco seasoning and leave out the green chiles or use a milder salsa.
-
Quality Cheese Matters: Always shred cheese from a block for optimal melting; pre-packaged shredded cheese often contains anti-caking agents that hinder meltiness.
-
One-Pan Care: Use a high-quality, oven-safe skillet to avoid the hassle of transferring to a baking dish; this reduces cleanup time significantly.
-
Customize Your Veggies: Don’t hesitate to throw in your favorite veggies, like bell peppers or zucchini, to enhance nutrition—and flavor—while keeping it gluten-free!
Make Ahead Options
These Cheesy Taco Rice Skillets are perfect for meal prep enthusiasts! You can prepare the meat mixture (cooked ground beef and veggies) up to 24 hours in advance by refrigerating it in an airtight container. When you’re ready to serve, simply reheat the mixture on the stovetop or microwave before folding in the cooked rice and topping with cheese. To maintain quality and flavor, ensure the mixture is cooled completely before storing, and opt for fresh cheese to sprinkle on top just before broiling for that gooey finish. This way, you’ll enjoy a delicious, comforting meal on even the busiest of weeknights!
How to Store and Freeze Cheesy Taco Rice Skillet
Refrigerator: Store leftovers in an airtight container for up to 3-4 days. Reheat gently on the stovetop or microwave for optimal texture.
Freezer: Cool completely, then freeze in a well-sealed container for up to 2-3 months. To enjoy, thaw overnight in the fridge and reheat until heated through.
Reheating: For the best results, reheat in a skillet with a splash of water to retain moisture, stirring occasionally until warmed.
Portioning: Consider dividing the Cheesy Taco Rice Skillet into individual servings before freezing for convenient, quick meals later!
What to Serve with Cheesy Taco Rice Skillet?
When it comes to rounding out your meal, think about vibrant flavors and comforting textures that enhance this dish’s deliciousness.
-
Fresh Side Salad: A crisp salad with mixed greens and a tangy vinaigrette adds a refreshing contrast to the rich skillet.
-
Warm Tortillas: Soft flour or corn tortillas are perfect for scooping up the cheesy goodness and create a fun interactive element at the table.
-
Guacamole: Creamy and flavorful, guacamole brings a coolness that balances the dish. The creamy texture pairs beautifully with each bite.
-
Mexican Street Corn: The sweetness of corn topped with lime and spices complements the dish, echoing the flavors while adding a delightful crunch.
-
Spicy Black Bean Soup: Serve a small bowl on the side to introduce a different layer of flavors. The warmth and spices will elevate the entire meal.
-
Pineapple Salsa: Sweet and spicy, it brightens up the palate. The juicy pineapple adds a fresh burst that contrasts delightfully with the savory rice skillet.
-
Churros for Dessert: End on a sweet note! These crispy, cinnamon-sugar treats will leave everyone satisfied, making it a full-on fiesta.
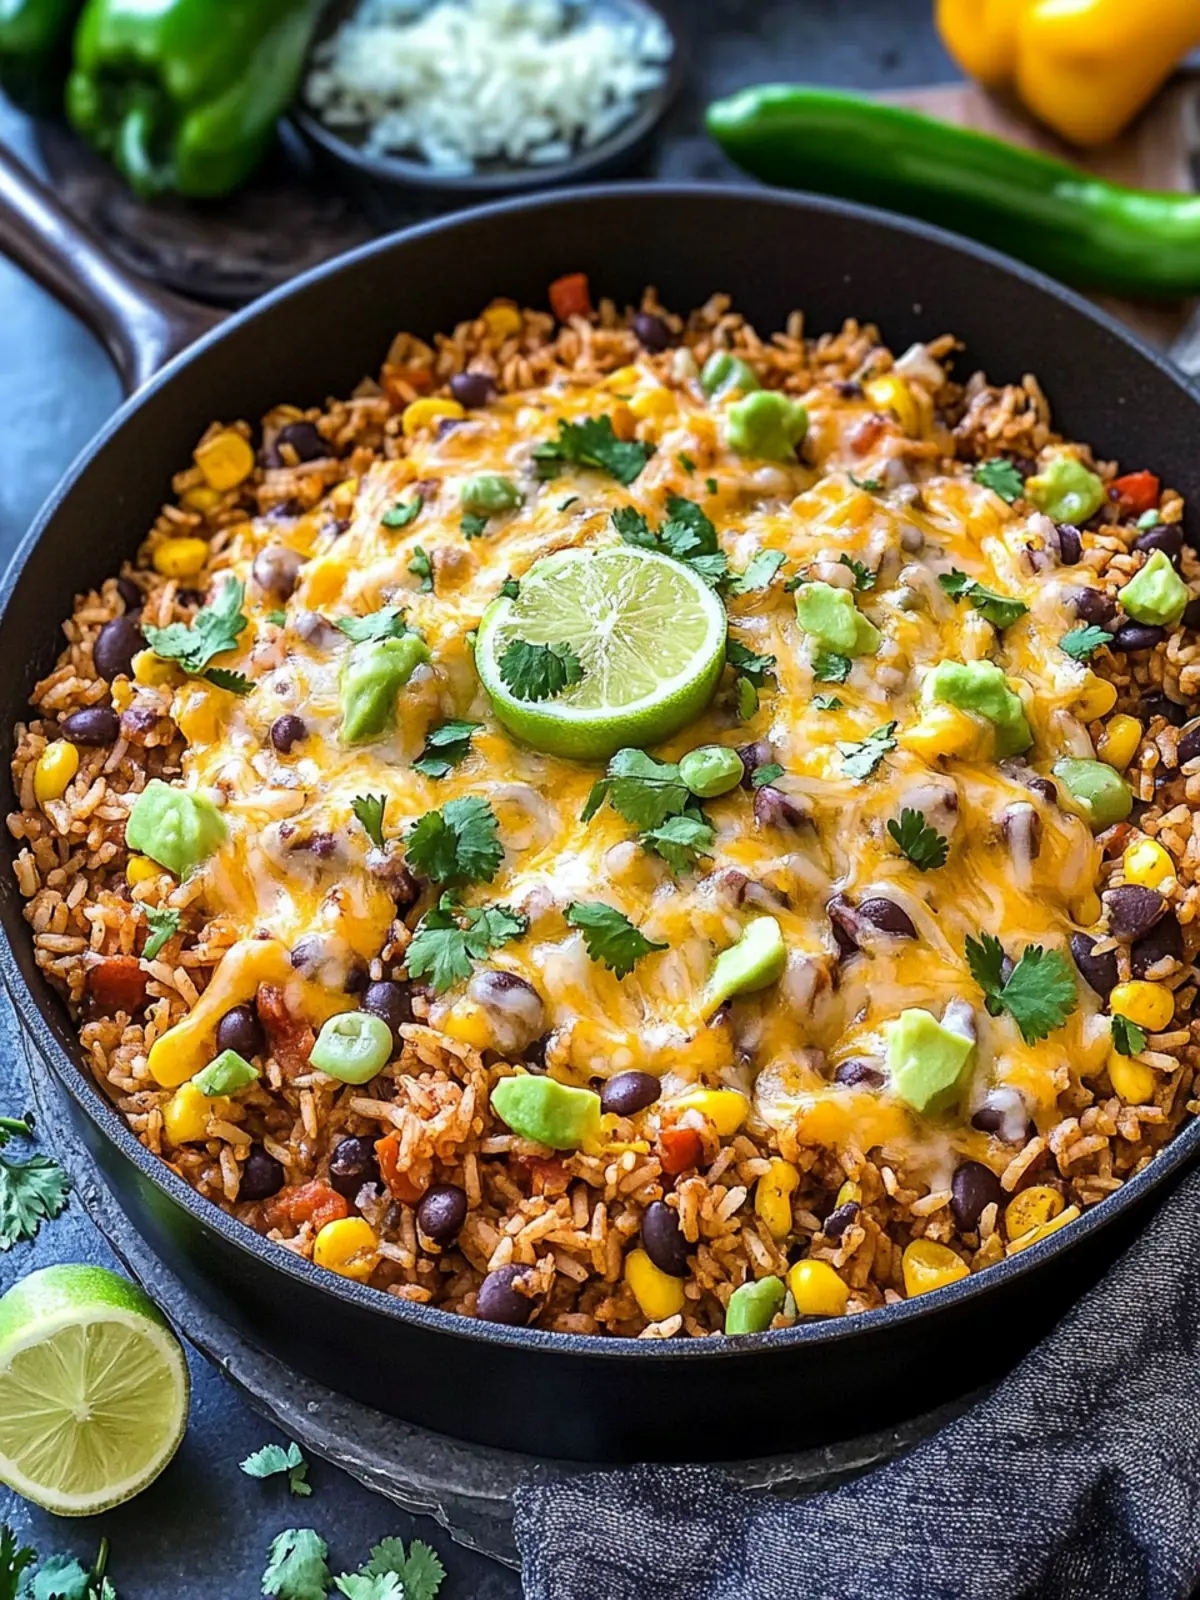
Cheesy Taco Rice Skillet Recipe FAQs
What type of ground meat is best for the Cheesy Taco Rice Skillet?
Absolutely! While lean ground beef is the star in this recipe for its protein-rich profile, you can easily swap it with ground turkey or even plant-based alternatives like lentils or tempeh for a lighter version. Each option brings its own unique flavor and texture that still complements the other ingredients beautifully.
How should I store leftovers of the Cheesy Taco Rice Skillet?
For sure! To store your tasty leftovers, simply transfer them to an airtight container and place them in the refrigerator for up to 3-4 days. When you’re ready to enjoy again, reheat gently on the stovetop or microwave until piping hot. The flavors meld even more as they sit!
Can I freeze the Cheesy Taco Rice Skillet?
Definitely! To freeze, allow the dish to cool completely after cooking. Then, portion it into airtight containers or freezer bags, making sure to remove as much air as possible to prevent freezer burn. It can be stored for up to 2-3 months! When ready to eat, just thaw it overnight in the fridge and reheat on the stovetop or in the microwave until heated through.
What should I do if the cheese isn’t melting well?
Very! If you find your cheese isn’t melting as you’d like, make sure you’re using freshly shredded cheese from a block, as pre-packaged varieties often contain anti-caking agents that affect meltiness. Also, broiling for shorter bursts and watching closely can help achieve that bubbly, golden topping we all crave without burning it.
Is this dish safe for those with dietary restrictions?
Absolutely! The Cheesy Taco Rice Skillet can be adapted to suit many dietary needs. For a gluten-free option, ensure your taco seasoning is free from gluten. For vegetarians, simply omit the meat and increase the beans or add more veggies. Always check labels for allergens if you have concerns about specific ingredients!
What can I substitute for the salsa in this recipe?
For sure! If you don’t have salsa on hand, you can use canned diced tomatoes mixed with some spices, such as cumin and chili powder, to replicate the flavor profile. Alternatively, homemade tomato sauce can work, though it won’t have the same kick of flavor. Adjust seasonings to your liking—every little tweak makes it your own!
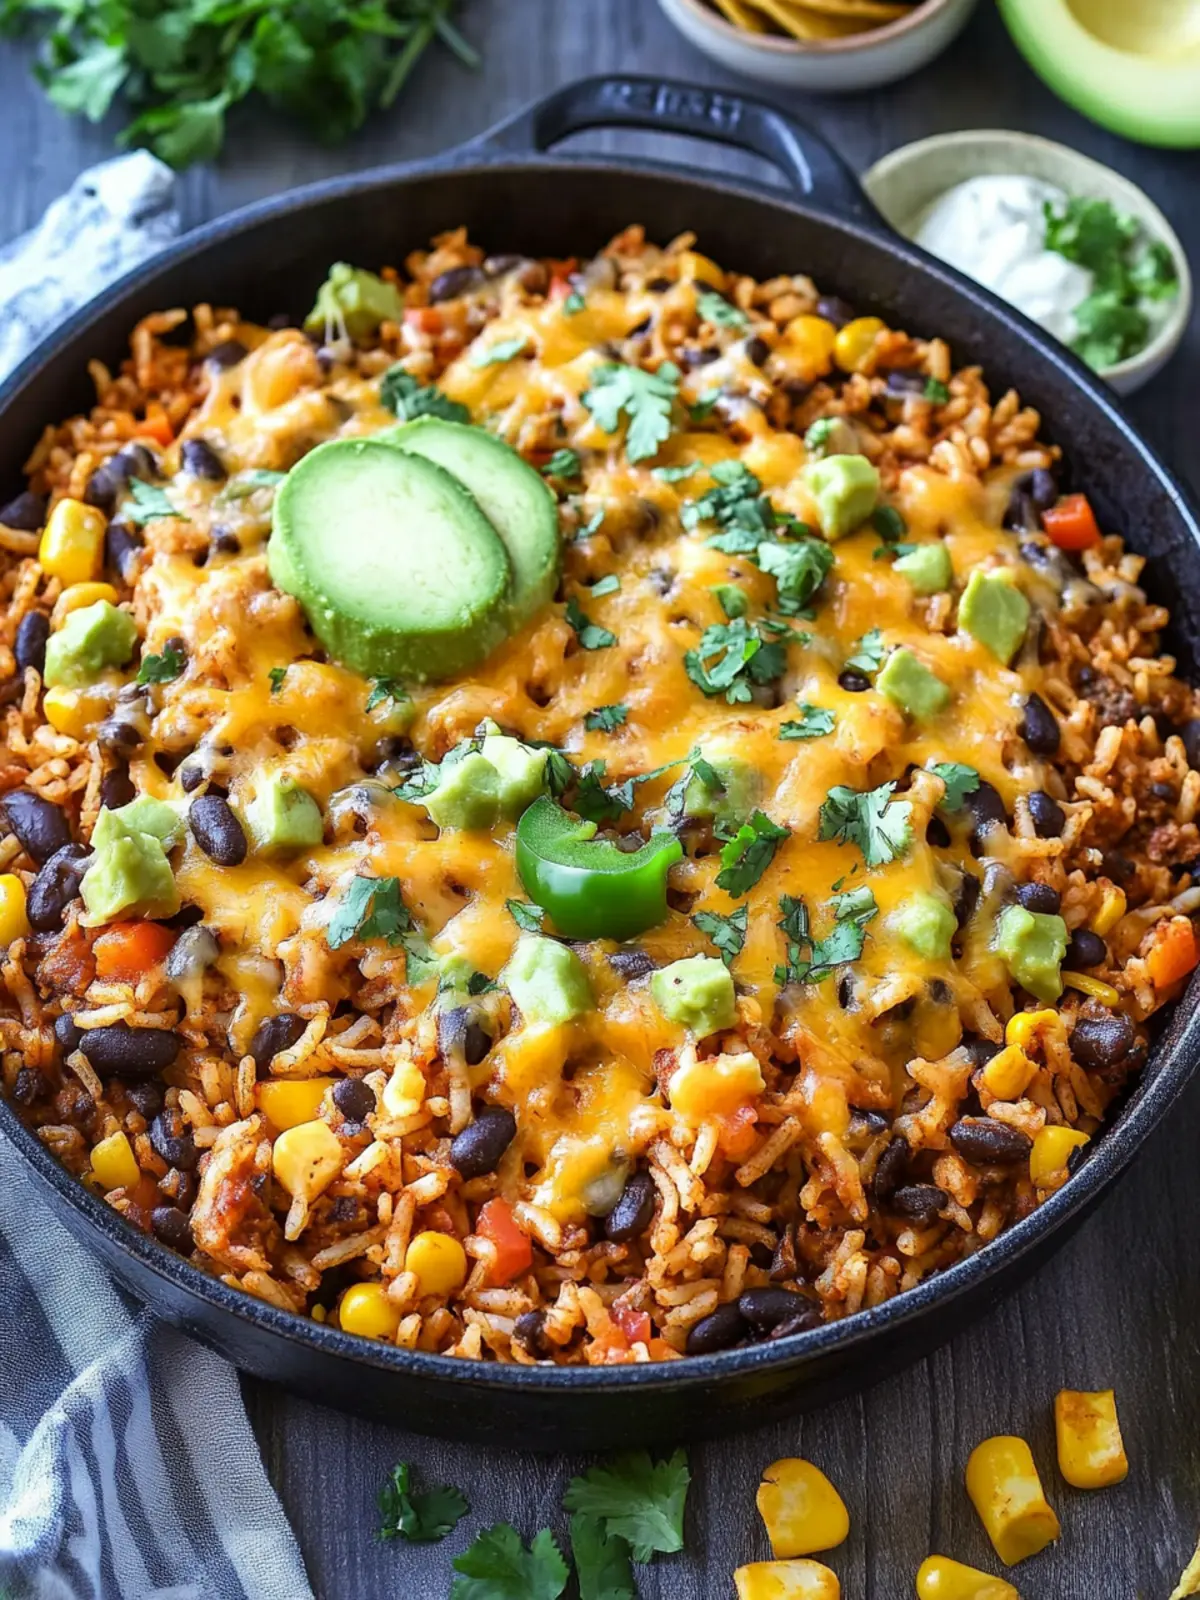
Cheesy Taco Rice Skillet: Quick Comfort Food in 30 Minutes
Ingredients
Equipment
Method
- Heat a large oven-proof skillet over medium heat. Add the lean ground beef and diced onions, cooking until the beef is browned and the onions are translucent, about 8-10 minutes.
- Stir in the taco seasoning and prepared salsa, mixing well to combine all the flavors into the beef mixture.
- Add the drained black beans, undrained sweet corn, and undrained diced tomatoes with green chiles. Let the mixture simmer for about 5-6 minutes, until it thickens slightly.
- Gently fold in the prepared rice, ensuring it’s evenly distributed throughout the skillet. Then, top the mixture with the shredded Colby Jack cheese.
- Place the skillet under a preheated broiler for about 1-2 minutes or until the cheese is bubbly and starting to turn golden brown.
- Carefully remove the skillet from the oven and garnish with your favorite toppings like fresh cilantro, avocado slices, or sour cream. Serve hot and enjoy!