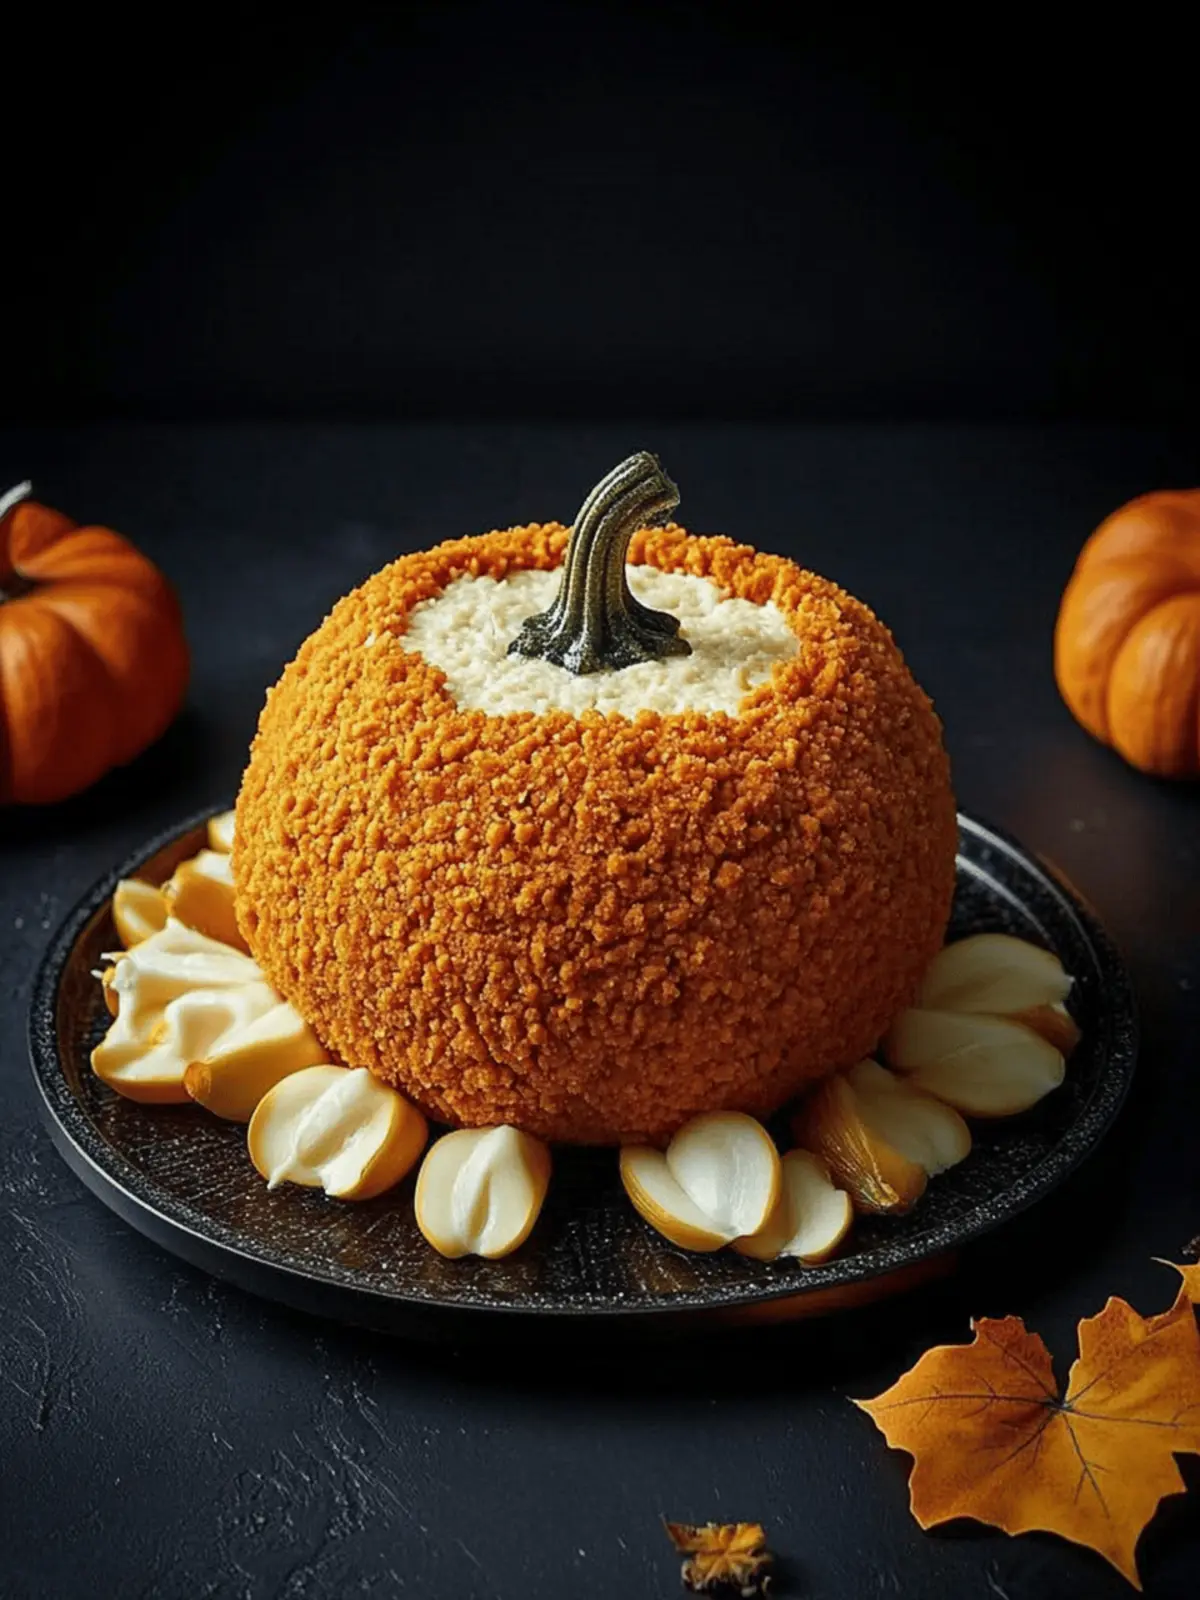
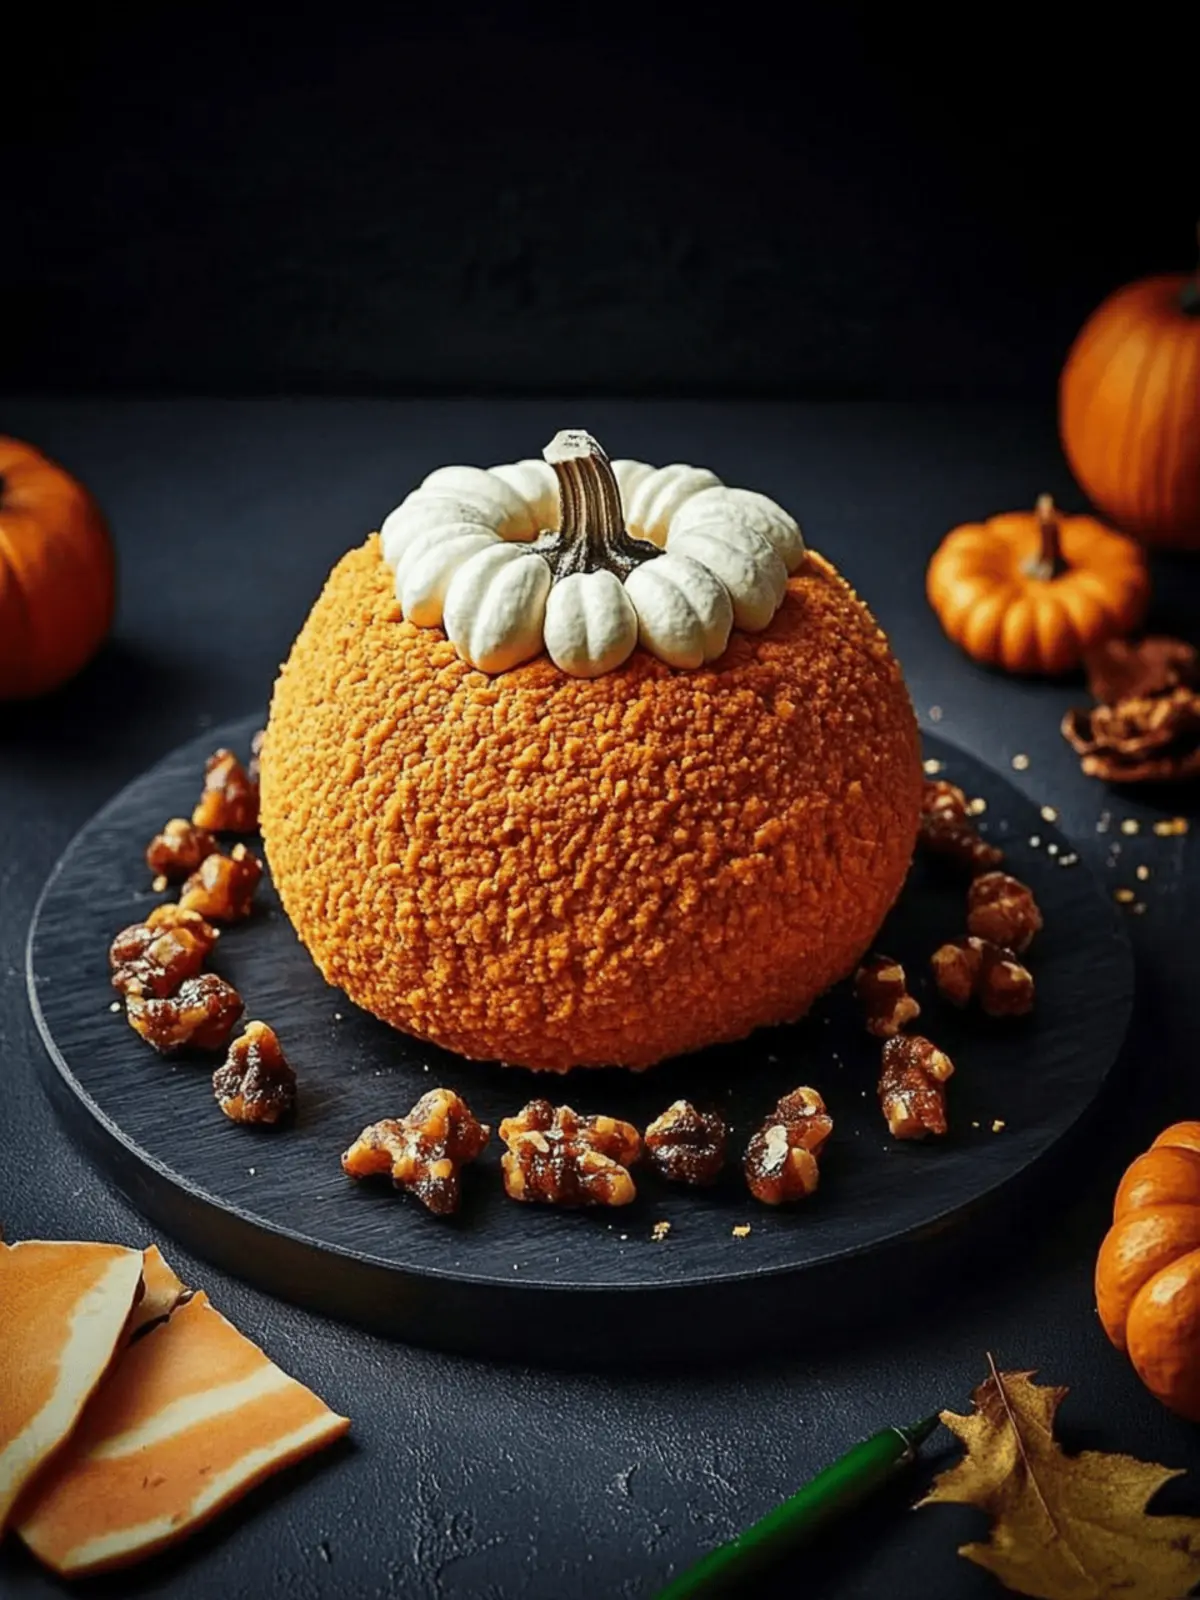
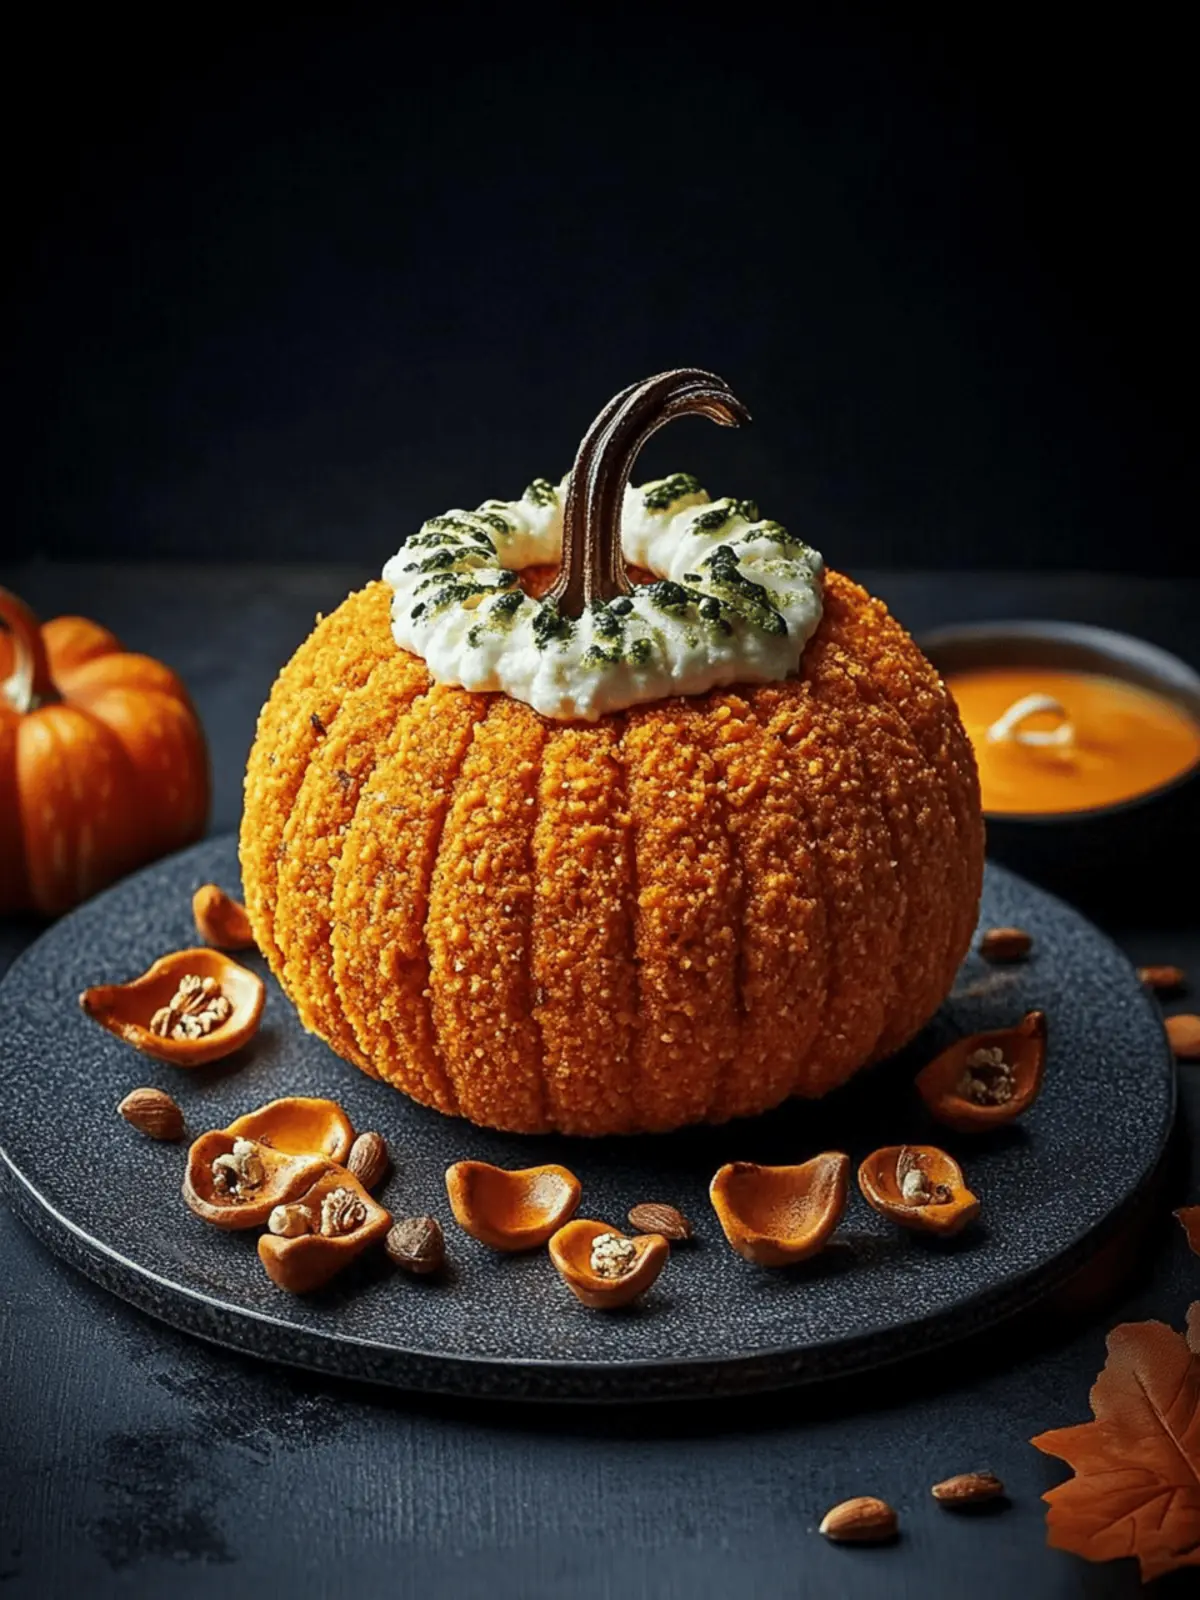
As the leaves turn golden and the air grows crisp, I find myself craving comforting flavors that embody the spirit of fall. That’s when I stumbled upon the delightful creation known as the Ultimate Pumpkin Cheese Ball. Picture this: a vibrant, pumpkin-shaped cheese ball that not only catches the eye but tantalizes the taste buds with a creamy blend of tangy goat cheese and sharp cheddar. The medley of fresh herbs and a hint of spice makes it a savory treat, perfect for any autumn gathering.
This no-bake wonder transforms simple ingredients into a showstopper, ensuring it will be the star of your Halloween or Thanksgiving table. Whether you’re hosting friends or arriving at a potluck, this pumpkin cheese ball promises to be a conversation starter—and the best part? It’s incredibly easy to whip up! Get ready to impress your guests with a delicious appetizer that embodies the warmth and joy of the season. Let’s dive into this festive recipe!
Why is this Pumpkin Cheese Ball a Must-Try?
Flavor Explosion: The Pumpkin Cheese Ball delivers a delightful mix of creamy and tangy flavors that will have your taste buds singing.
Eye-Catching Presentation: Its charming pumpkin shape makes it a perfect centerpiece for fall gatherings, creating an inviting atmosphere.
Easy to Make: This no-bake recipe is quick to prepare, requiring minimal effort for maximum impact.
Versatile Pairing: Serve alongside crackers, veggies, or bread, making it a versatile crowd-pleaser for all tastes.
Perfect for Any Occasion: Whether it’s Halloween, Thanksgiving, or a cozy gathering, this cheese ball fits right in and leaves everyone wanting more.
Pumpkin Cheese Ball Ingredients
For the Cheese Mixture
- Cream Cheese – the base for the cheese ball, adding creaminess; ensure it’s softened for easy mixing.
- Fresh Goat Cheese – provides a tangy depth of flavor; be sure it’s also softened for a smooth blend.
- Shredded Sharp Cheddar – gives a classic cheese ball flavor; use sharp for a more pronounced taste.
- Scallions – adds a mild onion flavor and freshness; both the white and light green parts are used.
- Jalapeño – delivers a hint of gentle heat; core and seed to control spice levels.
- Fresh Chives – introduces a mild onion-like flavor; finely chop to incorporate seamlessly.
- Worcestershire Sauce – brings a boost of umami to the cheese mixture.
- Kosher Salt & Freshly Ground Black Pepper – essential for seasoning and enhancing flavors.
For the Garnish
- Bell Pepper – used as the pumpkin stem; choose one with a sturdy stem for effective presentation.
- Cheddar Goldfish Crackers – crushed for coating, adding a delightful crunch and a festive orange hue.
- Reserved Scallion Greens – allows for decorative tendrils; soak in ice water for a curled effect.
How to Make Pumpkin Cheese Ball
-
Combine Ingredients: In a large mixing bowl, blend the softened cream cheese and goat cheese until smooth. Then, stir in the shredded cheddar, chopped scallions, minced jalapeño, fresh chives, Worcestershire sauce, and season with salt and pepper to taste.
-
Shape the Ball: Scoop the mixture onto a piece of plastic wrap, and shape it into a tight ball. Wrap it securely and use rubber bands to create the classic pumpkin ridges. Chill in the fridge for a minimum of 4 hours or up to 3 days for best results.
-
Prepare the Garnish: While your cheese ball chills, carefully slice the top off a bell pepper and remove the seeds. Soak the reserved scallion greens in ice water to help them curl into decorative tendrils.
-
Assemble the Cheese Ball: Once chilled, unwrap the cheese ball and roll it in crushed Goldfish until it’s completely covered, giving it a festive look. Insert the bell pepper stem at the top and arrange the curled scallion greens around it for a charming finish.
-
Serve with Flair: Before serving, let the cheese ball sit at room temperature for about 30 minutes. Pair it with an assortment of crackers and sliced vegetables for a delightful appetizer!
Optional: Garnish with some additional chives for extra freshness and color.
Exact quantities are listed in the recipe card below.
Make Ahead Options
These Pumpkin Cheese Balls are a fantastic choice for busy home cooks looking to save time! You can prepare the cheese mixture and shape the ball up to 3 days in advance, tightly wrapping it in plastic wrap and refrigerating. This not only enhances the flavors but also allows you to enjoy a stress-free gathering. Moreover, you can even freeze the uncoated cheese ball for up to a month; just thaw it overnight in the refrigerator before coating it with crushed Goldfish on the day of serving to maintain that delightful crunch. When it’s time to serve, simply let the cheese ball sit at room temperature for about 30 minutes for optimal spreadability, ensuring it’s just as delicious as when freshly made!
What to Serve with Pumpkin Cheese Ball?
The vibrant colors and rich flavors of fall come together beautifully with a variety of accompaniments to elevate your cheese ball experience.
-
Crunchy Crackers: A selection of artisanal or whole grain crackers adds texture and complements the creamy cheese, providing a perfect scoop for every bite.
-
Fresh Veggies: Crisp vegetables like cucumber slices, cherry tomatoes, and bell pepper strips offer a refreshing crunch that balances the richness, making for a delightful contrast.
-
Sliced Baguette: Lightly toasted baguette slices bring a warm, rustic element to the table, enhancing the cheese ball’s creamy interior and making each bite sophisticated.
-
Apple Slices: The sweet tartness of fresh apple slices will contrast beautifully with the savory cheese ball, giving a refreshing note to your palate.
-
Nuts for Texture: A small bowl of mixed nuts, such as almonds or walnuts, not only brings a satisfying crunch but also adds a rustic touch that pairs well with the fall theme.
-
Fruit Spreads: Serve alongside a dollop of fig or apricot jam. The sweetness of the spreads complements the tangy cheeses irresistibly, creating bursts of flavor.
-
Wine Pairing: A light white wine or a crisp Chardonnay makes for a delightful drink pairing, enhancing the overall experience with every sip.
-
Pumpkin Spice Dessert: End the meal on a sweet note with mini pumpkin spice cupcakes or cookies, making sure the flavor of fall lingers long after the cheese ball is gone.
Expert Tips for the Best Pumpkin Cheese Ball
-
Room Temperature Cheese: Always start with softened cream cheese and goat cheese for a smooth and creamy mixture, essential for a delightful pumpkin cheese ball.
-
Chill Time Matters: Don’t skip the minimum 4-hour refrigeration; this sets the cheese ball’s shape and allows flavors to meld beautifully.
-
Fresh Ingredients: Use fresh herbs and vegetables for optimal flavor and vibrant presentation. Wilted or old ingredients can dull the dish’s appeal.
-
Coat Just Before Serving: Roll the cheese ball in crushed Goldfish crackers on the day of serving to keep the coating crispy and enjoyable.
-
Choose the Right Bell Pepper: Opt for a firm bell pepper with a strong stem for an attractive pumpkin top; it adds a fantastic visual touch to your cheese ball.
Pumpkin Cheese Ball Variations
Feel free to put your own spin on this delightful cheese ball!
- Mild Cheese: Substitute goat cheese with additional cream cheese for a softer and milder flavor. This creates a more universally appealing taste.
- Herb-Infused: Add fresh herbs like rosemary or thyme for an extra aromatic touch. It amplifies the seasonal feel while giving a fresh twist on flavor.
- Spicy Kick: Swap the jalapeño for diced chipotle peppers for a smoky flavor boost. The subtle heat will be an exciting surprise for those who love some spice!
- Vegetable Mix: Incorporate finely diced bell peppers or carrots into the cheese mixture for added texture and sweetness. This can elevate the flavor profile beautifully.
- Nutty Crust: Roll the cheese ball in crushed walnuts or pecans for a delightful crunch and earthy flavor. This alternative provides a satisfying contrast to the creamy inside.
- Festive Garnish: Use a sprig of rosemary as the pumpkin stem instead of bell pepper for a charming, natural look. It’ll add a fragrant aroma and great visual appeal.
- Vegan Option: Use vegan cream cheese and nutritional yeast in place of regular cheese for a plant-based version. This allows everyone to enjoy the festive treat!
- Sweet Twist: Add a splash of maple syrup to the cheese mixture for a sweet touch, balancing the savory flavors perfectly. It’s an unexpected but delicious addition!
How to Store and Freeze Pumpkin Cheese Ball
-
Fridge: Store the uncoated pumpkin cheese ball for up to 3 days in an airtight container. Once coated, consume within a few hours for optimal texture, but it can last up to 5 days in the fridge with potential softening of the crunch over time.
-
Freezer: The uncoated cheese ball can be frozen for up to a month. Wrap it tightly in plastic wrap and place it in a freezer-safe container. Thaw in the refrigerator overnight before coating and serving.
-
Reheating: No reheating is required for this appetizer. Simply let the cheese ball sit at room temperature for about 30 minutes before serving to enhance its creamy texture.
-
Avoiding Sogginess: To keep the festive coating crunchy, roll the cheese ball in crushed Goldfish crackers just before serving. This ensures it maintains its delightful crunch and visual appeal.
Pumpkin Cheese Ball Recipe FAQs
How do I select the right pumpkins and peppers for my cheese ball?
Absolutely! When choosing a bell pepper for the stem, look for one with a sturdy, thick stem and vibrant color. For a more seasonal feel, you can use mini pumpkins as serving dishes. Ensure the bell pepper is firm with no soft spots. The quality of these ingredients dramatically impacts your cheese ball’s appearance and flavor.
How should I store my Pumpkin Cheese Ball?
I recommend storing the uncoated pumpkin cheese ball in an airtight container in the fridge for up to 3 days. Once coated with crushed Goldfish, it can last for about 5 days but is best consumed within a few hours for optimal texture. Be aware that coating may soften over time; make it fresh for the best crunch!
Can I freeze my Pumpkin Cheese Ball?
Yes! The uncoated cheese ball can be frozen for up to a month. Wrap it tightly in plastic wrap and place it inside a freezer-safe container. When you’re ready to enjoy, thaw it in the refrigerator overnight. Roll in the crushed Goldfish cracker coating just before serving to keep that delightful crunch!
What can I do if my cheese ball is too soft?
If your cheese ball turns out too soft after the chilling process, don’t worry! Try chilling it longer in the fridge or even placing it in the freezer for about 30 minutes to help firm it up. Additionally, you can add a bit more shredded cheese or finely crushed crackers to thicken the mixture before shaping it.
Are there any dietary considerations I should be aware of?
Very much so! This Pumpkin Cheese Ball contains dairy, so it’s important to consider guests with lactose intolerance or dairy allergies. For a dairy-free version, substitute cream cheese and goat cheese with a plant-based alternative, like cashew cream cheese. You can further adapt the recipe with allergen-friendly ingredients without sacrificing flavor!
How do I make my cheese ball look like a pumpkin?
To create the perfect pumpkin appearance, use rubber bands to shape the cheese ball into ridges while wrapping it up. After chilling, roll it in crushed Goldfish crackers to mimic the orange color of a pumpkin. The bell pepper stem and curled scallions as tendrils add an adorable finishing touch that elevates its festive presentation!
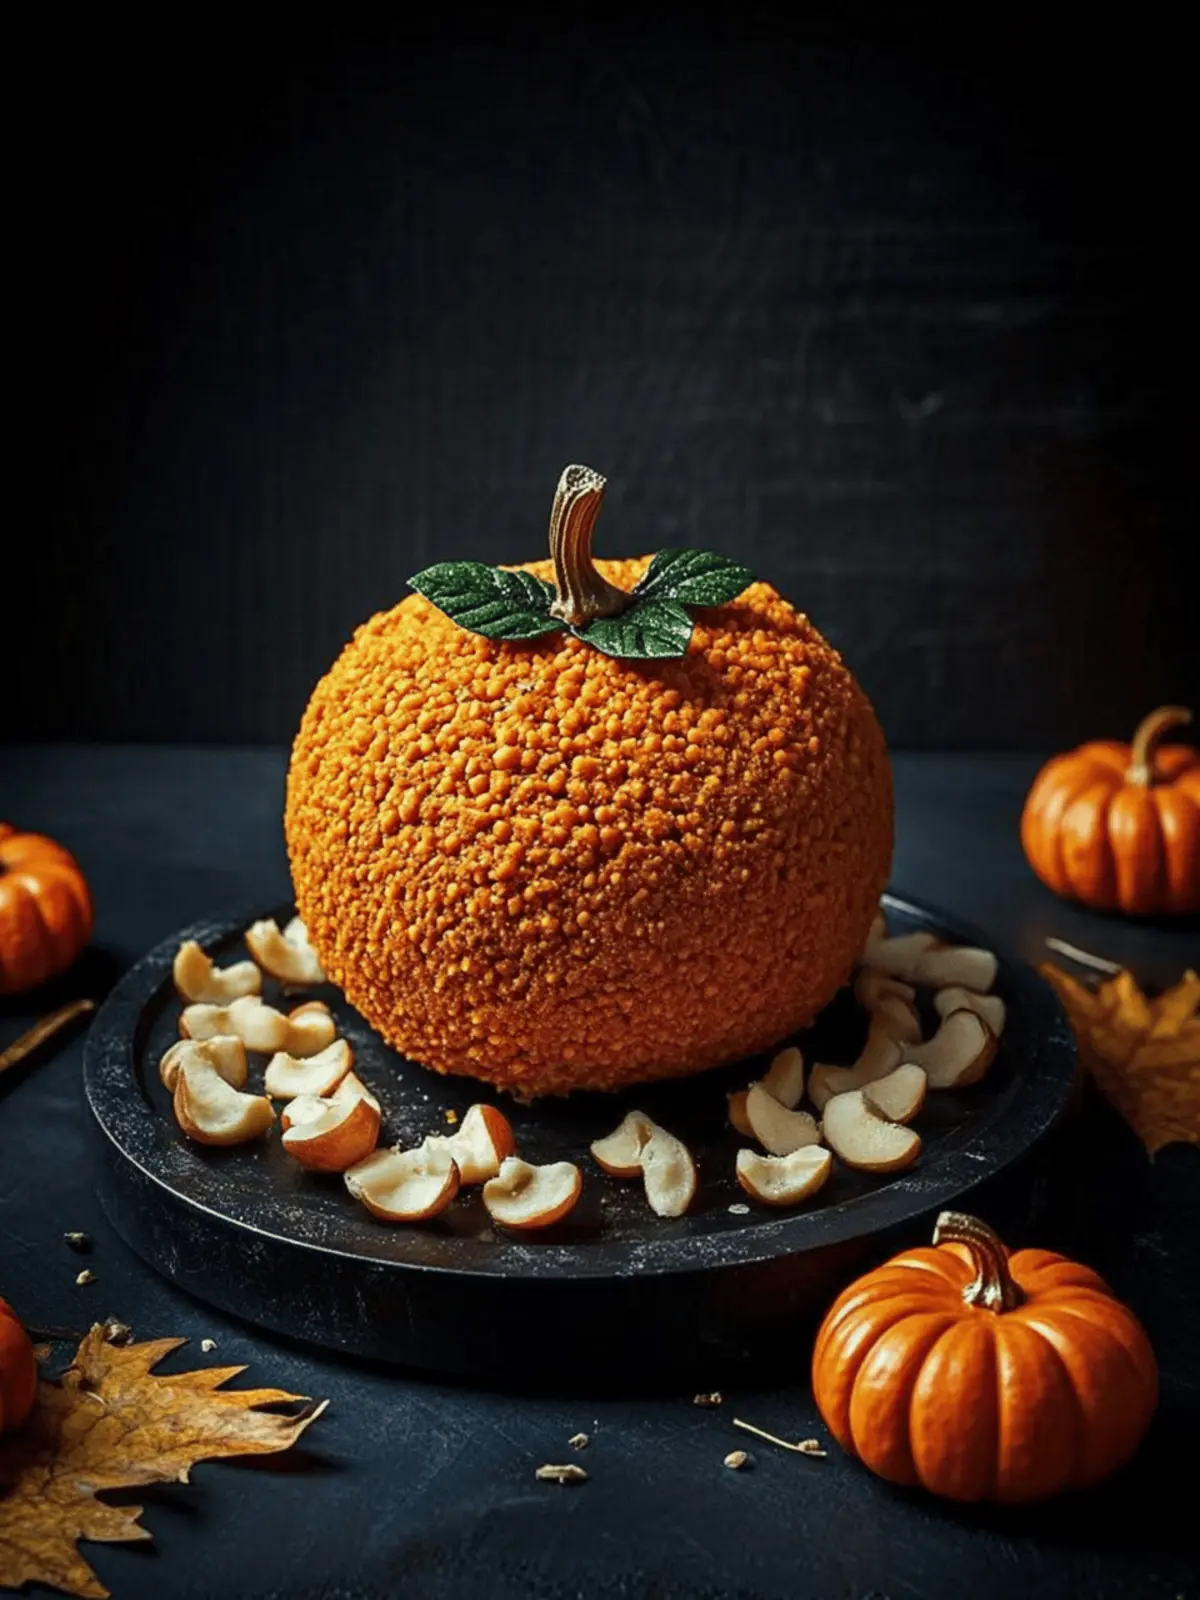
Ultimate Pumpkin Cheese Ball Recipe for Fall Festivities
Ingredients
Equipment
Method
- In a large mixing bowl, blend the softened cream cheese and goat cheese until smooth. Then, stir in the shredded cheddar, chopped scallions, minced jalapeño, fresh chives, Worcestershire sauce, and season with salt and pepper to taste.
- Scoop the mixture onto a piece of plastic wrap, and shape it into a tight ball. Wrap it securely and use rubber bands to create the classic pumpkin ridges. Chill in the fridge for a minimum of 4 hours or up to 3 days for best results.
- While your cheese ball chills, carefully slice the top off a bell pepper and remove the seeds. Soak the reserved scallion greens in ice water to help them curl into decorative tendrils.
- Once chilled, unwrap the cheese ball and roll it in crushed Goldfish until it's completely covered, giving it a festive look. Insert the bell pepper stem at the top and arrange the curled scallion greens around it for a charming finish.
- Before serving, let the cheese ball sit at room temperature for about 30 minutes. Pair it with an assortment of crackers and sliced vegetables for a delightful appetizer!
