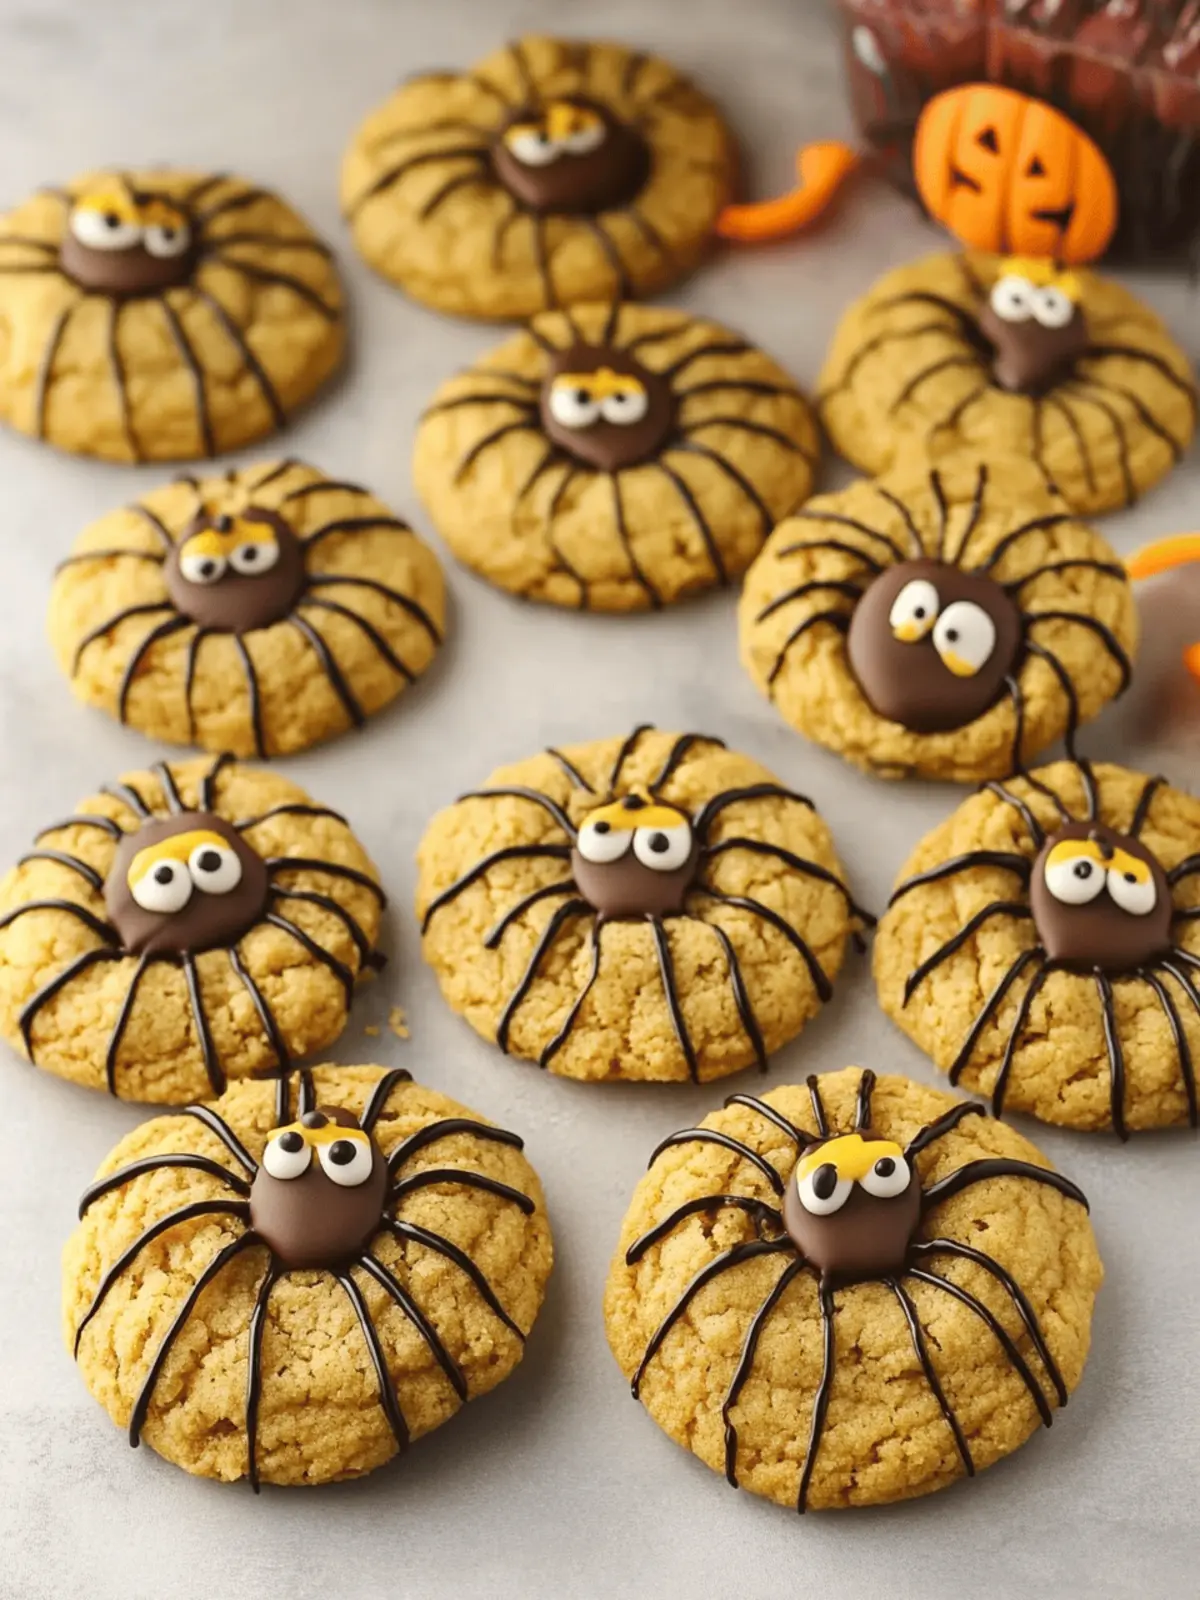
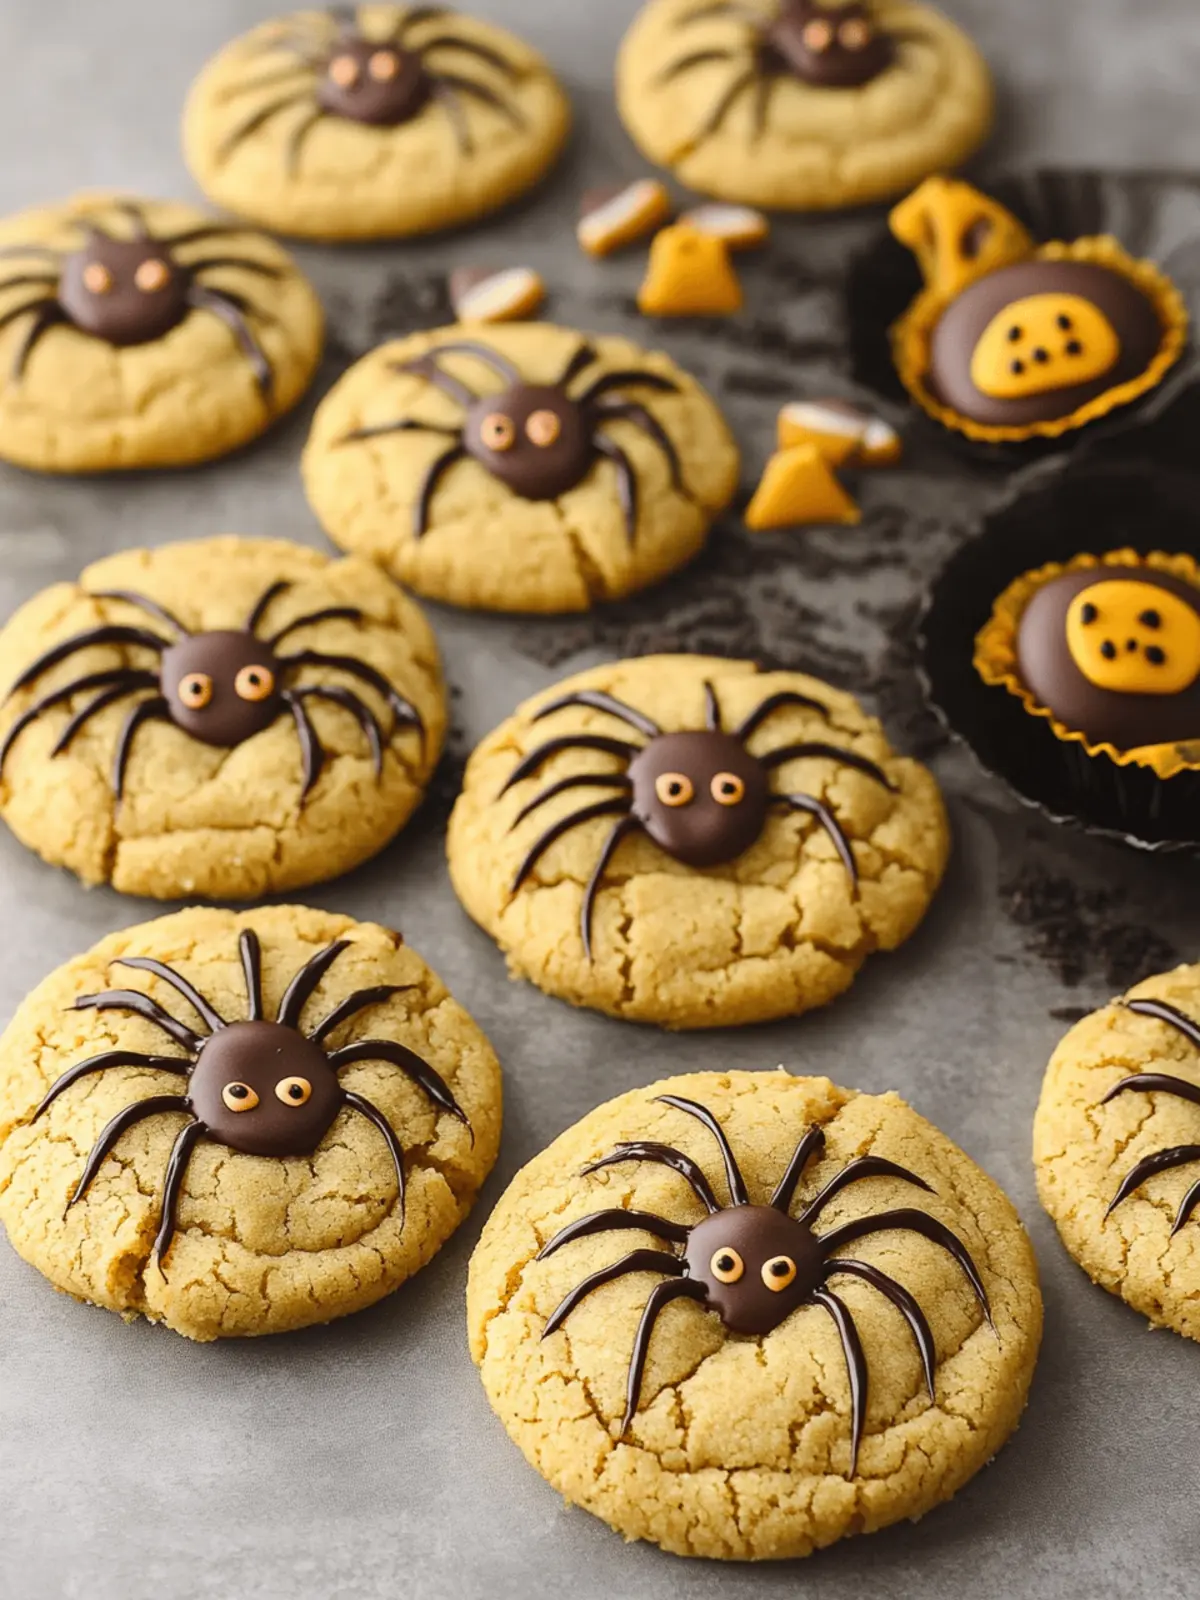
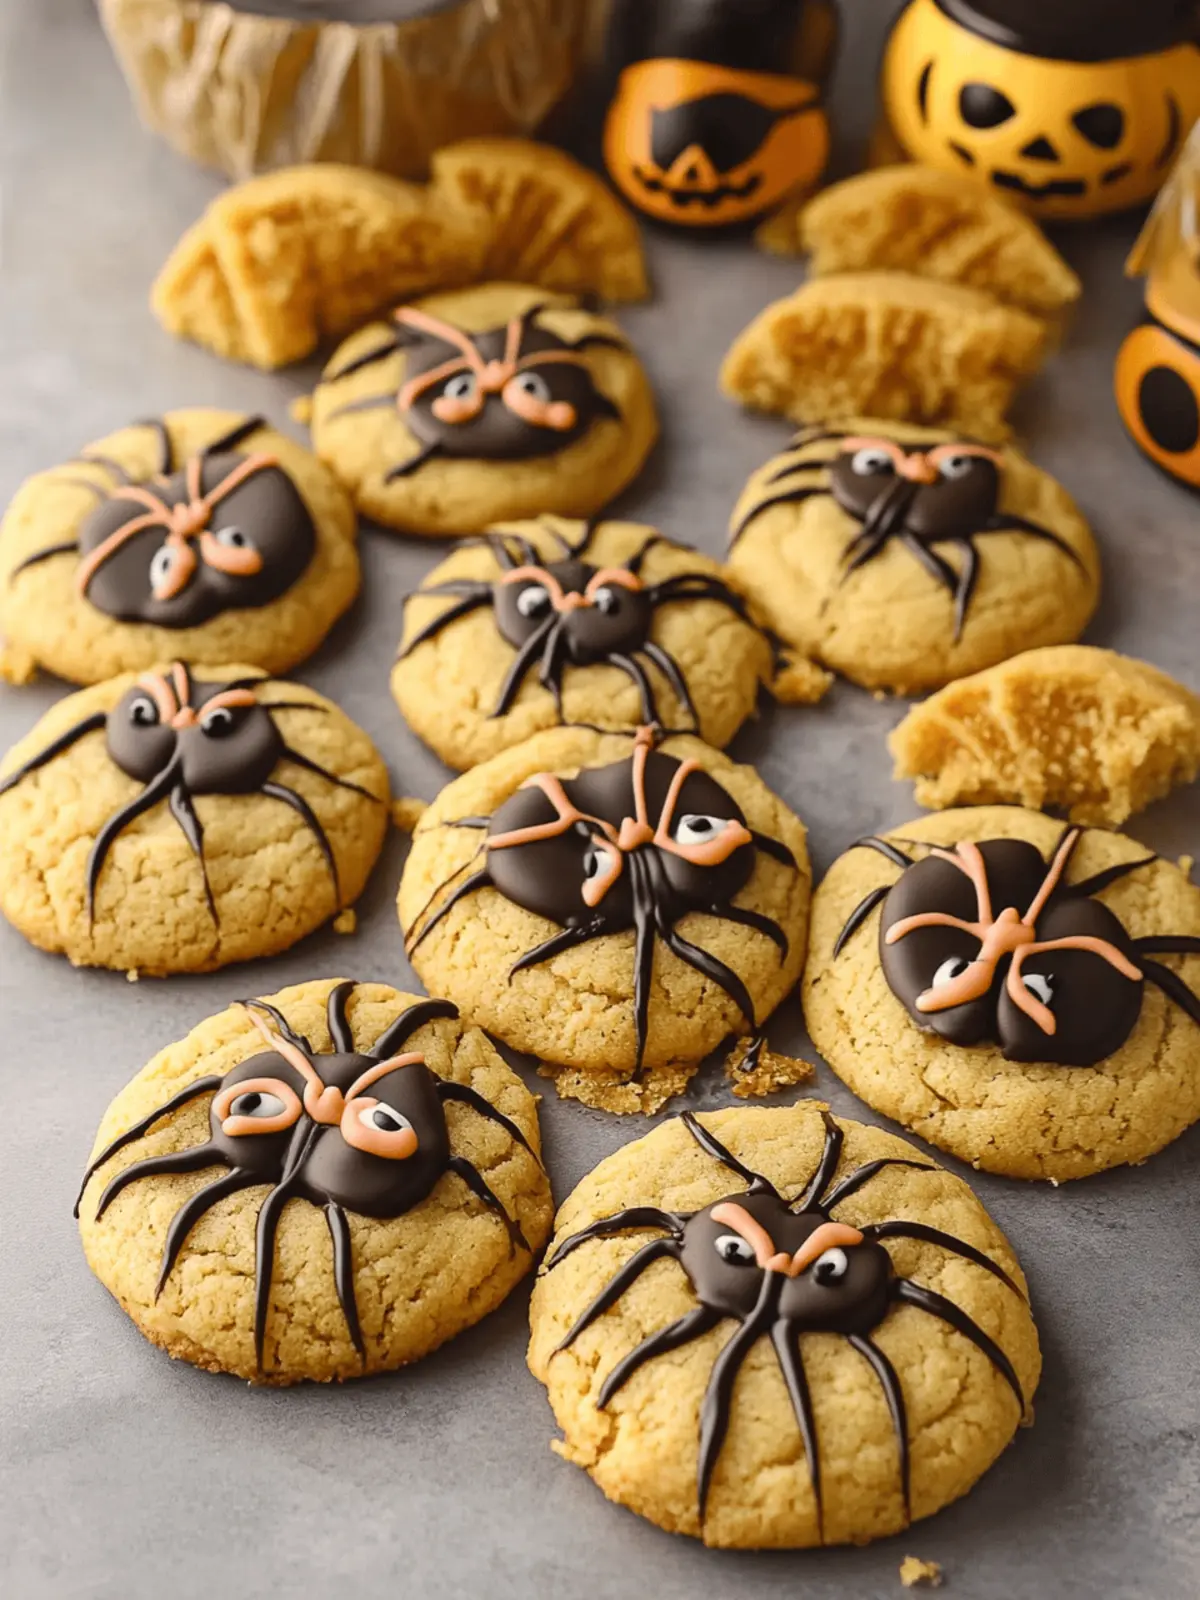
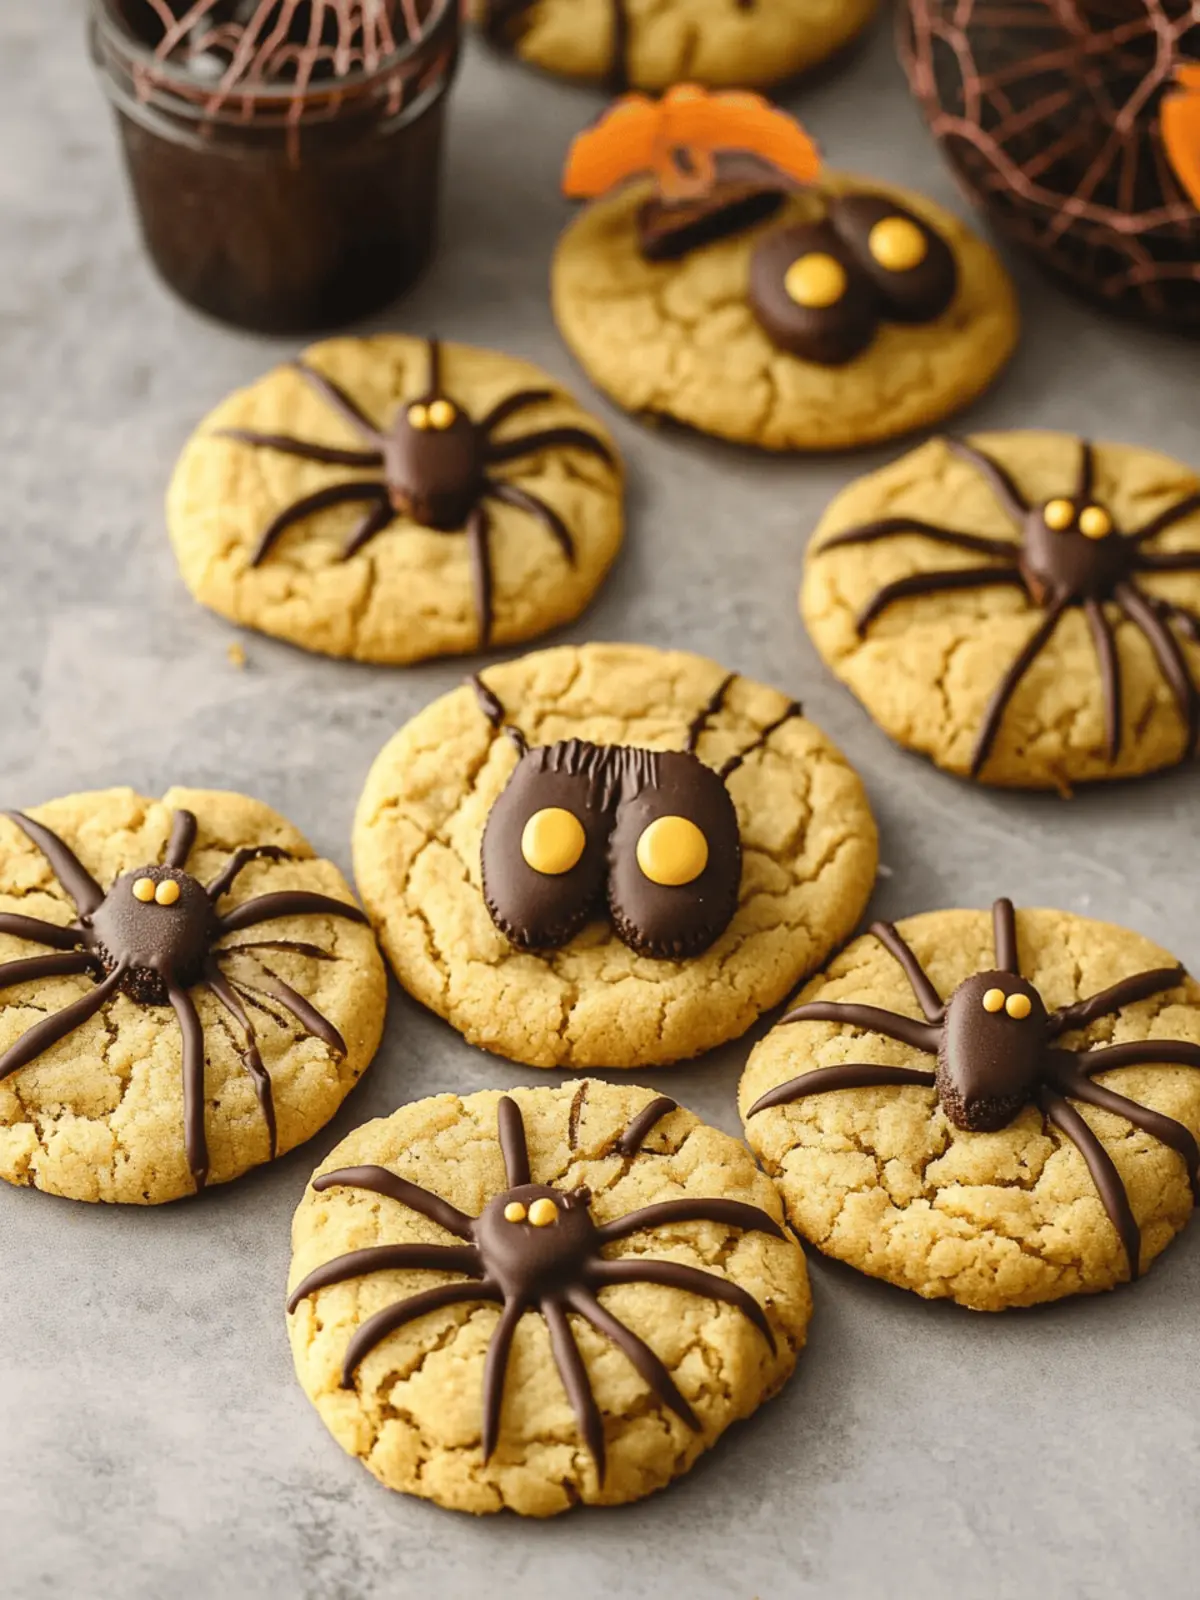
As the days grow shorter and the air turns crisp, my thoughts drift toward Halloween festivities filled with giggles, costumes, and, of course, delightful treats. This year, I decided to elevate my cookie game with these Adorable Peanut Butter Spider Halloween Cookies. With a perfect balance of chewy texture and rich flavor, they’re not just any ordinary cookies — these little delights come topped with Reese’s Peanut Butter Cups and playful chocolate legs, inviting smiles from kids and adults alike.
What I love most about this recipe is its versatility; while it’s a spook-tacular addition to any Halloween celebration, it can easily charm its way into your everyday baking. Whether you’re hosting a haunted gathering or simply craving a sweet escape from the mundane fast-food routine, this cookie recipe promises to bring joy and nostalgia into your kitchen. Let’s dive into the fun process of creating these whimsical treats that are sure to be a hit with friends and family!
Why are Peanut Butter Spider Halloween Cookies special?
Irresistible Fun: These cookies transform ordinary baking into a delightful Halloween activity, perfect for kids and adults alike.
Decadent Flavor: The rich combination of creamy peanut butter and chocolate creates a sweet bite that’s hard to resist.
Creative Decoration: With Reese’s cups and chocolate legs, these cookies are a feast for the eyes as well as the taste buds.
Year-Round Appeal: While festive, their delightful flavor makes them a treat for any occasion.
Easy to Make: You don’t need to be a baking expert; just follow the simple steps for a guaranteed crowd-pleaser!
Flexible Ingredients: Adapt the candy toppings for seasonal fun or personal favorites, making every batch unique!
Peanut Butter Spider Halloween Cookies Ingredients
For the Dough
- All-Purpose Flour – Provides structure; use gluten-free flour for a gluten-free option.
- Baking Soda – Helps cookies rise and become fluffy, ensuring a delightful bite.
- Salt – Enhances sweetness and balances flavor for the perfect cookie taste.
- Unsalted Butter – Adds richness and tenderness; cream it well for the best texture.
- Light Brown Sugar – Contributes moisture and a mild caramel flavor to the cookies.
- Granulated Sugar – Adds sweetness and aids in achieving a lovely golden-brown color.
- Smooth Peanut Butter – The star of these cookies; creamy works best for an amazing texture.
- Egg – Binds the ingredients together and adds necessary moisture for chewiness.
- Vanilla Extract – Delivers a warm, sweet aroma that complements the peanut butter.
- Whole Milk – Moisturizes the dough; can substitute with your favorite plant-based milk.
For the Decoration
- Miniature Reese’s Peanut Butter Cups – Serve as the delightful main topping; swap with Whoppers or chocolate Kisses if desired.
- Semi-Sweet Chocolate – Perfect for piping spider legs, adding both flavor and a spooky touch.
- Candy Eyes – These fun decorations bring your spider cookies to life; optional, but oh-so-fun for Halloween!
How to Make Peanut Butter Spider Halloween Cookies
-
Prepare Dough: In a large mixing bowl, cream together unsalted butter, light brown sugar, and granulated sugar until the mixture is light and fluffy. Incorporate the smooth peanut butter, then mix in the egg, vanilla extract, and whole milk until everything is well combined.
-
Mix Dry Ingredients: In a separate bowl, whisk together the all-purpose flour, baking soda, and salt. Gradually add this mixture to the wet ingredients, blending until the dough is smooth and no flour streaks remain.
-
Chill Dough: Cover the dough and refrigerate it for at least one hour. This chilling step helps the cookies maintain their shape while baking and enhances the flavors.
-
Form Cookies: Preheat your oven to 350°F (175°C). Scoop out chilled dough, roll it into balls, and space them out on a parchment-lined baking sheet, leaving room for spreading.
-
Bake: Place the cookies in the oven and bake for 10-12 minutes. They should be set at the edges with soft centers; don’t overbake!
-
Decorate: Allow cookies to cool for 3-5 minutes. Gently press a Reese’s Peanut Butter Cup into the center of each cookie. Once cooled completely, melt semi-sweet chocolate and pipe spider legs onto each cookie, finishing with candy eyes for that extra spooky touch.
Optional: Add colorful sprinkles for an extra festive flair!
Exact quantities are listed in the recipe card below.
What to Serve with Peanut Butter Spider Halloween Cookies?
When planning a delightful Halloween treat, consider the perfect accompaniments to elevate your cookie experience.
- Chilled Milk: This classic pairing complements the rich, sweet flavors of the cookies, making each bite even more satisfying.
- Hot Chocolate: The warmth of creamy hot chocolate provides a cozy contrast and enhances those peanut butter notes.
- Caramel Apple Slices: Crisp apple slices drizzled with caramel add a refreshing crunch that balances the sweet cookies perfectly.
- Pumpkin Spice Latte: Embrace the season with this aromatic coffee drink, bringing warmth and festive flavors to your dessert spread.
- Mini Candy Corn Cups: These colorful treats add a whimsical finish to your Halloween servings, enticing both kids and adults.
- Chocolate-Covered Pretzels: The salty-sweet crunch of these snacks offers texture variation, pairing beautifully with your cookies’ chewy centers.
Consider presenting your cookies on a festive platter, adorned with some above delicious pairing options, inviting everyone to indulge in a sweet Halloween experience!
Helpful Tricks for Peanut Butter Spider Halloween Cookies
-
Chill the Dough: Refrigerating the dough for at least one hour prevents your cookies from spreading too much, ensuring they maintain a lovely shape instead of turning flat.
-
Proper Peanut Butter: For the best texture, opt for creamy peanut butter rather than crunchy. Using natural peanut butter can lead to dryness, making your cookies less enjoyable.
-
Timing is Key: Wait for the cookies to cool slightly before adding the Reese’s Peanut Butter Cups. If they’re too hot, the candy will melt and lose its shape, ruining that delightful spider look!
-
Decorative Options: Feel free to get creative with candy toppings! Substitute Reese’s with alternatives like Snickers or Twix for a fun twist to your Peanut Butter Spider Halloween Cookies.
-
Watch the Baking Time: Keep an eye on your oven; pulling the cookies out when the edges are set but the centers are still soft is crucial to achieving that perfect chewy texture!
Storage Tips for Peanut Butter Spider Halloween Cookies
- Room Temperature: Store cookies in an airtight container at room temperature for up to 1 week to keep them chewy and delicious.
- Fridge: If you prefer even softer cookies, refrigerate them in an airtight container for up to 2 weeks. This keeps them fresh while enhancing flavors.
- Freezer: These Peanut Butter Spider Halloween Cookies can be frozen for up to 3 months. Place in a freezer-safe container with parchment paper between layers to prevent sticking.
- Reheating: To enjoy a warm cookie, reheat in the microwave for 10-15 seconds or let them sit at room temperature for a little while.
Make Ahead Options
These Peanut Butter Spider Halloween Cookies are perfect for busy home cooks looking to save time! You can prepare the cookie dough up to 24 hours in advance; simply follow the initial steps and then refrigerate the dough covered until you’re ready to bake. This chilling not only enhances the flavors but also prevents the cookies from spreading too much during baking. When you’re ready to serve, scoop and bake straight from the fridge, adding a few extra minutes to your baking time if needed. Remember, for the best results, wait until the cookies have cooled slightly before pressing the Reese’s cups on top and piping the chocolate spider legs. Enjoy a fun baking experience with minimal stress by prepping ahead!
Peanut Butter Spider Halloween Cookies Variations
Ready to give your cookies a delightful twist? Let’s customize these spooky treats into something uniquely yours!
-
Nut-Free: Substitute peanut butter with sun butter or almond butter for a nut-free alternative that still delivers on flavor.
-
Gluten-Free: Replace all-purpose flour with a gluten-free flour blend—just make sure to check if it contains xanthan gum for best results.
-
Sweetness Booster: Add a touch of honey or maple syrup to enhance the sweetness without overpowering the creamy peanut butter flavor.
-
Extra Crunch: Mix in chopped nuts like walnuts or pecans for added texture, making each bite a hearty treat. Just remember to adjust for allergies!
-
Halloween Vibes: Use festive icing colors to outline spider webs or create spooky faces on your cookies. It’s a fun activity for kids!
-
Spicy Twist: Incorporate a pinch of cinnamon or cayenne pepper into the dough for a warm, spicy contrast to the sweet chocolate.
-
Choco-Lover’s Delight: Ditch the Reese’s cups and top the cookies with chunks of your favorite chocolate bar or drizzle with melted chocolate for an extra indulgent treat.
-
Cookie Sandwich: For a delightful surprise, sandwich a small scoop of vanilla or pumpkin ice cream between two spider cookies—perfect for a Halloween party!
Peanut Butter Spider Halloween Cookies Recipe FAQs
What kind of peanut butter should I use for the cookies?
I highly recommend using creamy peanut butter for these cookies. It gives the ideal texture, allowing the cookies to be chewy and soft. Avoid natural peanut butter, as it can lead to dryness, making your cookies less enjoyable.
How should I store my Peanut Butter Spider Halloween Cookies?
Store your cookies in an airtight container at room temperature for up to 1 week. For softer cookies, consider refrigerating them in a sealed container, which will keep them fresh for up to 2 weeks. If you want to extend their shelf life, freeze them in a freezer-safe container for up to 3 months with layers of parchment paper in between to prevent sticking.
Can I freeze the cookie dough before baking?
Absolutely! If you want to get ahead of the game, you can prepare the cookie dough and roll it into balls. Place them on a baking sheet lined with parchment paper and freeze them for 1-2 hours. Once frozen, transfer the balls to a freezer-safe bag or container. They can be kept for up to 3 months. Just bake them directly from the freezer, extending the baking time by a couple of minutes.
What should I do if my cookies spread too much while baking?
If your cookies spread too much, it’s likely because the dough wasn’t chilled enough before baking. Make sure to refrigerate the dough for at least one hour before rolling them into balls and baking. Additionally, ensure that your oven temperature is accurate because an oven that is too hot can cause excessive spreading.
Can I use different toppings for my cookies?
Very! Feel free to get creative with your toppings. While Reese’s Peanut Butter Cups are the star of this recipe, you can easily substitute them with other chocolates like Twix or Snickers for a delightful twist. You can also use colorful sprinkles to match various festive themes beyond Halloween.
Are these cookies suitable for kids or those with allergies?
These cookies primarily contain peanuts, dairy, and gluten, so they might not be suitable for those with allergies. However, if you need a nut-free version, you can experiment with sunbutter or soy nut butter, and for a gluten-free option, use a gluten-free flour blend. Always check specific ingredient packaging for allergen information.

Peanut Butter Spider Halloween Cookies to Thrill Your Guests
Ingredients
Equipment
Method
- In a large mixing bowl, cream together unsalted butter, light brown sugar, and granulated sugar until light and fluffy.
- Incorporate smooth peanut butter, then mix in the egg, vanilla extract, and whole milk until well combined.
- In a separate bowl, whisk together flour, baking soda, and salt, then add this mixture to the wet ingredients, blending until smooth.
- Cover the dough and refrigerate for at least one hour.
- Preheat your oven to 350°F (175°C). Scoop out chilled dough, roll it into balls, and space them on a parchment-lined baking sheet.
- Bake for 10-12 minutes, pulling out when edges are set and centers are soft.
- Allow cookies to cool for 3-5 minutes before pressing a Reese's Peanut Butter Cup into each cookie.
- Once cooled completely, melt semi-sweet chocolate and pipe spider legs onto each cookie.
- Finish with candy eyes for decoration.


