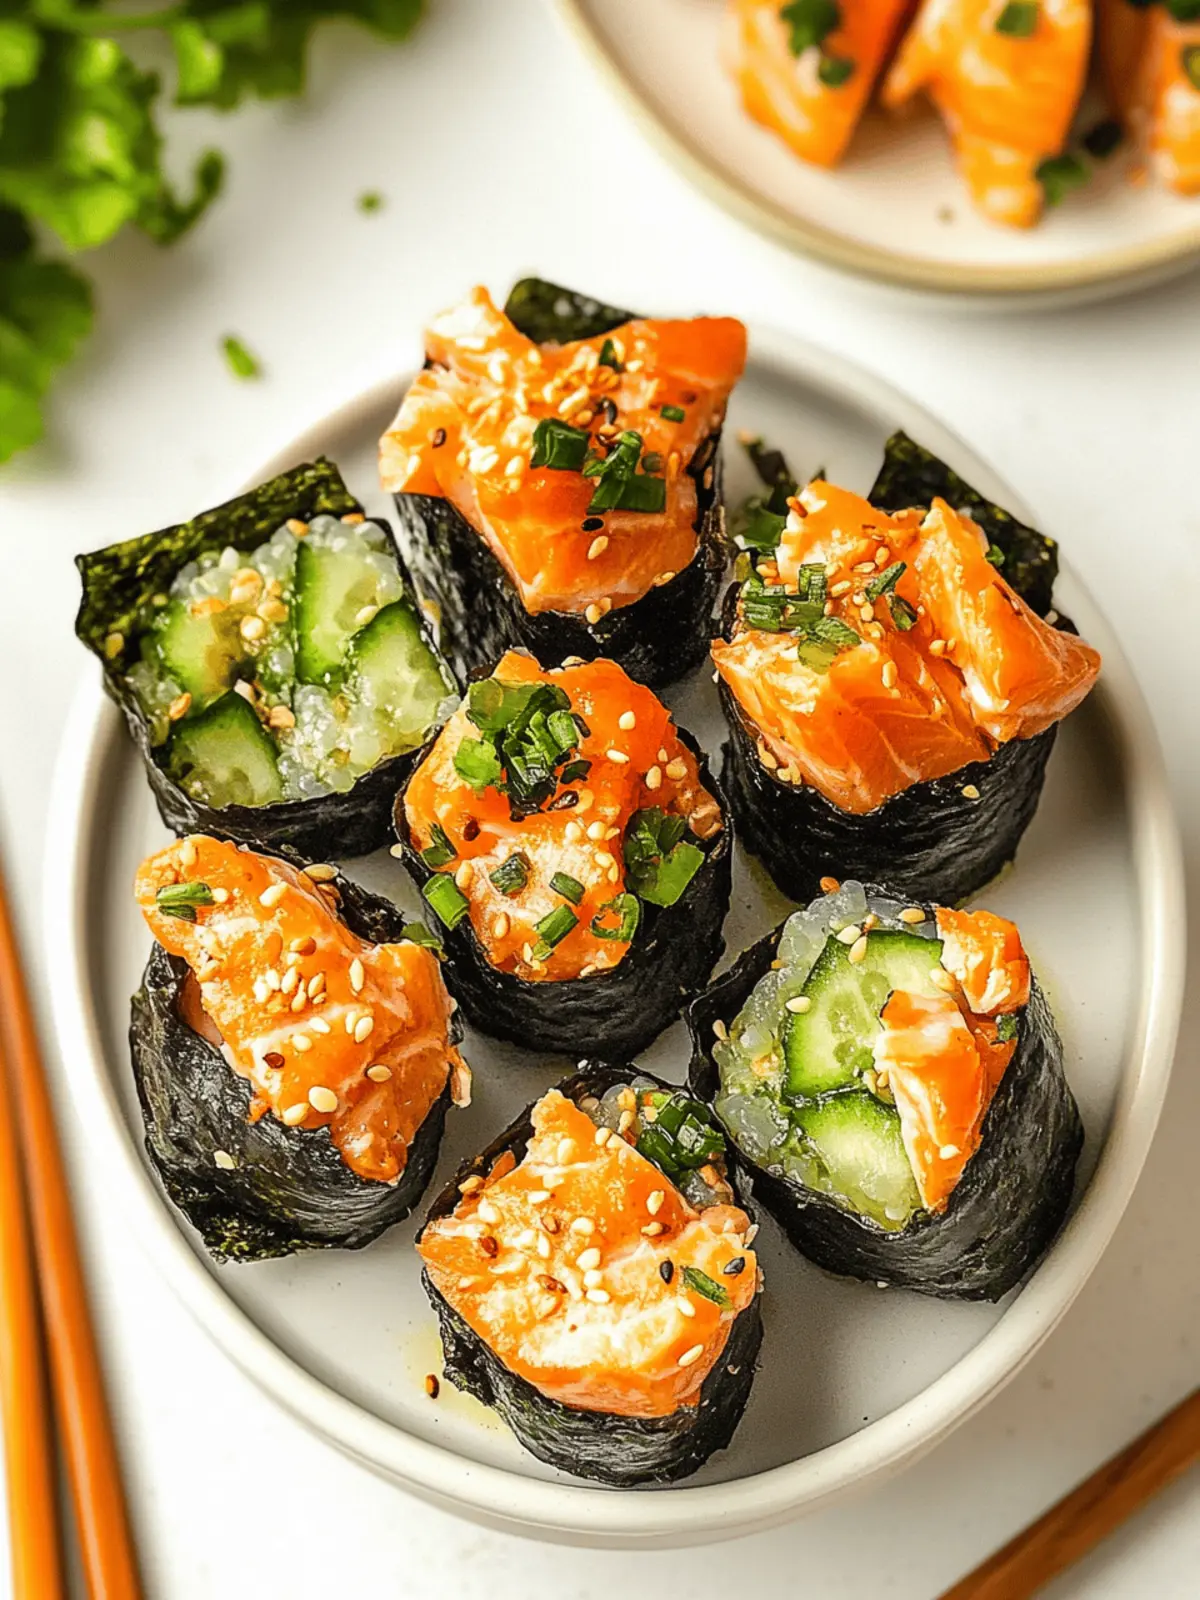
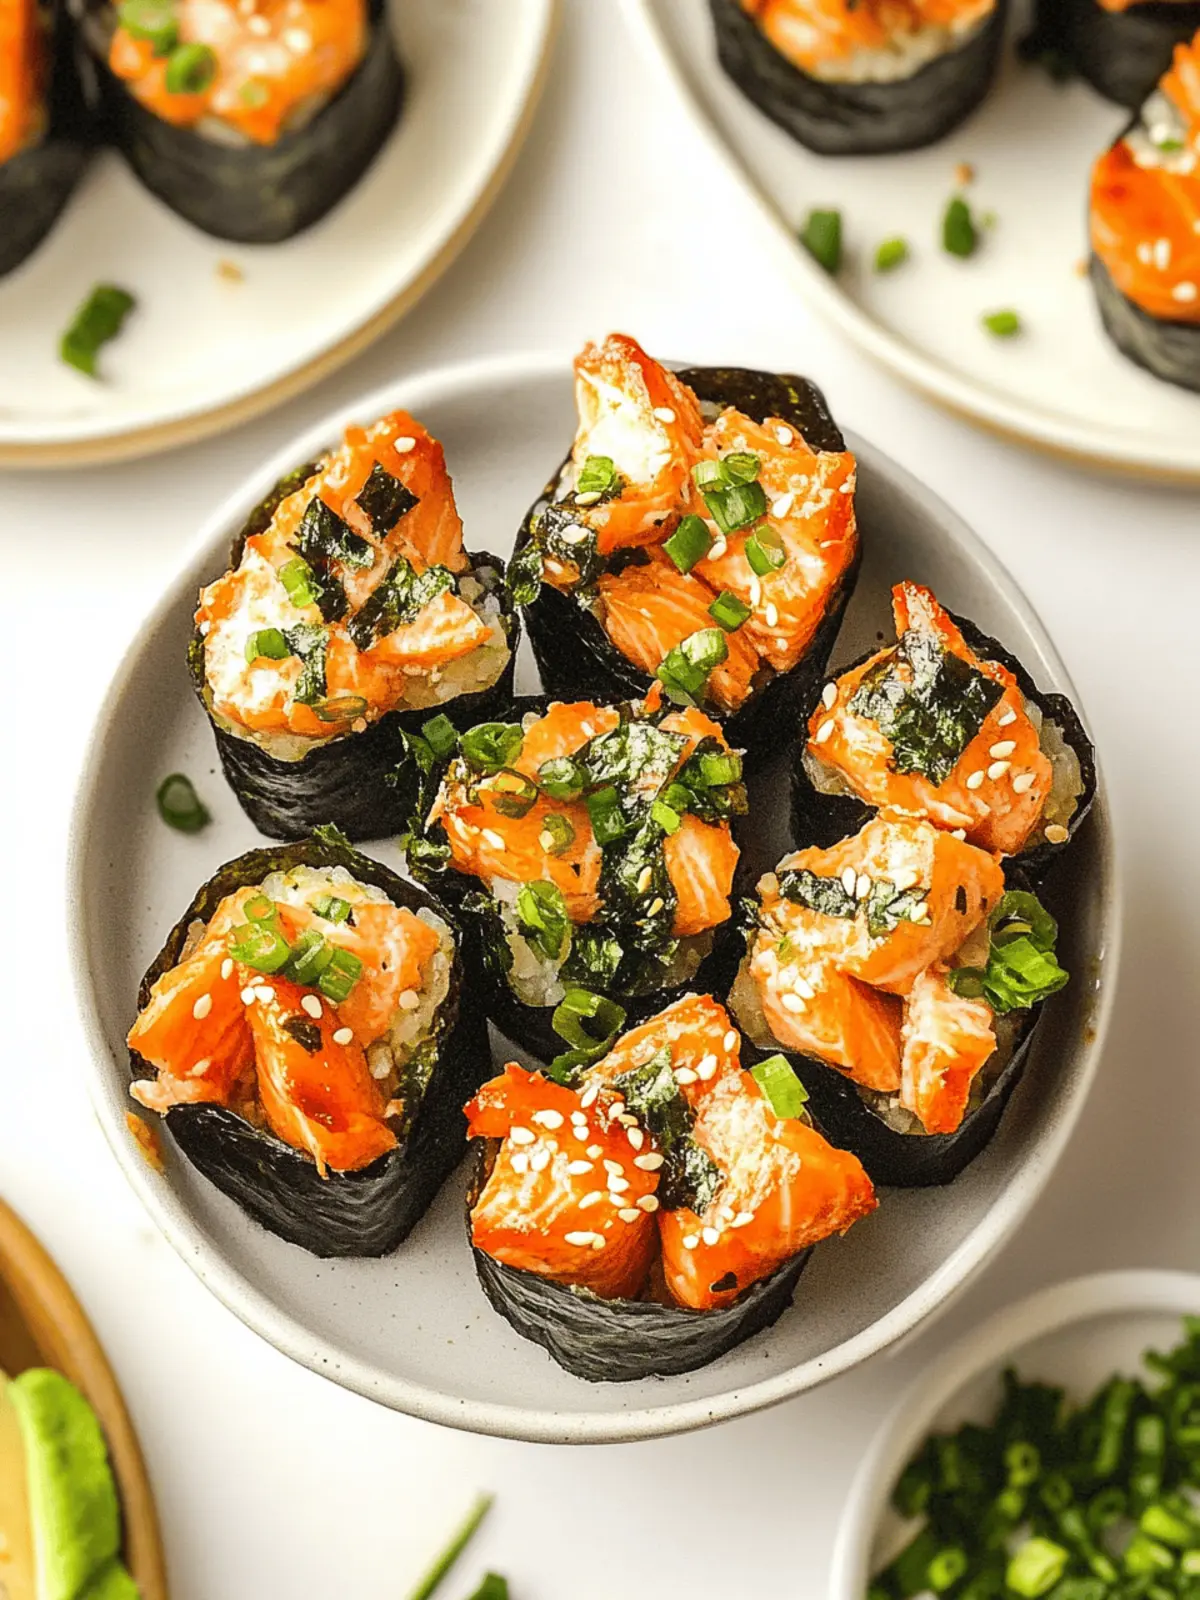
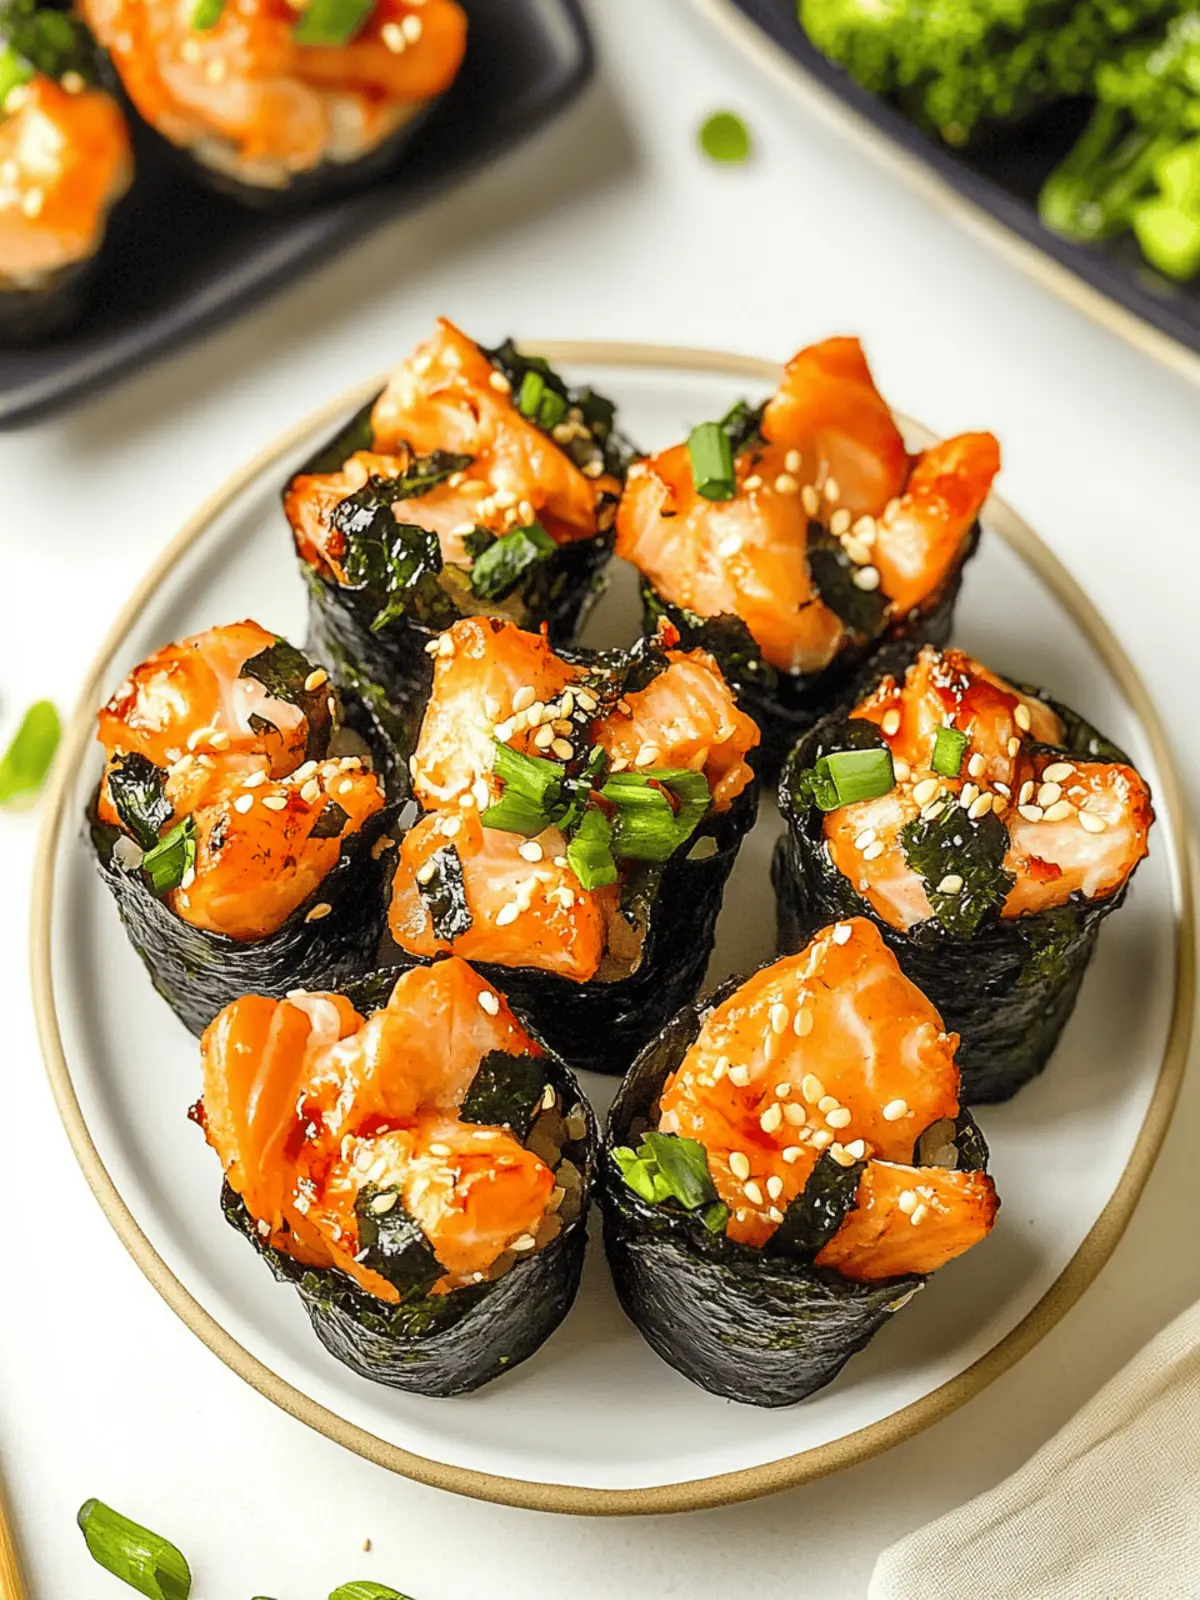
There’s nothing quite like the enticing aroma of baked sushi wafting through the kitchen, mingling with the sounds of laughter and conversation. When I first discovered the concept of Easy Baked Salmon Sushi Cups, it felt like unlocking a delightful secret—warm, savory bites of sushi goodness that capture the essence of traditional sushi with none of the fuss. After a particularly hectic week, I found myself craving a comforting meal yet wanted something different from the usual takeout.
These sushi-inspired treats come together in no time, making them perfect for a last-minute appetizer for guests or a fun family dinner. Each cup is a delightful combination of flaky salmon, aromatic sushi rice, and a subtle kick from sriracha, all nestled in crispy nori. It’s amazing how a few ingredients can transform into a viral sensation loved by home cooks everywhere! Let’s dive into this easy recipe and bring a little sushi magic to your table.
Why will you love Easy Baked Salmon Sushi Cups?
Convenient: These sushi cups come together quickly, making them ideal for busy weeknights or last-minute gatherings.
Flavor Explosion: The rich combination of salmon and sushi rice, paired with spicy sriracha and creamy Kewpie mayo, guarantees every bite is packed with flavor.
Crowd-Pleaser: Perfect for impressing guests at parties or simply enjoying a family meal, these bites will become the highlight of any gathering.
Unique Presentation: Shaped like muffins, they’re a fun twist on traditional sushi, presenting a familiar dish in a whole new way.
Versatility: Feel free to customize with your favorite fillings or toppings, making it easy to suit any palate or dietary preference.
Viral Sensation: Join the ranks of home cooks delighting in this trending recipe, ensuring you have something exciting to serve that’s also incredibly delicious!
Easy Baked Salmon Sushi Cups Ingredients
For the Salmon Mixture
- Salmon – Fresh salmon, cubed; this is the main protein that brings rich flavor and heartiness to the dish.
- Light Soy Sauce – Adds a delightful umami and saltiness; tamari can be used for a gluten-free option.
- Kewpie Mayo – This creamy topping enhances richness; if unavailable, regular mayo is a suitable substitute.
- Sriracha – Provides the perfect touch of spice; feel free to adjust the amount to suit your heat preference.
- Sesame Oil – Adds a luscious nutty aroma; omit if you prefer a neutral flavor profile.
For the Sushi Base
- Sushi Rice – A sticky short grain rice creates the ideal base structure for each cup; it’s essential for that authentic touch.
- Rice Vinegar – Balances the flavors in the rice; apple cider vinegar can work in a pinch.
- White Sugar – Balances the acidity of the rice vinegar; feel free to omit if you’re reducing sugar.
- Nori Sheets – These sheets shape the cups, creating a perfect vessel for the delicious filling; rice paper can be an alternative if necessary.
For Garnishing
- Furikake – A Japanese seasoning that adds texture and flavor; it’s optional but highly recommended!
- Green Onion – Brilliant for a fresh garnish; substitute with chives if you prefer a milder flavor.
For Preparation
- Cooking Spray – Essential for preventing the cups from sticking to the muffin tin, ensuring easy removal post-baking.
Enjoy creating your Easy Baked Salmon Sushi Cups and prepare for them to become your new favorite snack!
How to Make Easy Baked Salmon Sushi Cups
-
Cook Rice: Start by preparing the sushi rice according to the package instructions. Once cooked, combine rice vinegar and sugar in a small saucepan, warming gently until the sugar dissolves. Mix this with the rice and set aside to cool a bit.
-
Preheat Oven: Preheat your oven to 400°F (200°C). This ensures that the cups bake evenly and achieve that perfect crispy texture.
-
Prepare Salmon Mixture: In a mixing bowl, combine cubed salmon with light soy sauce, Kewpie mayo, sriracha, and sesame oil. Stir well until the salmon is evenly coated with all those rich flavors.
-
Cut Nori Sheets: Take your nori sheets and cut them into rectangles that will fit snugly in the muffin tin cups. Don’t stress if they’re not perfect; just aim for pieces that cover the bottom and sides.
-
Assemble Cups: Lightly spray the muffin tin with cooking spray to prevent sticking. Press the nori sheets into each cup, fill them generously with the seasoned sushi rice, and then top each with the salmon mixture.
-
Bake: Place your muffin tin in the oven and bake for about 15 minutes. Look for the salmon to be fully cooked and the tops to be golden brown.
-
Garnish: Once out of the oven, let the cups cool slightly. Drizzle with extra sriracha or mayo if desired and sprinkle with furikake and sliced green onions for that finishing touch. Serve immediately for the best taste experience!
Optional: Serve with pickled ginger and soy sauce for an authentic sushi experience.
Exact quantities are listed in the recipe card below.
What to Serve with Easy Baked Salmon Sushi Cups?
Complement your sushi cups with vibrant sides that enhance their flavor and texture while offering a delightful meal experience.
- Cucumber Salad: A refreshing, crisp salad that balances the savory richness of the sushi cups with light zest and crunch.
- Miso Soup: Warm, comforting soup with umami depth, perfect for a cozy pairing that ties flavors together beautifully.
- Pickled Ginger: The sharp tang of pickled ginger cuts through the richness of the salmon, enhancing your sushi experience with each bite.
- Wasabi Peas: These crunchy snacks provide a spicy kick, making for an exciting textural contrast alongside your tender sushi cups.
- Sesame Edamame: Tender, salted edamame pods bring a satisfying texture and heartiness, perfect as a protein-packed side.
- Rice Wine: A chilled, aromatic glass of sake enhances the sushi experience with its clean flavors and smooth finish.
- Fruit Skewers: Bright, juicy fruit skewers bring a refreshing sweetness that pairs wonderfully with savory bites and adds color to your meal.
- Green Tea: A warm cup of green tea offers a comforting finish, balancing the meal and enhancing its wholesome flavors.
Enjoy crafting a meal that showcases your Easy Baked Salmon Sushi Cups while tickling your taste buds with each delectable pairing!
Storage Tips for Easy Baked Salmon Sushi Cups
- Room Temperature: Enjoy leftover sushi cups at room temperature for up to 2 hours; they’re best fresh, but can still be delightful when slightly cooled.
- Fridge: Store any leftover Easy Baked Salmon Sushi Cups in an airtight container in the refrigerator for up to 2-3 days to maintain freshness.
- Freezer: For longer storage, freeze the cups before baking for up to 1 month. Thaw in the fridge before baking for the best results.
- Reheating: Reheat cups in the oven at 350°F for about 10 minutes until heated through and crispy, restoring that delightful texture.
Easy Baked Salmon Sushi Cups Variations
Customize your dish with these delightful twists that will elevate your Easy Baked Salmon Sushi Cups experience!
-
Vegetarian Swap: Replace salmon with cooked mushrooms or marinated tofu for a tasty plant-based option. This variation still delivers on flavor, and you won’t miss the fish!
-
Spicy Tuna Cups: Use diced spicy tuna instead of salmon to satisfy those heat-seekers. The combination of rich tuna and a kick of sriracha makes for a delightful twist!
-
Creamy Avocado: Add avocado slices or cubes to the filling for a creamy texture that complements the salmon beautifully. The buttery taste of avocado elevates the sushi cup to another level!
-
Toppings Galore: Experiment with different sauces like eel sauce or hoisin for added flavor. Just a drizzle on top can bring a whole new dimension to your savory cups!
-
Crispy Bacon: For a savory crunch, add crumbled cooked bacon into the salmon mixture. This unexpected ingredient adds a smoky flavor that pairs beautifully with the sushi-inspired base.
-
Herb Infusion: Mix in fresh herbs like cilantro or basil for a refreshing twist. These aromatic herbs will brighten the flavors and give the cups a new life!
-
Fruity Surprise: Incorporate some finely diced mango or pineapple for a sweet, tropical flavor that contrasts wonderfully with the savory elements. It’s a sure way to impress your guests with an unexpected treat!
-
Flavorful Furikake: Use different varieties of furikake, like wasabi or spicy options, to spice up your garnishing. Each new flavor brings a unique character to your sushi cups!
Expert Tips for Easy Baked Salmon Sushi Cups
- Use Fresh Salmon: Fresh salmon enhances the flavor and ensures safety. Avoid using pre-packaged salmon that might be past its peak.
- Check Rice Consistency: Ensure your sushi rice is sticky enough to hold its shape; undercooked rice may crumble, resulting in messy cups.
- Avoid Overfilling: Don’t pack the salmon too tightly in each cup; it needs room to cook evenly, which keeps the sushi cups tender.
- Mind the Nori: If your nori is too thick, the cups may not hold their shape—lightly crisp it in the oven before assembling if needed.
- Customize Spices: Adjust the level of sriracha based on your tolerance for heat, or use alternative sauces for an exciting twist in your Easy Baked Salmon Sushi Cups!
Make Ahead Options
These Easy Baked Salmon Sushi Cups are a fantastic choice for meal prep, allowing you to savor delicious sushi without last-minute stress! You can prepare the sushi rice and salmon mixture up to 24 hours in advance—just refrigerate them separately to maintain their fresh texture and flavor. When you’re ready to enjoy, simply assemble the cups in the nori-lined muffin tin, add the prepped fillings, and bake. For the best quality, ensure the nori is added right before baking to keep it crispy. This way, you can have warm, savory sushi cups ready in no time, perfect for busy weeknights or last-minute gatherings!
Easy Baked Salmon Sushi Cups Recipe FAQs
What type of salmon should I use for the best flavor?
Absolutely use fresh salmon for the best flavor and texture in your Easy Baked Salmon Sushi Cups! Fresh fish will not only taste better but also enhance the overall quality of your dish. If fresh salmon isn’t available, you can use high-quality frozen salmon, ensuring it has been thawed properly in the refrigerator before use.
How should I store leftover sushi cups?
Very good question! Leftover Easy Baked Salmon Sushi Cups can be stored in an airtight container in the refrigerator for up to 2-3 days. To retain their delicious quality, consider reheating them in the oven at 350°F for about 10 minutes. This will help to crisp them up again and restore that beautiful texture.
Can I freeze the sushi cups, and if so, how?
Certainly! You can freeze the Easy Baked Salmon Sushi Cups before baking them. Just assemble the cups in the muffin tin, cover tightly with plastic wrap or aluminum foil, and freeze for up to 1 month. When you’re ready to bake, remove from the freezer and thaw in the refrigerator overnight before placing them in the oven. Bake as directed, and they will be just as delightful!
What if I have leftover sushi rice? Can I use it in other dishes?
Absolutely! Leftover sushi rice is versatile and can be used in various dishes. You can shape it into sushi rolls, use it in a rice salad, or even make rice balls (onigiri) by mixing in some seasonings or fillings. Just store any extra rice in the refrigerator for up to 3 days. The more the merrier when it comes to creativity in the kitchen!
Can I make this recipe gluten-free?
Very much so! To make Easy Baked Salmon Sushi Cups gluten-free, simply substitute regular soy sauce with tamari. Ensure all your other ingredients, such as Kewpie mayo and rice vinegar, are also gluten-free. This way, you won’t miss out on the deliciousness while still enjoying the recipe.
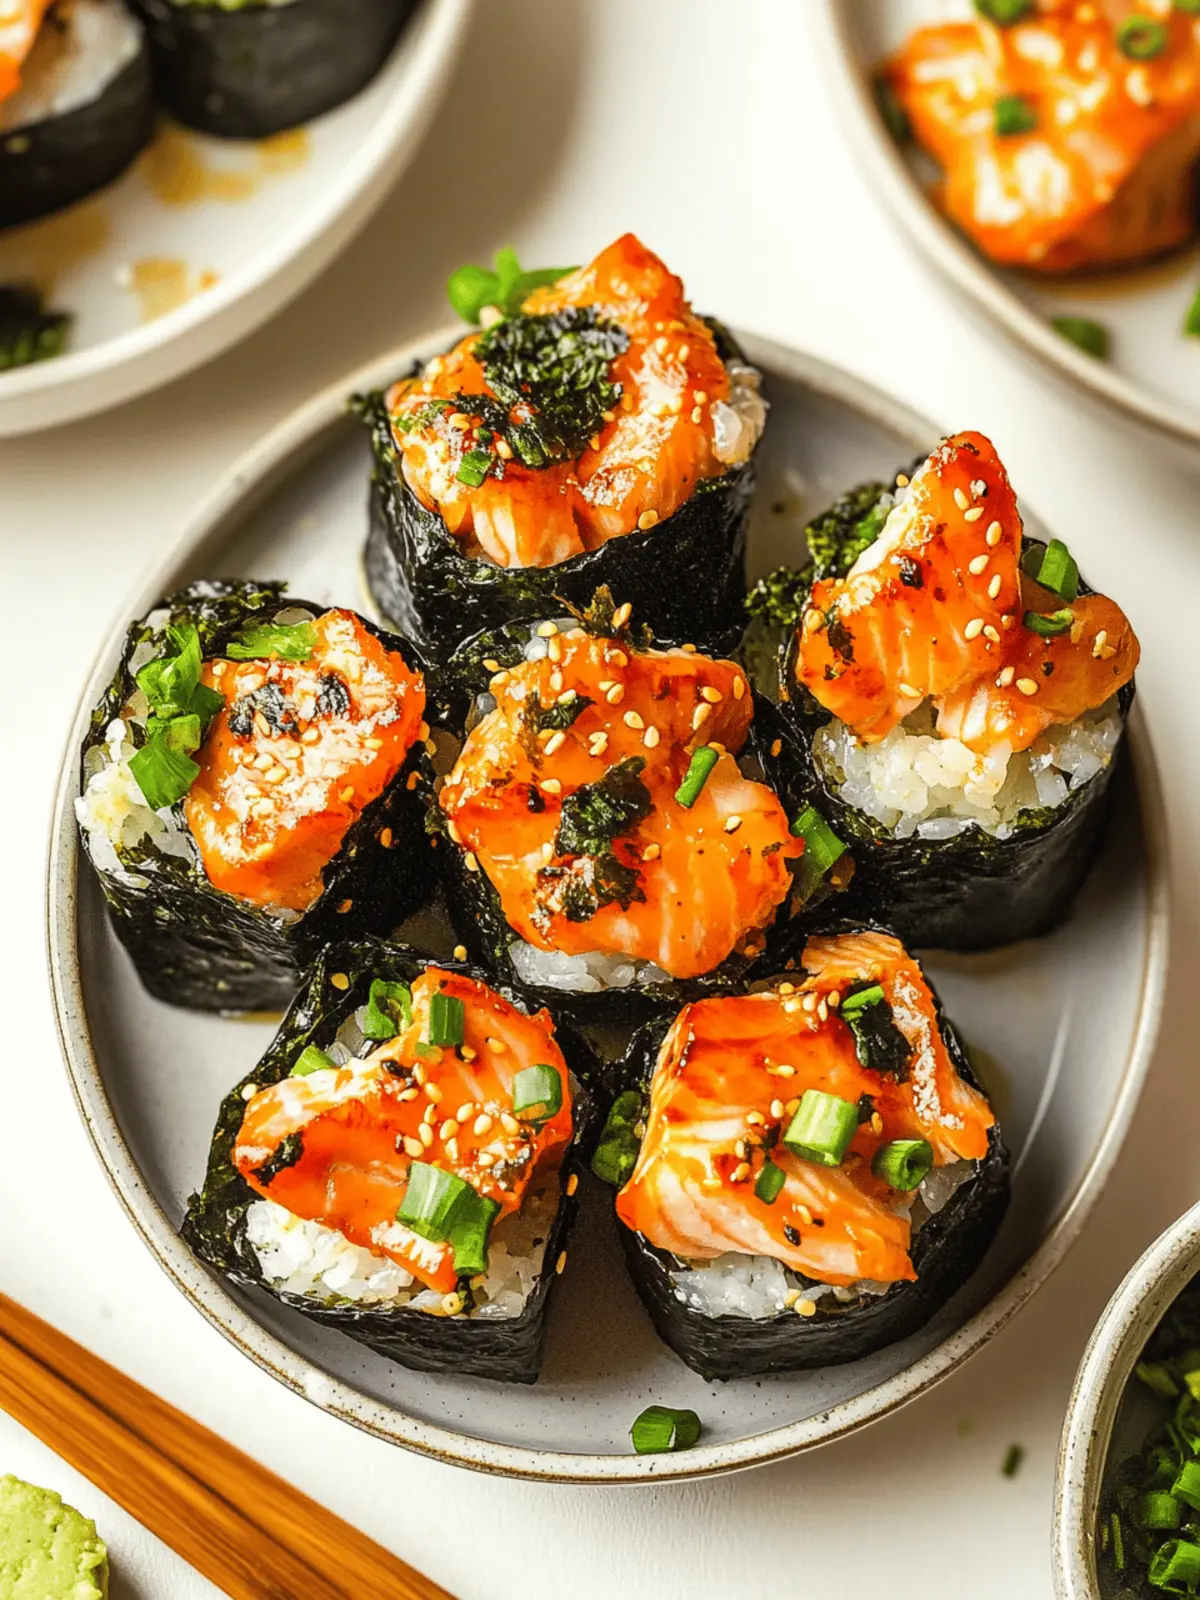
Easy Baked Salmon Sushi Cups - Your New Viral Snack Sensation
Ingredients
Equipment
Method
- Cook the sushi rice according to the package instructions. Combine rice vinegar and sugar in a small saucepan, warming gently until dissolved; mix with rice and set aside to cool.
- Preheat your oven to 400°F (200°C) for even baking.
- In a mixing bowl, combine cubed salmon with light soy sauce, Kewpie mayo, sriracha, and sesame oil until evenly coated.
- Cut nori sheets into rectangles that will fit snugly in muffin tin cups.
- Lightly spray the muffin tin with cooking spray, press nori sheets into each cup, fill with sushi rice, and top with the salmon mixture.
- Bake in the oven for about 15 minutes until salmon is cooked and tops are golden brown.
- Let the cups cool slightly, then garnish with extra sriracha or mayo, sprinkle with furikake and sliced green onions. Serve immediately.

