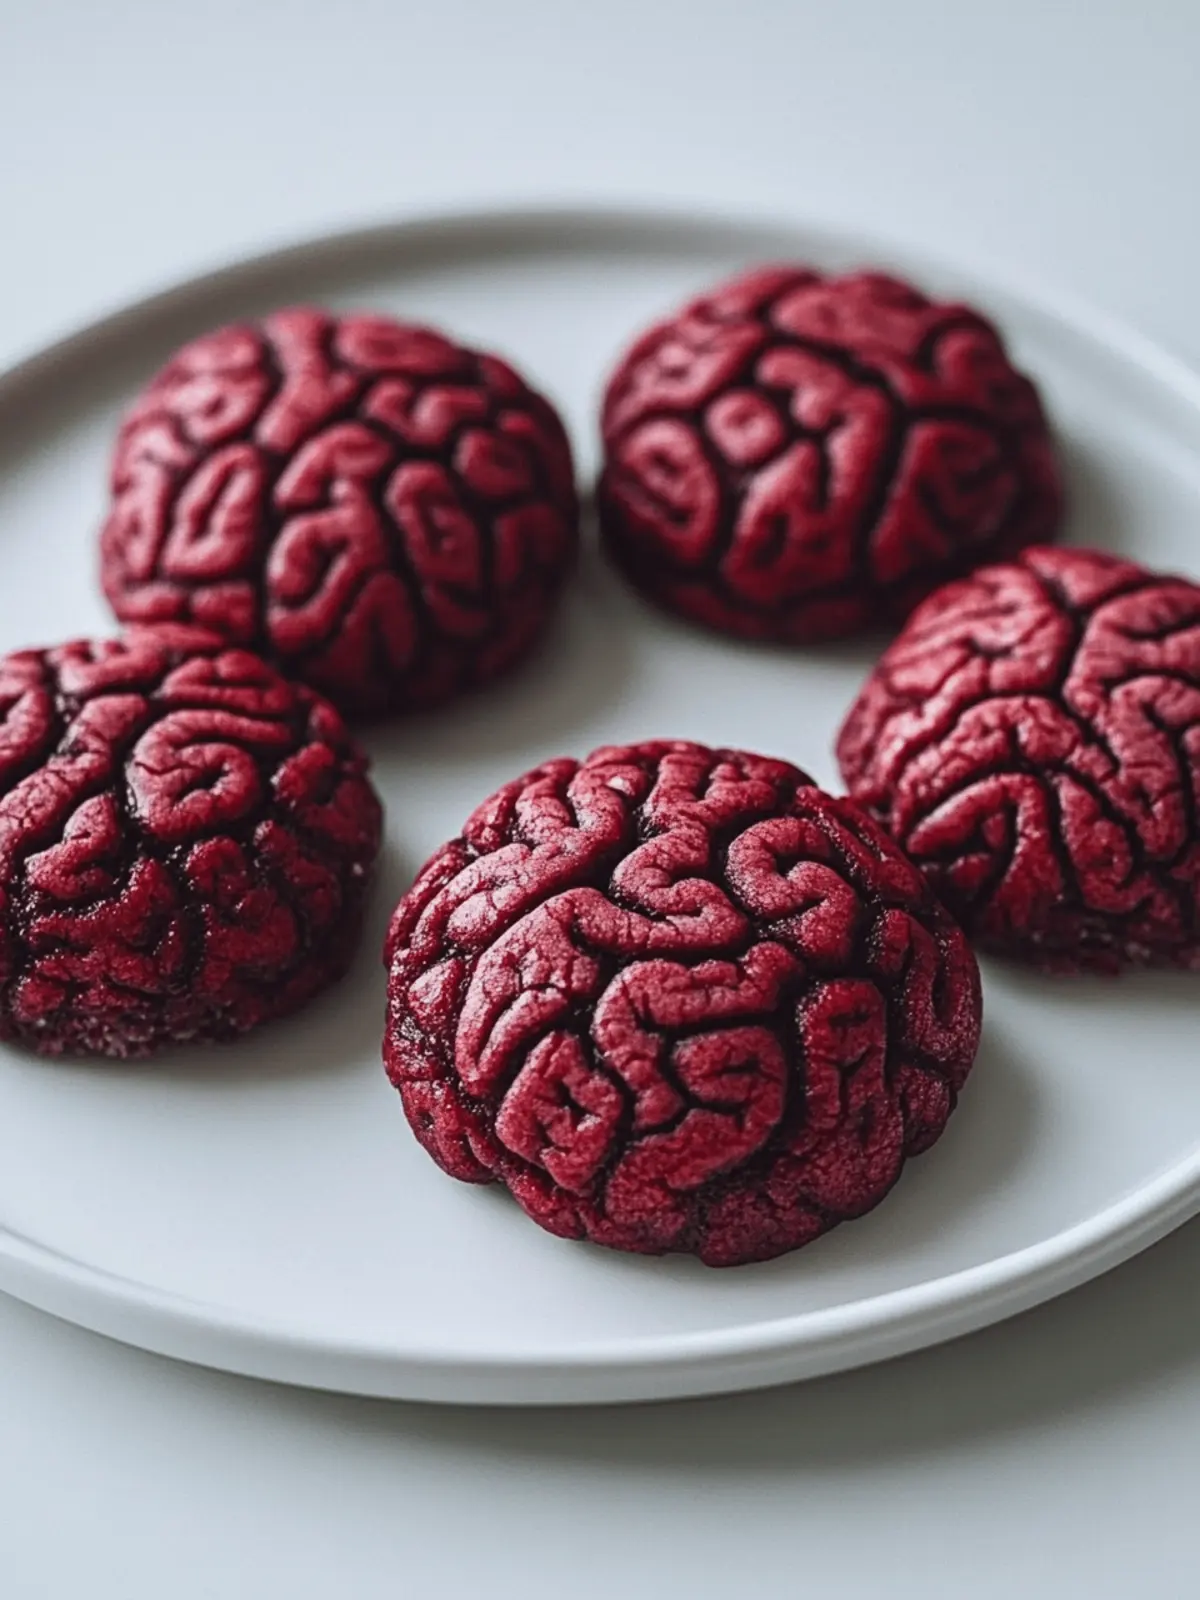
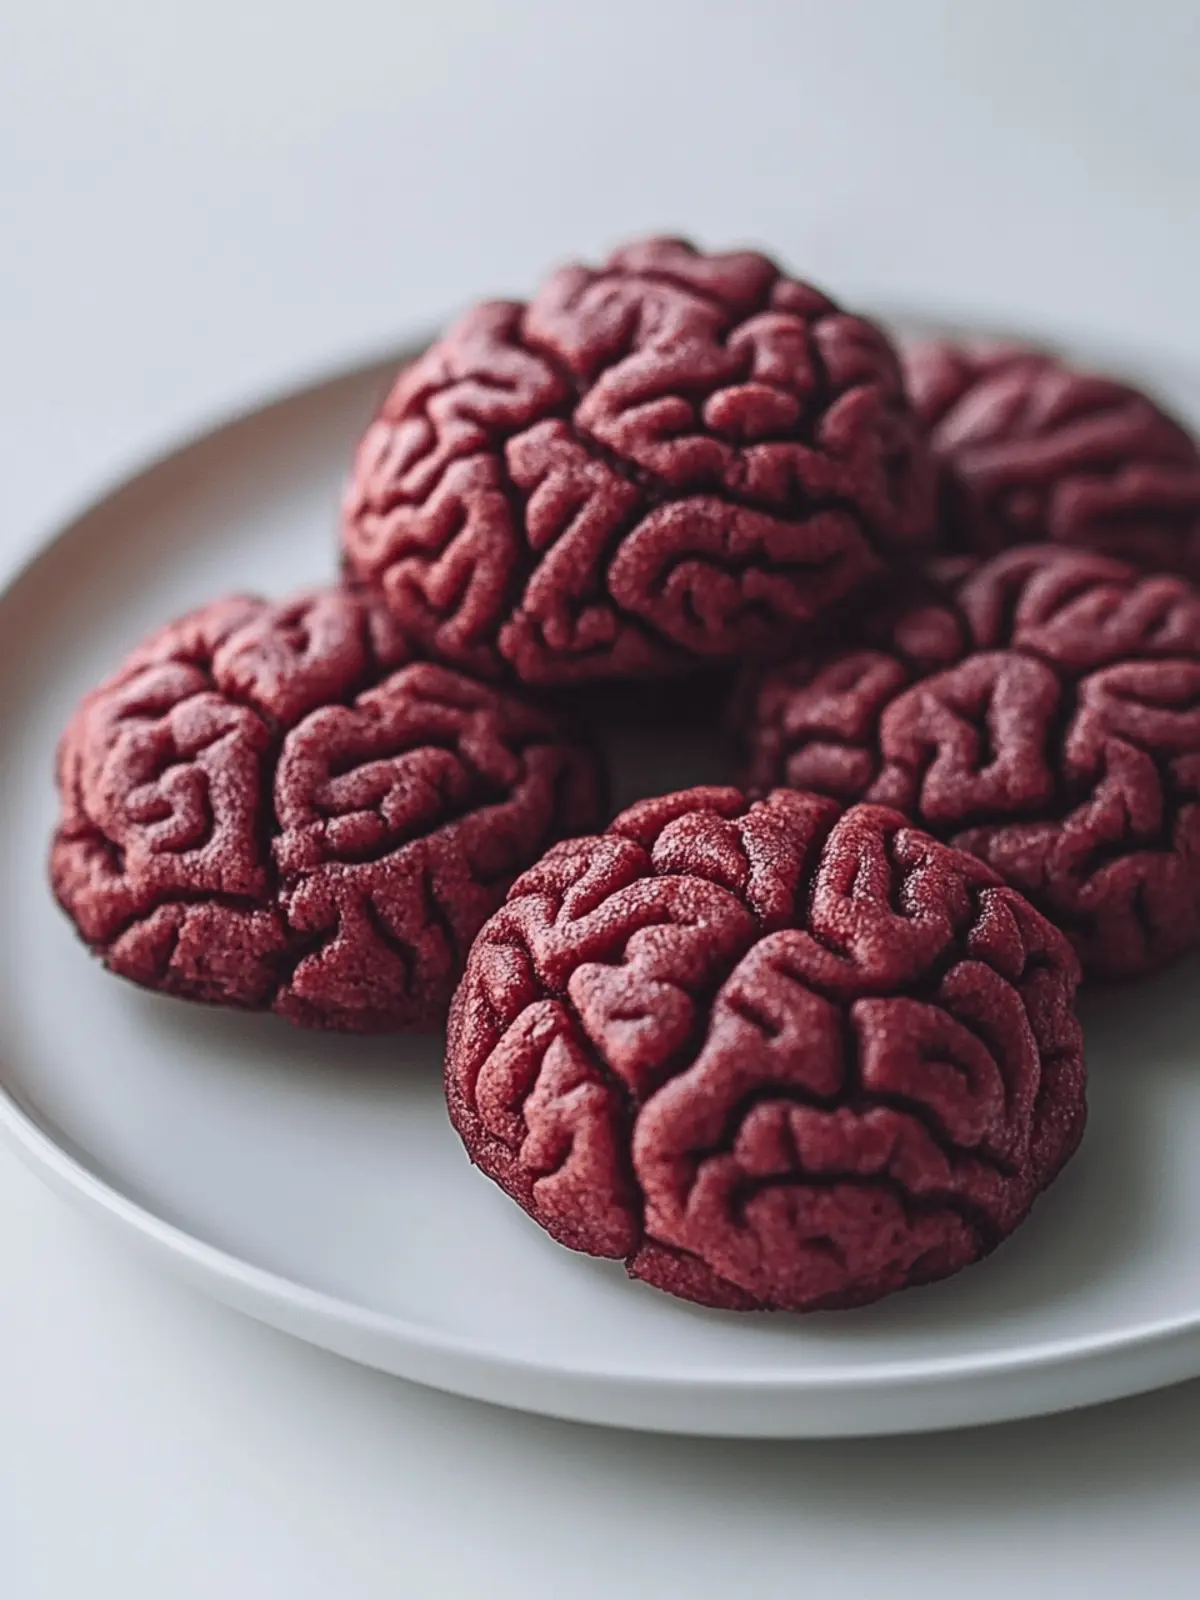
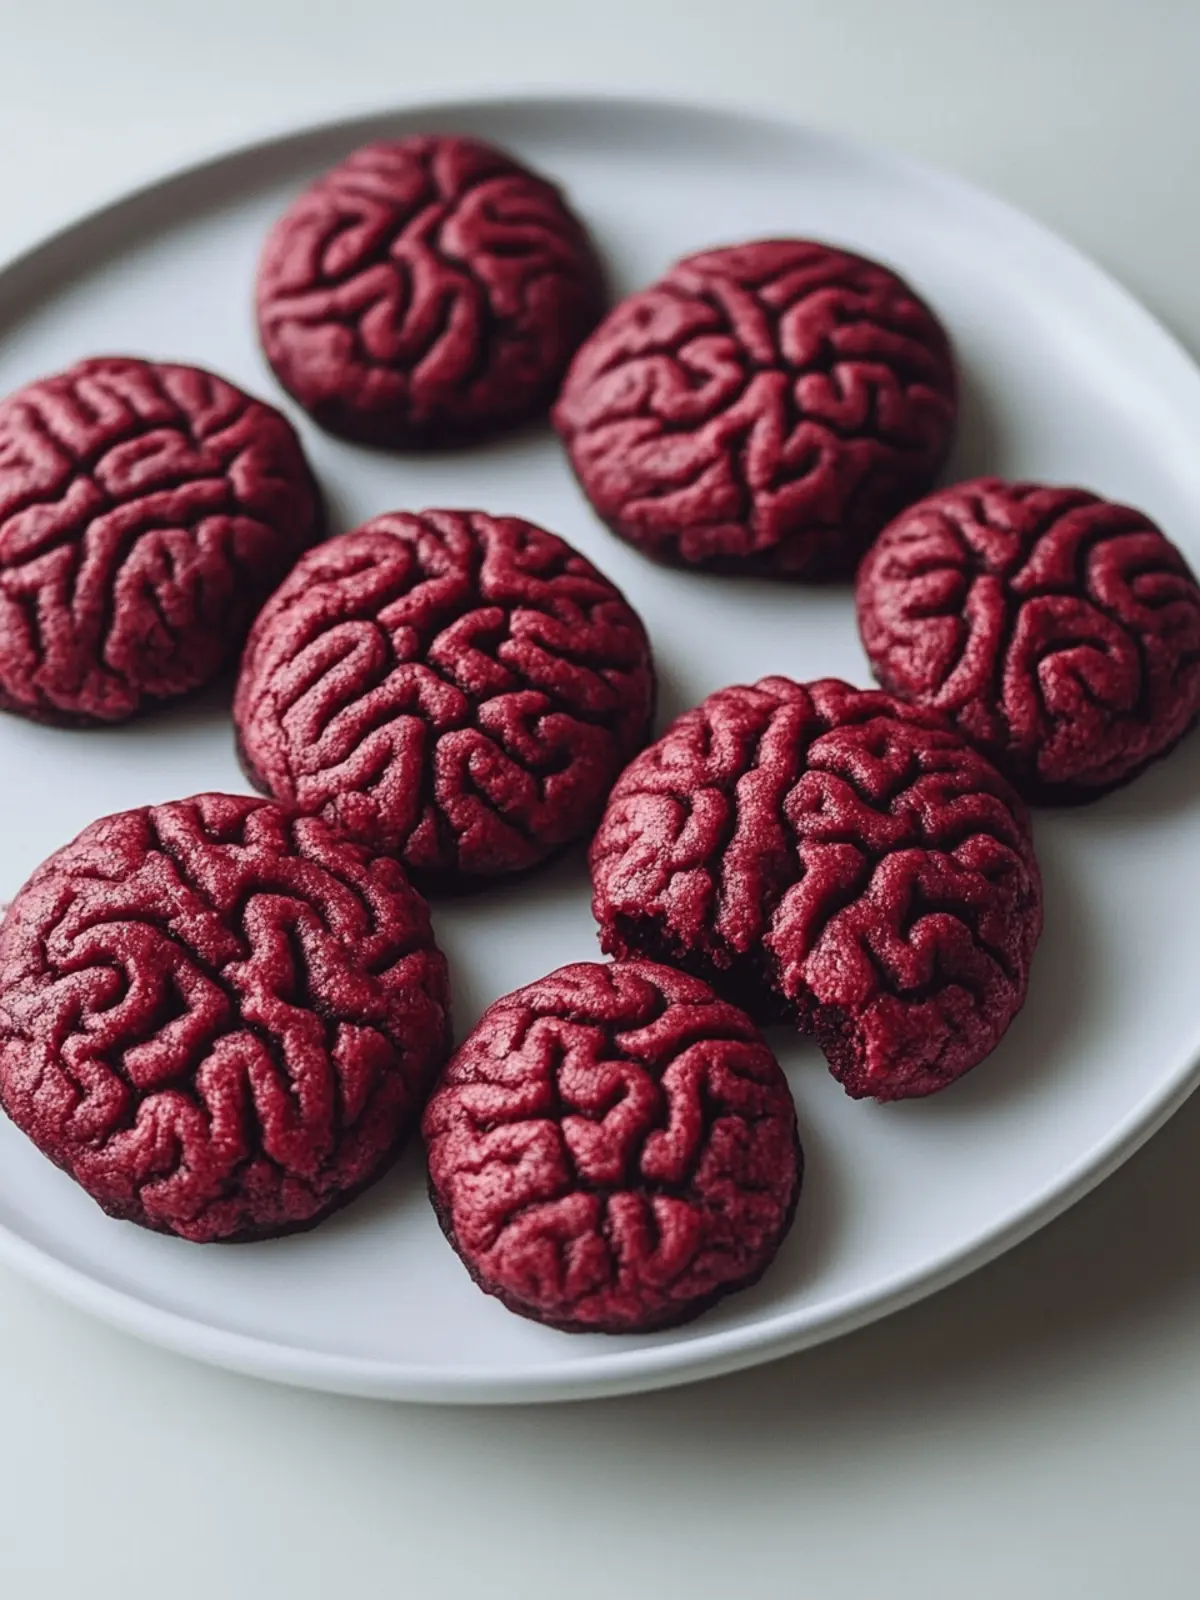
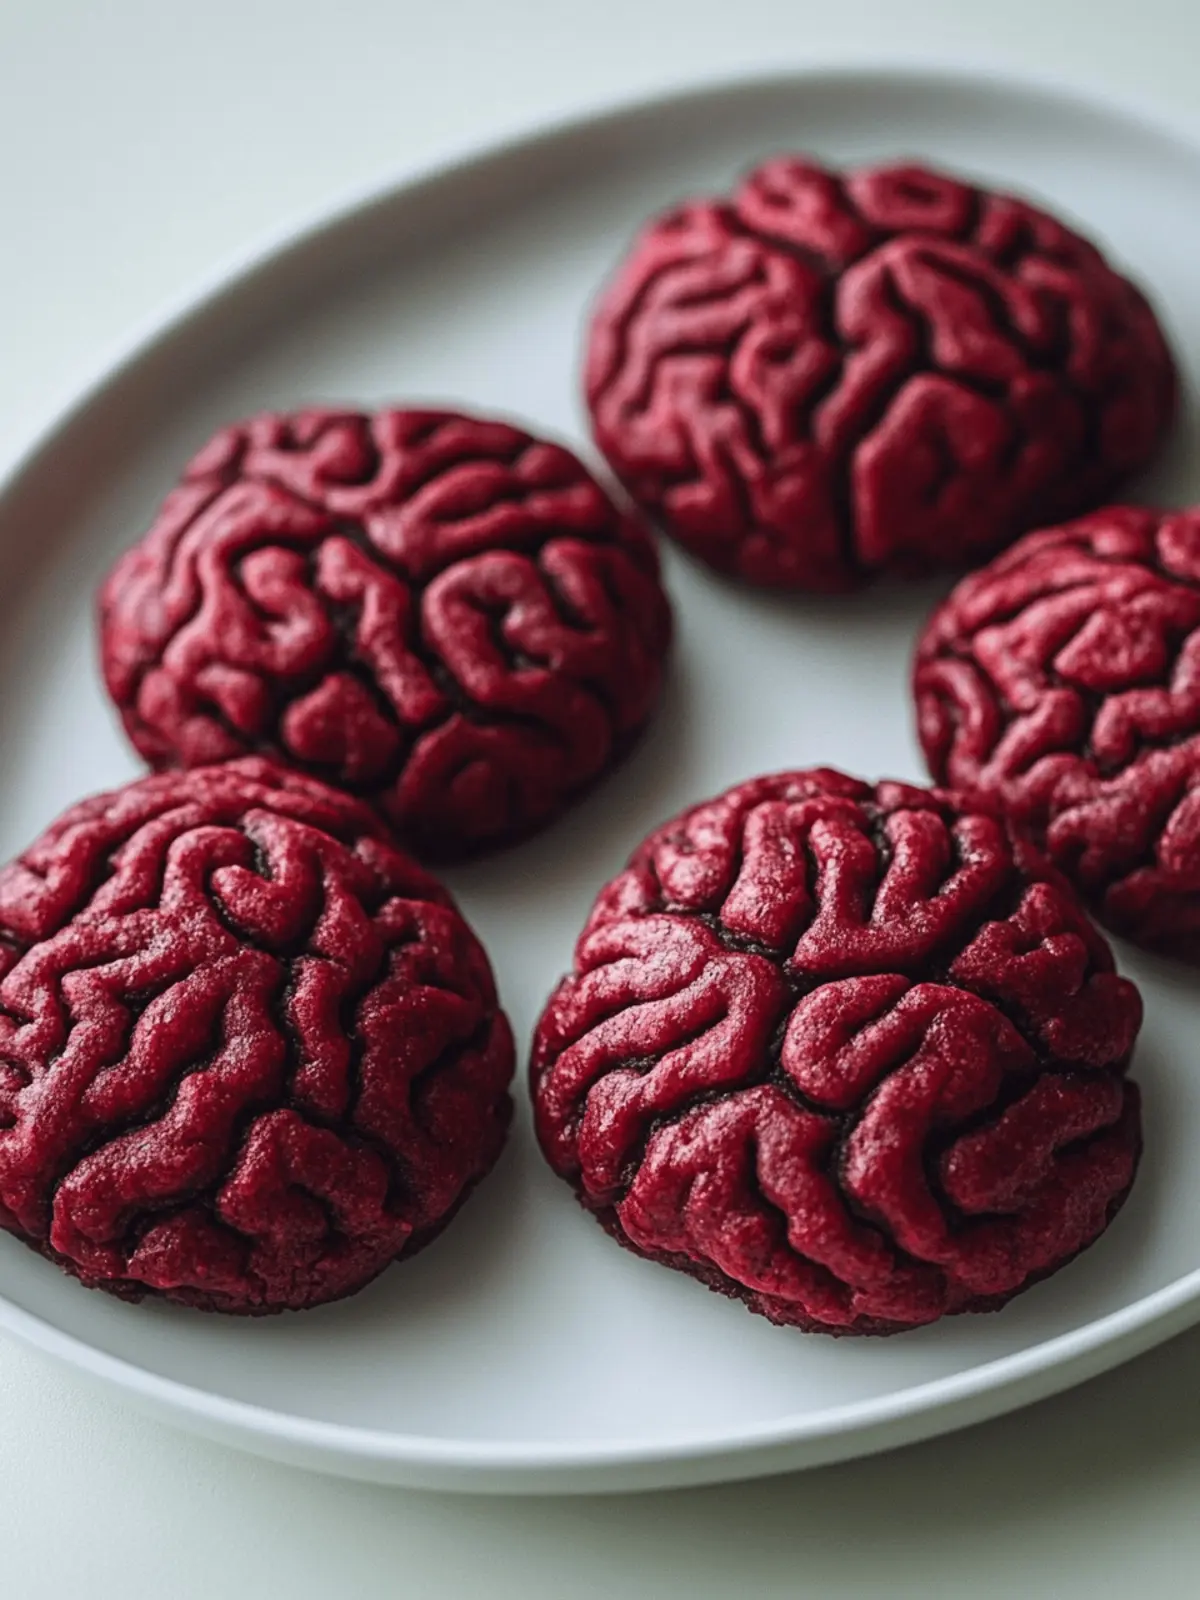
As the leaves begin to change and the air turns crisp, my excitement for Halloween ramps up! There’s something undeniably fun about getting creative in the kitchen this time of year, especially when it comes to festive treats. That’s how I found myself whipping up these delightfully gruesome Zombie Brain Cookies. Picture this: vibrant red splashes, twisted shapes reminiscent of brains, and a light crunch that snaps your taste buds to attention!
What I love most about these cookies is how they manage to blend playful aesthetics with the comfort of a classic sugar cookie. They’re not just a treat; they’re a conversation starter at any Halloween party! Easy to customize with different decorating techniques, these spooky delights will have your friends laughing and reaching for more. So, grab your apron, and let’s dive into the world of Halloween fun with these unforgettable Zombie Brain Cookies!
Why are Zombie Brain Cookies a must-try?
Unique Presentation: These cookies are a showstopper with their creepy appearance, perfect for sparking conversation at your Halloween gatherings.
Easy to Make: With simple steps, you can whip up these delightful treats without any advanced baking skills.
Versatile Decor: Dress them up in various ways, from eerie red icing to white chocolate drizzles, allowing for creative expression.
Classic Flavor: Enjoy the timeless taste of sugar cookies paired with a fun, spooky twist that everyone will love.
Crowd-Pleasing Treat: Ideal for parties, these cookies will have adults and kids alike laughing and enjoying their deliciousness!
Zombie Brain Cookies Ingredients
For the Cookie Dough
- All-purpose flour – Provides structure; can be substituted with gluten-free flour for a gluten-free version.
- Baking soda – Acts as a leavening agent; can be replaced with baking powder in a pinch (but adjust the quantity).
- Salt – Enhances flavor; no direct substitute is needed unless using unsalted butter.
- Unsalted butter – Adds richness and moisture; can be substituted with margarine or any dairy-free butter alternative.
- Granulated sugar – Delivers sweetness; brown sugar can be used for a deeper flavor.
- Egg – Binds ingredients together; a flax egg can be used as a vegan alternative.
- Vanilla extract – Enhances flavor; almond extract can provide a fun alternative for a different taste.
- Red food coloring – Adds an aesthetic “blood” effect; gel food coloring works better than liquid for brighter colors.
For Decorating (Optional)
- White chocolate – Perfect for dipping or adding a spooky drizzle; offers a delicious contrast to the red color.
- Red icing – Great for creating blood effects; use a piping bag for precision.
- Mini chocolate chips – Add as “bugs” for extra texture and a fun surprise!
These Zombie Brain Cookies are truly a delightful mix of spooky and sweet, ensuring your Halloween celebration is both tasty and memorable!
How to Make Zombie Brain Cookies
-
Prep Dough: In a mixing bowl, whisk together the flour, baking soda, and salt. In another large bowl, cream the unsalted butter and granulated sugar until light and fluffy. Mix in the egg and vanilla, then gradually incorporate the dry ingredients until well blended.
-
Shape Cookies: If the dough feels sticky, chill it in the refrigerator for about 30 minutes. Pinch off portions of dough and roll them into twisted, rope-like shapes that resemble brains. Aim for a fun, messy look!
-
Bake: Preheat your oven to 350°F (175°C). Place the shaped cookies on a baking sheet lined with parchment paper and bake for 10-12 minutes until they are firm but remain pale. Allow the cookies to cool completely on the baking sheet before decorating.
-
Decorate: Dive into the fun of decorating! Dip the cooled cookies in melted white chocolate, then drizzle with red icing for that eerie blood effect, or stick mini chocolate chips onto the cookies to create “bugs.” Get creative!
Optional: For an added spooky touch, sprinkle some edible glitter or use green food coloring for a “rotting” effect.
Exact quantities are listed in the recipe card below.
Expert Tips for Zombie Brain Cookies
- Chill Dough: Keep your dough cold to prevent stickiness. This makes shaping easier and yields better results with your Zombie Brain Cookies!
- Get Creative: Embrace imperfections! A misaligned twist can give your cookies a more authentic, spooky look that will delight everyone.
- Check Baking Time: Remember, baking times can vary based on cookie size. Regularly check for a firm but pale texture to avoid overbaking.
- Vibrant Colors: Use gel food coloring for those eye-catching red hues. It provides a more vivid and lasting “blood” effect on your cookies!
- Decorating Fun: Encourage everyone to personalize their cookies with different toppings and colors, making your spooky treat table unique and playful!
Make Ahead Options
These Zombie Brain Cookies are perfect for busy home cooks looking to save time during the Halloween rush! You can prepare the cookie dough up to 24 hours in advance; simply wrap it tightly in plastic wrap and refrigerate to maintain its freshness. If you’re short on time, you can also shape the cookies into brain forms and freeze them for up to 3 days. When you’re ready to bake, just pop them straight from the freezer into the oven—no need to thaw! After baking, allow the cookies to cool completely before decorating to ensure that glaze and icing adhere well. Just like that, you’ll have spooky treats ready with minimal last-minute effort!
What to Serve with Zombie Brain Cookies?
These spooky delights are perfect for a ghoulish Halloween feast, and pairing them with the right sides will elevate your party spread!
- Witch’s Brew Punch: A refreshing, green fruit punch that complements the sweetness of the cookies while adding a fun, thematic touch.
- Creepy Cheese Platter: A variety of cheeses and crackers, styled to resemble a graveyard, will provide a savory balance to your sweet treats.
- Carrot “Monster Teeth”: Crunchy carrot sticks with a garlic dip, a light and healthy snack to balance the sugar rush from your cookies.
- Halloween-themed Veggies: Arrange seasonal vegetables in the shape of ghosts or jack-o-lanterns with a dip to keep things festive and inviting.
- Spooky Chocolate Mousse: This rich dessert can serve as a delightful follow-up, offering a contrasting creamy texture to the cookies’ crunch.
- Pumpkin Spice Latte: The warm, cozy flavors of pumpkin spice will perfectly accompany the cookie’s sweetness, creating a delightful autumn vibe.
- Blood Red Jello Cups: For vibrant fun, layer red jello with whipped cream; their eerie appearance aligns wonderfully with the theme of your Zombie Brain Cookies!
- Graveyard Dirt Cups: Layer chocolate pudding with crushed Oreos and gummy worms for a playful dessert that complements the cookie’s spooky look.
- Halloween Sugar Cookies: For those who crave variety, serve different cookie shapes like bats and ghosts alongside the Zombie Brain Cookies to keep the treat table lively!
Zombie Brain Cookies Variations
Customize your spooky cookies with these fun and delicious twists that will bring your Halloween baking to life!
- Green Hues: Add green food coloring to the dough for a “rotting” effect, giving your cookies an extra creepy vibe.
- Chocolate-Dipped: Dip the cookies in melted dark or milk chocolate for a rich twist that pairs beautifully with the sweetness of the sugar cookies.
- Nutty Crunch: Incorporate finely chopped nuts into the dough for added texture and a delightful crunch with every bite. The contrast of flavors makes for a delightful surprise!
- Spicy Kick: Mix in a dash of cayenne pepper or cinnamon for a warm, unexpected kick that balances the sweetness. A little heat goes a long way!
- Candy Surprise: Embed gummy worms or creepy candy eyes into the cookies before baking for an extra element of fun. It’ll definitely catch everyone’s attention!
- Mini Zombie Faces: Use icing to draw spooky faces on the cookies, transforming them into adorable (and terrifying) treats. This will surely spark some laughter at your Halloween gathering!
- Gluten-Free Twist: Substitute the all-purpose flour with a gluten-free blend to cater to gluten-sensitive friends without sacrificing flavor or fun!
Let your imagination run wild with these variations and turn your Zombie Brain Cookies into a hauntingly delightful experience!
Storage Tips for Zombie Brain Cookies
- Room Temperature: Keep your Zombie Brain Cookies in an airtight container at room temperature for up to 3 days. This will maintain their soft texture and spooky flair.
- Fridge: If you prefer a longer shelf life, store them in the fridge for up to 1 week. Just make sure they’re in a sealed container to prevent them from drying out.
- Freezer: For longer storage, freeze the cookies for up to 2 months. Place them in a freezer bag, ensuring to remove as much air as possible before sealing.
- Reheating: When you’re ready to enjoy your cookies again, simply thaw at room temperature for a couple of hours or warm them in the oven at 300°F (150°C) for a few minutes to bring back their delightful texture.
Zombie Brain Cookies Recipe FAQs
How do I choose the right ingredients for my Zombie Brain Cookies?
Absolutely! When selecting ingredients, look for fresh, high-quality items. For the butter, choose unsalted for better control over flavors. Ensure your baking soda is fresh for the perfect rise. If you’re opting for gluten-free cookies, select a good gluten-free flour blend; I’m a fan of almond flour for a delightful texture!
How should I store my Zombie Brain Cookies?
To keep your cookies fresh, store them in an airtight container at room temperature for up to 3 days. Layer them with wax paper to prevent sticking. If you want them to last a bit longer, refrigerate them for up to a week. Remember to enjoy your delicious cookies while they’re still soft and spooky!
Can I freeze my Zombie Brain Cookies?
Yes, you can! To freeze your cookies, allow them to cool completely, then place them in a freezer-safe bag, removing as much air as possible. These festive delights will last up to 2 months in the freezer. When you’re ready to enjoy them, simply thaw at room temperature for a couple of hours, or warm them in the oven at 300°F (150°C) for a fresh-from-the-oven taste!
What if my cookie dough is too sticky?
Very! If you find your dough is sticky, it’s a sign that chilling is in order. Place the dough in the refrigerator for about 30 minutes to firm it up. This step not only simplifies the shaping process but also ensures that your Zombie Brain Cookies maintain that perfect spooky shape when baked.
Can I make these cookies vegan or allergen-friendly?
Absolutely! You can easily make your Zombie Brain Cookies vegan by swapping the egg for a flax egg. To do this, mix 1 tablespoon of ground flaxseed with 2.5 tablespoons of water and let it sit for 5 minutes until it thickens. Additionally, for a dairy-free option, use margarine or any plant-based butter substitute. Just keep an eye on the ingredients for allergens!
What types of decorations can I use for my Zombie Brain Cookies?
The more the merrier! Besides the classic red icing and white chocolate drizzle, think outside the box! You could add green food coloring for an extra “rotting” appearance or use edible glitter to glam up your ghoulish treats. Mini chocolate chips can add a fun texture, resembling creepy bugs. Let your imagination run wild!

Creepy Zombie Brain Cookies for Spooky Halloween Treats
Ingredients
Equipment
Method
- In a mixing bowl, whisk together the flour, baking soda, and salt. In another large bowl, cream the unsalted butter and granulated sugar until light and fluffy. Mix in the egg and vanilla, then gradually incorporate the dry ingredients until well blended.
- If the dough feels sticky, chill it in the refrigerator for about 30 minutes. Pinch off portions of dough and roll them into twisted, rope-like shapes that resemble brains. Aim for a fun, messy look!
- Preheat your oven to 350°F (175°C). Place the shaped cookies on a baking sheet lined with parchment paper and bake for 10-12 minutes until they are firm but remain pale. Allow the cookies to cool completely on the baking sheet before decorating.
- Dip the cooled cookies in melted white chocolate, then drizzle with red icing for that eerie blood effect, or stick mini chocolate chips onto the cookies to create “bugs.” Get creative!


