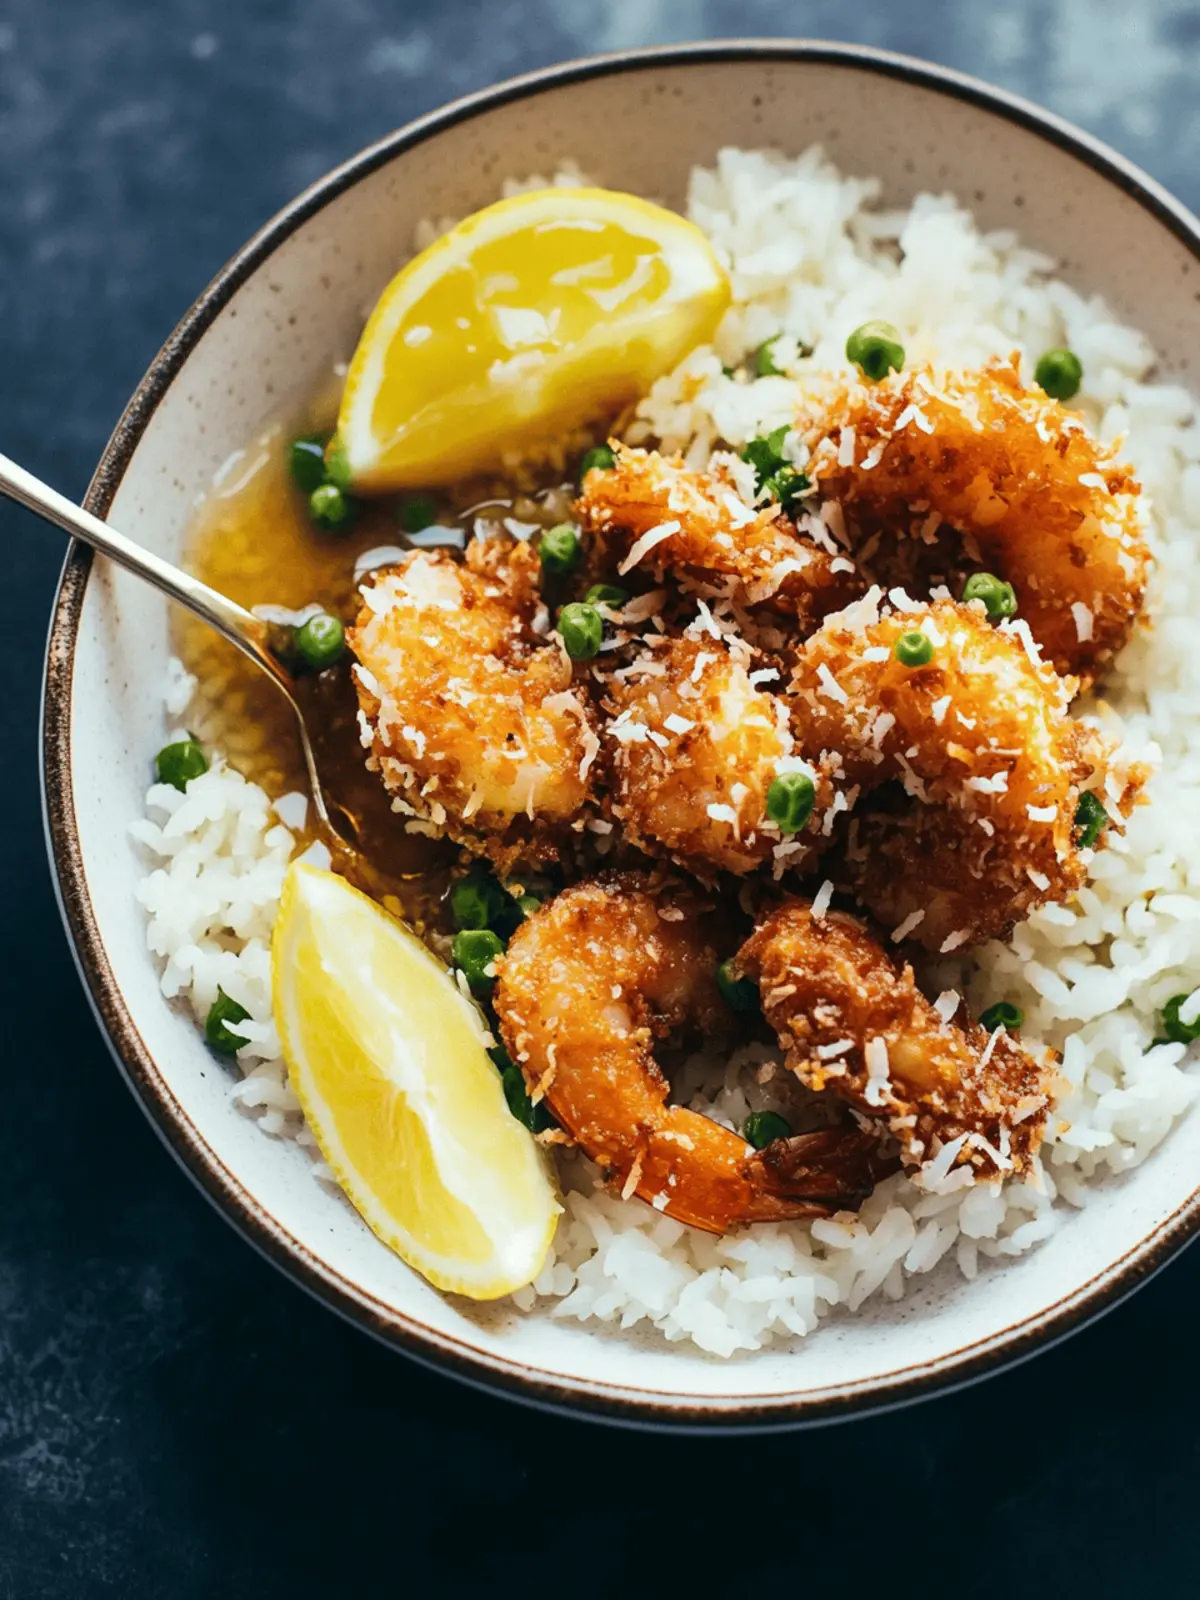
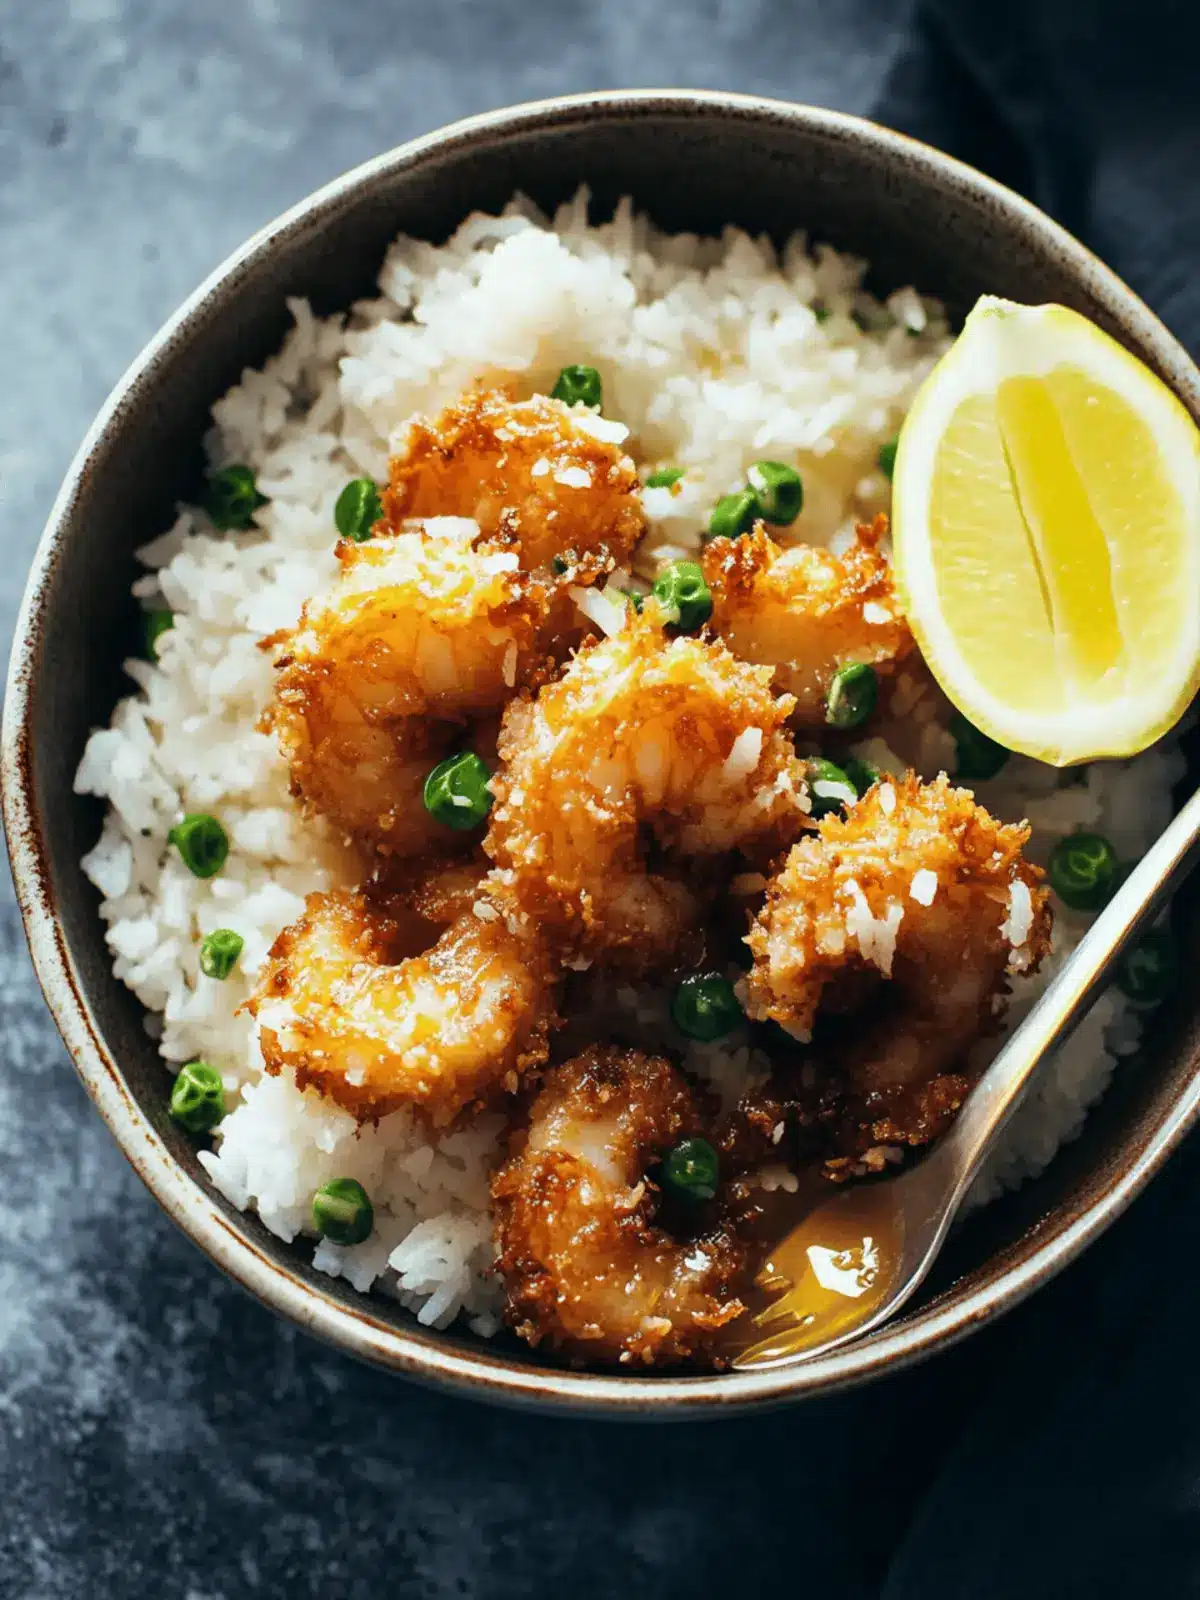
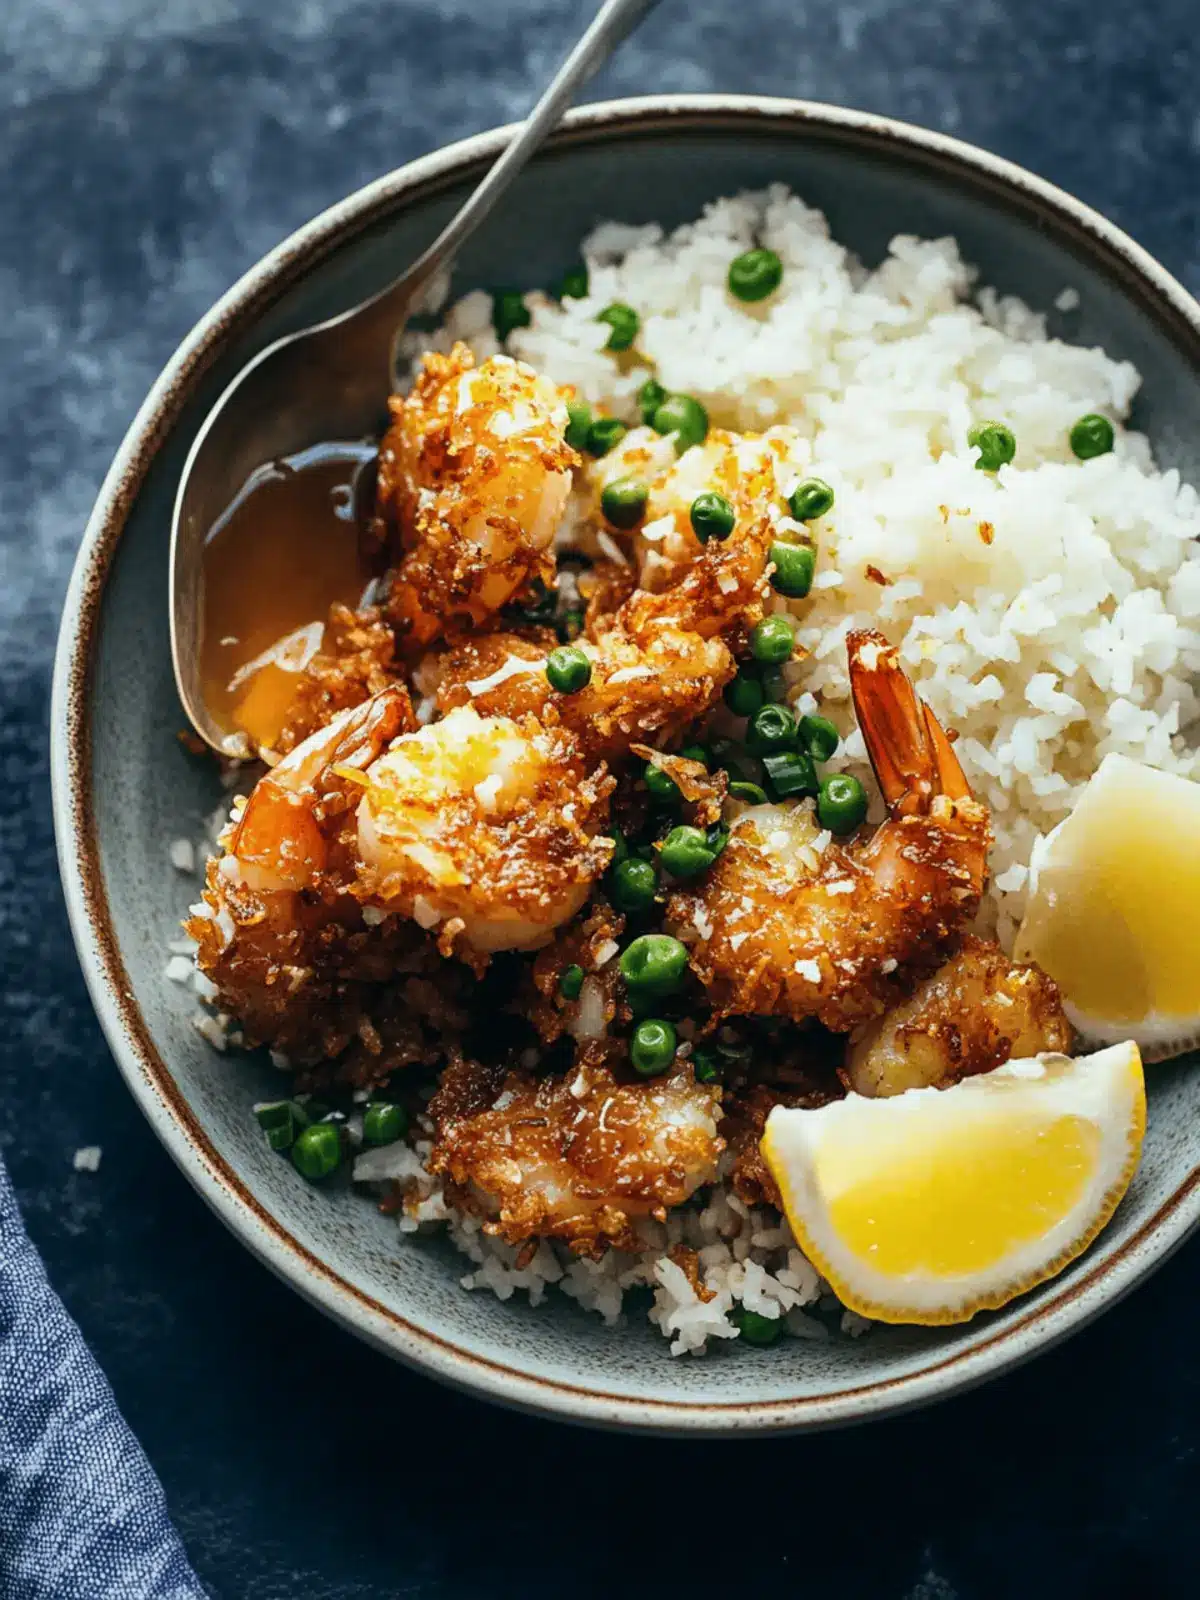
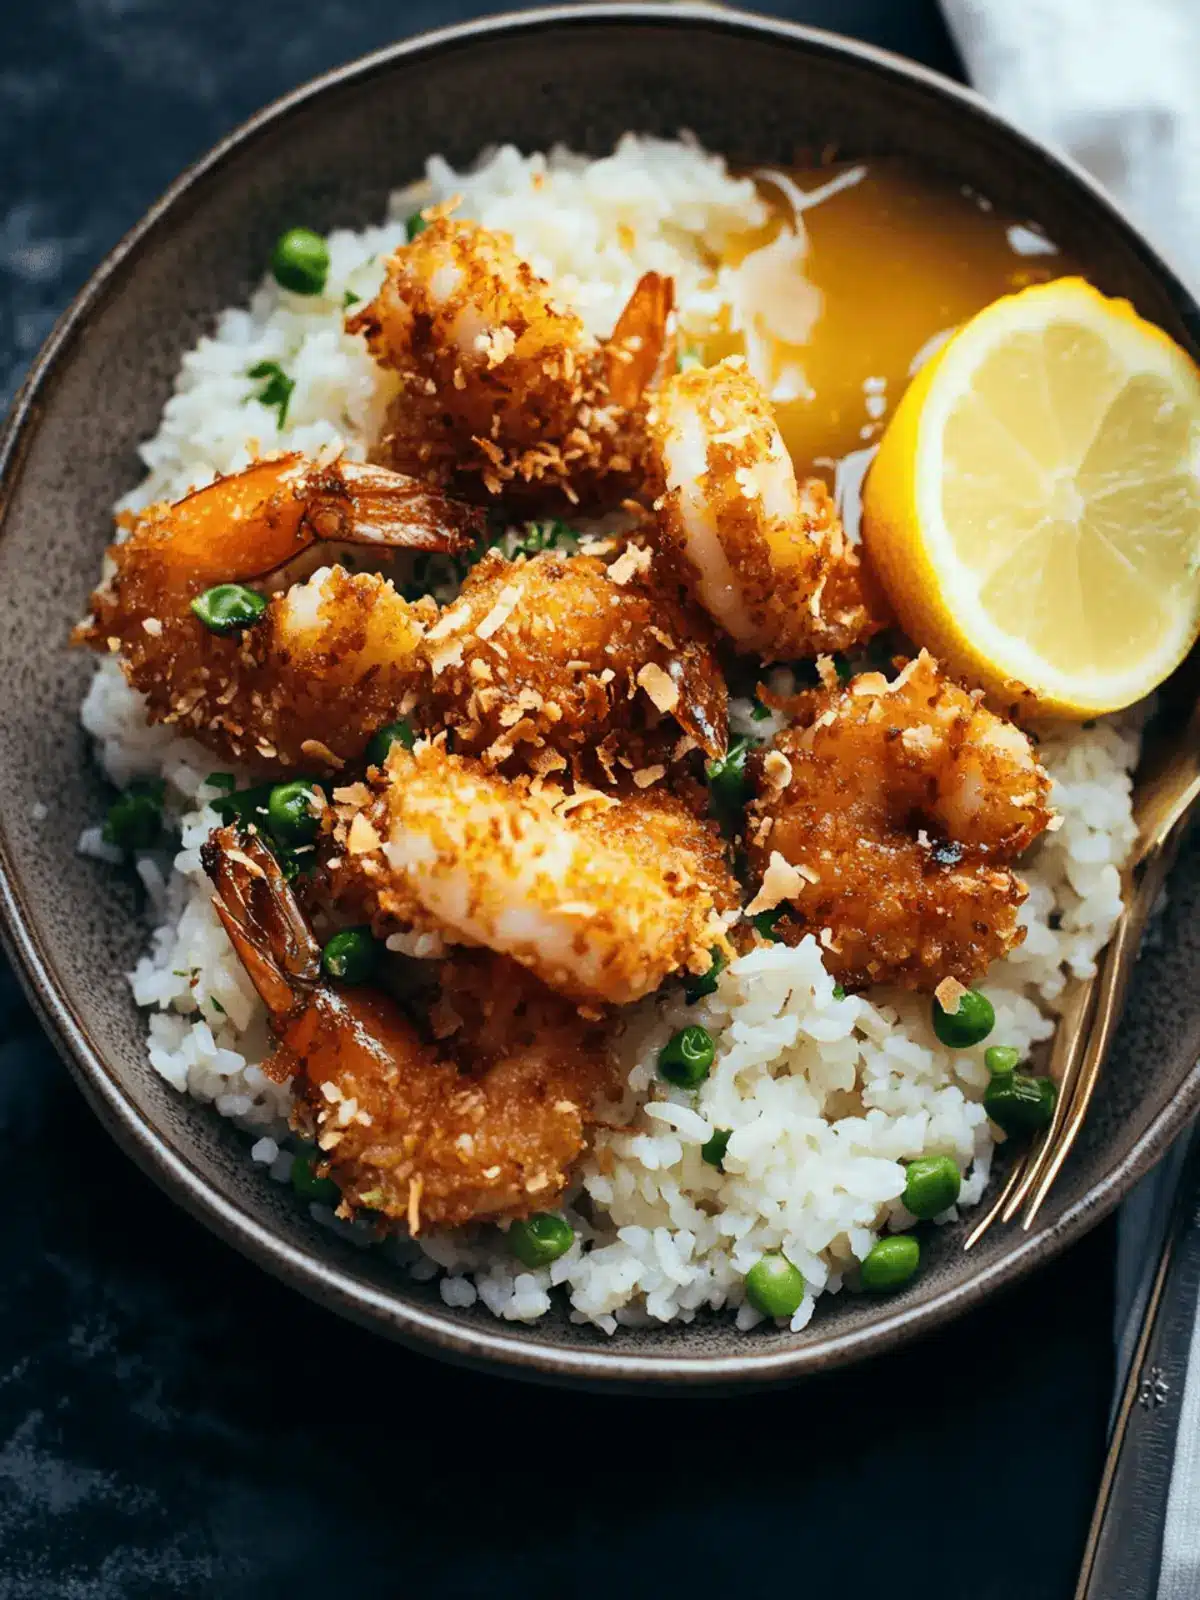
There’s a certain joy that comes with welcoming the warmth of spring into your kitchen. I felt it one sunny afternoon while experimenting with a craving for something light yet satisfying. Picture this: succulent shrimp, wonderfully crisp and sweet, encrusted in delightful coconut flakes, perfectly paired with a fluffy bed of lemon-infused rice. A touch of vibrant peas adds a pop of color, transforming ordinary grains into a refreshing side. But the real showstopper? A drizzle of honey butter sauce that sends your taste buds into a tropical fantasy.
Whether you’re planning a casual dinner or wanting to impress guests, my Baked Coconut Shrimp with Springy Rice and Honey Butter Sauce is the ultimate answer. It’s simple enough for a weeknight meal yet elegant enough for special occasions. And don’t worry; with a few optional twists and substitutions, you’ll soon discover how versatile and fun this dish can be. Let’s dive into this easy recipe that promises a burst of spring flavors with every bite!
Why Love Baked Coconut Shrimp Recipe?
Irresistible, this Baked Coconut Shrimp with Springy Rice and Honey Butter Sauce is a crowd-pleaser that will elevate any meal.
Quick and easy, even beginner cooks can whip this up effortlessly.
Flavor-packed with sweet coconut and zesty lemon, it brings a delightful taste of spring right to your table.
Versatile, you can customize protein choices and side dishes to make it your own.
Healthy and satisfying, it’s balanced with high-protein shrimp and vibrant veggies, ensuring you enjoy both taste and nutrition.
Gourmet experience at home, perfect for impressing guests or indulging in a special family dinner!
Baked Coconut Shrimp Ingredients
• For the Shrimp
- Shrimp – The star of the dish; choose large, fresh shrimp for the best texture.
- Sweetened Coconut Flakes – Provides a crunchy, sweet coating; unsweetened can be used if you prefer less sweetness.
- Panko Breadcrumbs – Creates an ultra-crispy exterior when baked; substitute with gluten-free breadcrumbs if needed.
- Flour – Helps the breading stick; all-purpose or gluten-free options work well here.
- Egg – Acts as a binder for the coating ingredients, ensuring they adhere perfectly to the shrimp.
• For the Rice
- Rice – A fluffy base; jasmine or basmati adds a nice fragrance.
- Lemon Zest and Juice – Amplifies flavors with a zesty brightness; freshly squeezed juice is always best.
- Green Peas – Provide color, crunch, and nutritional value; substitute with peas or spinach for variety.
• For the Honey Butter Sauce
- Honey – Adds sweetness that balances savory flavors; use local honey for a great taste.
- Butter – Enriches the sauce; consider using unsalted butter for better control over flavor.
This Baked Coconut Shrimp with Springy Rice and Honey Butter Sauce is sure to delight!
How to Make Baked Coconut Shrimp with Springy Rice
-
Prepare the Shrimp: Start by carefully removing the tails from the shrimp if desired, then pat them dry with a paper towel. This step is essential for achieving a crispy coating!
-
Bread the Shrimp: Set up three bowls for the breading process. In the first, mix flour with a pinch of salt and paprika. The second bowl holds a beaten egg, and the third combines panko breadcrumbs with sweetened coconut flakes. Dip each shrimp first in the flour, then the egg, and finally press into the panko-coconut mixture for a generous coating.
-
Toast Panko and Coconut: Preheat your oven to 325°F (163°C). Spread the panko and coconut mixture on a baking sheet and toast it for about 5 minutes until golden brown. Make sure to keep an eye on it to avoid burning!
-
Bake Shrimp: Line a baking sheet with parchment paper and arrange the breaded shrimp in a single layer. Bake in the preheated oven at 425°F (218°C) for approximately 15-20 minutes. Look for a golden and crispy finish to know they’re done!
-
Cook Rice: While the shrimp is baking, prepare the rice according to the package instructions. When it’s nearly finished, stir in the green peas and add the lemon zest and juice for that delightful spring flavor.
-
Make Honey Butter Sauce: In a small saucepan, melt the butter over low heat. Once melted, whisk in the honey and a splash of lemon juice to create a smooth and flavorful sauce.
-
Serve: To plate, create a fluffy bed of rice on each plate, layer on the baked coconut shrimp, and finish with a generous drizzle of your honey butter sauce. Enjoy this vibrant, delicious meal!
Optional: Garnish with fresh chopped parsley for an extra pop of color.
Exact quantities are listed in the recipe card below.
Make Ahead Options
These Baked Coconut Shrimp with Springy Rice and Honey Butter Sauce are perfect for meal prep enthusiasts! You can bread the shrimp up to 24 hours in advance; just keep them covered in the fridge to maintain freshness. Additionally, you can cook the rice two days ahead, allowing it to cool completely before refrigerating. When you’re ready to serve, simply bake the shrimp as instructed and reheat the rice on the stovetop or microwave until thoroughly warm, mixing in the lemon zest and peas right before serving. With these make-ahead steps, you’ll enjoy a delicious meal ready with minimal effort, perfect for busy weeknights!
Baked Coconut Shrimp Variations
Looking to mix things up? Here are some delightful twists to make this recipe truly yours!
-
Chicken Swap: Replace shrimp with chicken tenders for a heartier option that’s just as delicious.
-
Gluten-Free: Use gluten-free breadcrumbs and flour to cater to dietary needs without sacrificing taste or texture.
-
Coconut-Free: If you prefer a less tropical flavor, omit the coconut and use just panko for a straightforward crunch.
-
Herbaceous Rice: Stir in fresh herbs like dill or cilantro to the rice for an aromatic flavor boost that brightens your dish.
-
Spicy Kick: Add cayenne pepper to the breadcrumb mixture, or serve with a spicy dipping sauce for those who like it hot!
-
Vegetable Medley: Toss in diced bell peppers or corn to the rice for a pop of color and extra nutrition. The fresh veggies add a vibrant texture that complements the entire meal.
-
Citrus Twist: Swap lemon for lime juice in the sauce for an interesting flavor shift that brings a zesty zing to the dish.
-
Air Fryer Magic: Try cooking the shrimp in an air fryer at 370°F for a quick, crispy finish, perfect for busy weeknights! The air fryer delivers that cherished crunch without the need for oven preheating.
How to Store and Freeze Baked Coconut Shrimp
-
Room Temperature: Baked coconut shrimp can be kept at room temperature for up to 2 hours if you’re serving them at a gathering. After that, refrigerate to maintain freshness.
-
Fridge: Store any leftover shrimp in an airtight container in the refrigerator for up to 3 days. Reheat in the oven at 350°F for about 10 minutes to restore crispiness.
-
Freezer: For longer storage, freeze the baked coconut shrimp in a single layer on a baking sheet before transferring to a freezer-safe bag. They can last for up to 3 months.
-
Reheating: When ready to enjoy frozen shrimp, reheat in the oven at 400°F for 15-20 minutes until hot and crispy. Pair them again with fresh springy rice and honey butter sauce for a delightful meal!
Expert Tips for Baked Coconut Shrimp
-
Dry Shrimp First: Ensuring shrimp are completely dry before breading helps the coating stick better, resulting in a crispy finish.
-
Use Parchment Paper: Lining your baking sheet with parchment makes cleanup a breeze and prevents the shrimp from sticking.
-
Monitor Toasting: Keep a close eye on the panko and coconut while toasting to avoid burning—golden is the goal for perfect texture.
-
Air Fryer Option: If you prefer a quicker method, opt for an air fryer, cooking at 370°F for about 6-8 minutes for a crispy finish.
-
Customize Ingredients: Feel free to substitute shrimp with chicken or fish for a personalized twist on this Baked Coconut Shrimp dish!
What to Serve with Baked Coconut Shrimp with Springy Rice and Honey Butter Sauce?
Elevate your meal with vibrant sides that complement the delightful flavors of baked coconut shrimp and bring freshness to your table.
- Fresh Mango Salsa: Bright, tangy salsa adds a fruity splash that pairs beautifully with the shrimp’s sweetness. The contrasting textures will excite your palate.
- Crisp Garden Salad: A mix of greens, cucumber, and cherry tomatoes drizzled with a light vinaigrette provides a refreshing crunch, balancing the richness of the honey butter sauce.
- Grilled Asparagus: Tender, lightly charred asparagus adds a savory complexity and a delightful pop of color to your plate, enhancing the overall visual appeal.
- Coconut Rice: For a tropical twist, serve with coconut-infused rice that meshes seamlessly with the shrimp, amplifying those coconut flavors for a cohesive experience.
- Mango Lassi: This creamy, yogurt-based drink brings a cool, refreshing sweetness that contrasts beautifully with the crispy shrimp and bright rice. Perfect for a summery vibe!
- Pineapple Upside-Down Cake: Round off your meal with a slice of this classic dessert. The caramelized fruit and soft cake echo the tropical theme of the shrimp dish, leaving you with a delightful finish.
- Zesty Quinoa Salad: Packed with fresh herbs, lemon, and crunchy veggies, this salad offers protein and fiber while complementing the lightness of your main dish.
- Sparkling Citrus Water: A refreshing, non-alcoholic drink with hints of lemon and lime provides a zesty lift and perfectly complements the flavors in your meal.
Baked Coconut Shrimp with Springy Rice and Honey Butter Sauce Recipe FAQs
What type of shrimp is best for this recipe?
Absolutely! I recommend using large, fresh shrimp for the best texture and flavor. If you’re looking for a non-seafood alternative, chicken tenders can also be a delightful substitute, ensuring everyone can enjoy this amazing dish.
How should I store leftover baked coconut shrimp?
Great question! You can store any leftovers in an airtight container in the refrigerator for up to 3 days. To reheat and retain that wonderful crispiness, simply pop them in the oven at 350°F for about 10 minutes.
Can I freeze baked coconut shrimp?
Yes, indeed! First, lay the baked shrimp in a single layer on a baking sheet and freeze until solid. Once frozen, transfer them to a freezer-safe bag, where they’ll keep well for up to 3 months. When you’re ready to enjoy them, bake from frozen at 400°F for about 15-20 minutes, ensuring they’re hot and crispy again!
What if my coconut and breadcrumb mixture burns while toasting?
Oh no! If you find that the mixture is burning, make sure to keep an eye on it and stir occasionally while toasting. If you notice dark spots, remove it immediately. The goal is to achieve a golden, crunchy texture without overcooking. Always toast at a lower temperature if in doubt, around 325°F for a longer time can help prevent burning.
Are there any dietary considerations for this dish?
Very much so! If you’re cooking for someone with gluten intolerance, simply use gluten-free breadcrumbs and flour. Additionally, feel free to substitute the honey with maple syrup for a vegan-friendly honey butter sauce. This dish can accommodate various dietary preferences and still be delightful!
What can I serve with baked coconut shrimp?
The more the merrier! I love serving these shrimp alongside fresh mango slices or a light salad with a citrus vinaigrette for a refreshing complement. You could also incorporate a variety of greens in the rice, like spinach or snap peas, to boost the nutritional value even further.
Baked Coconut Shrimp with Lemony Rice & Honey Butter Bliss
Ingredients
Equipment
Method
- Prepare the Shrimp: Start by carefully removing the tails from the shrimp if desired, then pat them dry with a paper towel.
- Bread the Shrimp: Set up three bowls for the breading process. In the first, mix flour with a pinch of salt and paprika. The second bowl holds a beaten egg, and the third combines panko breadcrumbs with sweetened coconut flakes.
- Toast Panko and Coconut: Preheat your oven to 325°F (163°C). Spread the panko and coconut mixture on a baking sheet and toast it for about 5 minutes.
- Bake Shrimp: Line a baking sheet with parchment paper and arrange the breaded shrimp in a single layer. Bake at 425°F (218°C) for approximately 15-20 minutes.
- Cook Rice: Prepare the rice according to the package instructions; stir in the green peas and add lemon zest and juice at the end.
- Make Honey Butter Sauce: In a small saucepan, melt the butter over low heat. Whisk in the honey and a splash of lemon juice.
- Serve: Plate a bed of rice, top with baked coconut shrimp, and drizzle with honey butter sauce. Garnish with parsley if desired.
